What kind of greens can you grow?
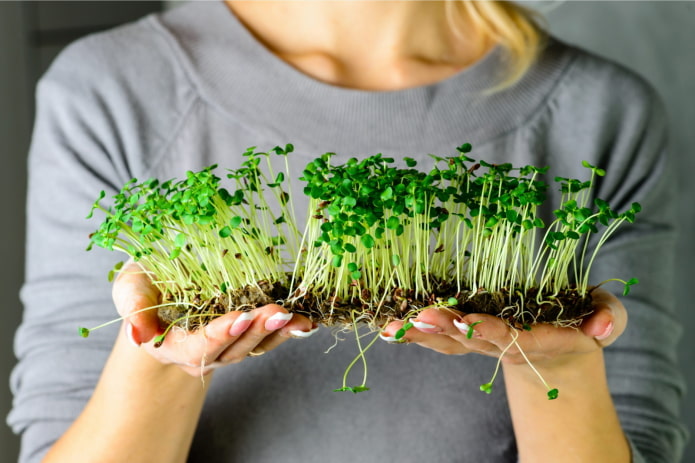
Microgreens are young shoots of plants with the highest content of nutrients. Used in salads, first and second courses, smoothies and bowls.
Benefits microgreen:
- Doesn't take up much space... Unlike regular basil or dill.
- Can be grown without substrate and fertilizer... The process is cleaner, easier, more hygienic.
- Fast results... You don't have to wait several weeks - it usually takes several days from planting to harvesting (maximum 10). On average, microgreens grow faster - 6-7 days.
- Easy to care for... It only requires watering: no treatment for pests and diseases - they simply do not have time to overcome the seedlings.
- Incredibly useful... A portion of sprouts contains a huge amount of proteins, minerals, vitamins for your body.
Important! Do not confuse seedlings and microgreens. In the first case, only the "hatching" of the sprouts from the grain is expected, the sprouts are eaten completely. Microgreens are grown until the first 2 leaves appear, only the stem and leaves are eaten.
In fact, microgreens can be grown from almost any seed - from salads and cabbage to vegetables. But the most delicious and useful for eating are:
| Radish | Bright, fragrant, slightly spicy. High in vitamin C. |
| Sunflower | It tastes like seeds. A source of vegetable proteins, amino acids. |
| Wheat | The record holder for the content of nutrients. |
| Arugula | The taste contains nutty notes, ideal for salads. |
| Peas | It resembles young peas and contains many vitamins. |
| Corn | Harsh, but sweet. |
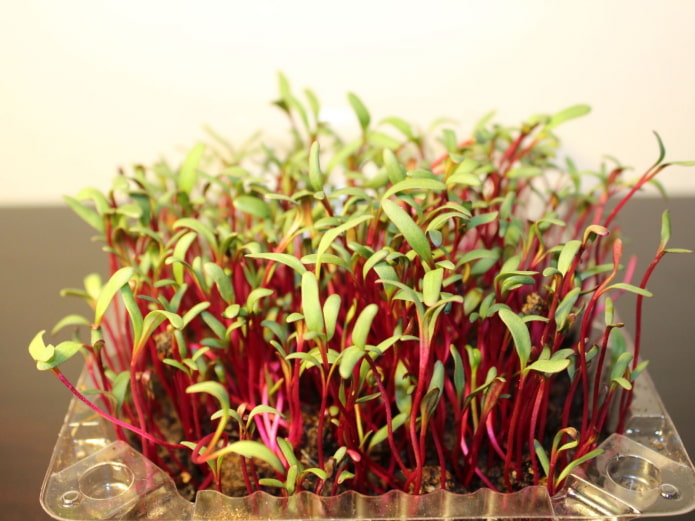
| Beet | Not less bright than a radish. Loaded with vitamins. |
| Buckwheat | Useful due to its high levels of rutin, folic acid, |
| Mustard | Spicy, delicious. High content of ascorbic acid, rutin. |
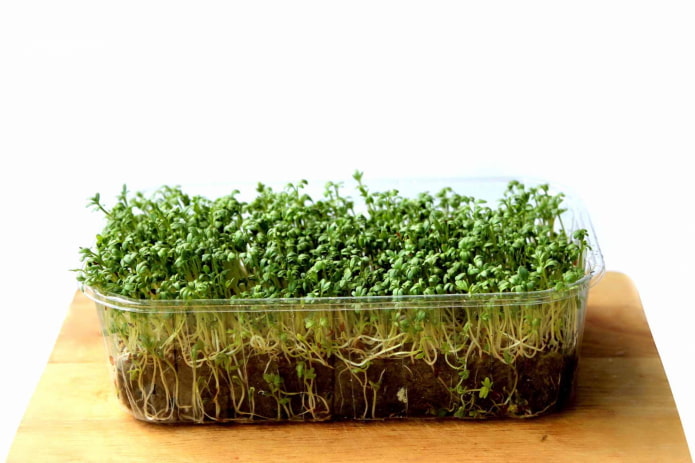
| Watercress | Neutral in taste, but extremely useful: in addition to vitamins, it contains phosphorus, iodine, iron, magnesium. |
Important! Cannot be eaten as microgreens: beans, potatoes, tomatoes, eggplants, peppers. Young shoots contain substances hazardous to humans.
How to choose the right seeds?
Growing microgreens at home begins with seeds: the success of the entire operation depends on the quality of the raw materials.
It is not recommended to use seeds from garden shops intended for growing high-grade crops. First, there are very few of them in the package. Secondly, the seeds cannot be called useful - so that they are stored longer and behave better after planting, they are treated with various preparations before packing.
Look for planting material specifically for growing microgreens: it is sold in large packages (50-500 g), it is not processed by anything before packing. Usually it comes to stores after long checks and selection: it means that it will germinate efficiently and grow evenly.
Growing methods at home
There are many working ways to grow microgreens: from simple soaking in water and maintaining high humidity, to planting in ordinary soil. Which one is right for you - decide for yourself.
Priming
The most common option for sowing seeds is directly into the ground. Almost any soil for germination of microgreens is suitable: from ordinary garden soil (pre-treat against pests), to commercial soil - it is better to take bags for indoor plants home (except for a lean mixture for cacti, bark for orchids).
Step-by-step instruction:
- Use any suitable tray (plastic, paper, foam, or glass is best for germination).
- Fill the bottom with a small amount of soil (an even layer of 0.5 cm will be sufficient).
- Spray the soil with water from a spray bottle.
- Spread the seeds evenly in one layer, leaving no empty areas. Tamp lightly (no need to cover with earth!).
- Cover the container with a lid, plastic wrap or wrap in a bag. Place in a warm, bright (but not too sunny) place.
Important! Before use, containers are subjected to special treatment: they should be washed and wiped with hydrogen peroxide or soaked in a solution of potassium permanganate. So the chances of the appearance of a fungus are reduced to zero.
Now all that remains is check container: Open 1-2 times a day for ventilation (prevents mold). Add water directly to the roots as needed.
How long the harvest ripens can be guided by the information on the package. But it is safer to cut the greens when the first cotyledon leaves appear - at this moment, small plants are the most delicious and useful.
Advice! Choose trays with walls 3-7 cm - the sides will hold the growing microgreens together.
Paper
Soil is the most understandable, but the dirtiest way to grow. To make the process cleaner, you can replace it with plain paper.
A soft tissue paper or toilet paper works best. Choose white or gray - no dyes, flavors.
The process of planting microgreens on toilet paper is not much different from the one described above:
- the dishes are washed,
- lay napkins, having previously moistened the "soil",
- sprinkle seeds
- cover with a film or a lid.
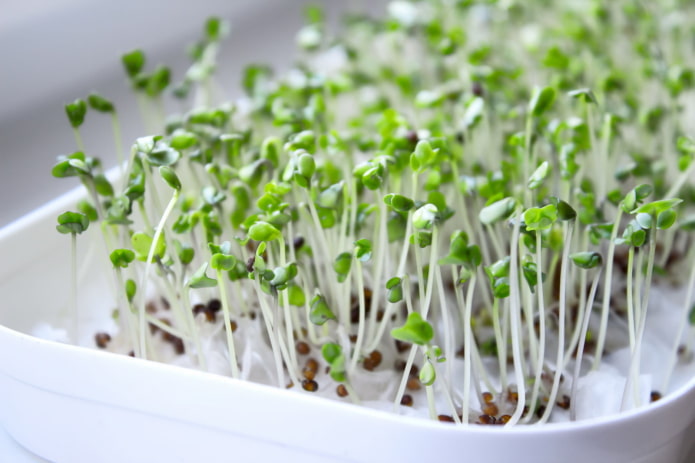
Micro vegetables germinate as well as in the ground. See for yourself:
Gauze
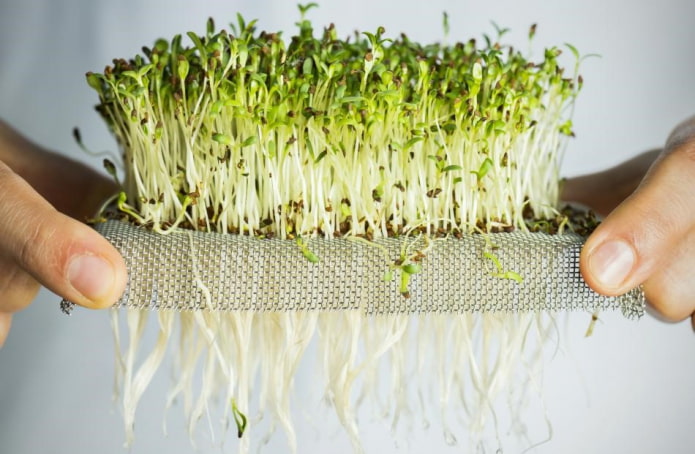
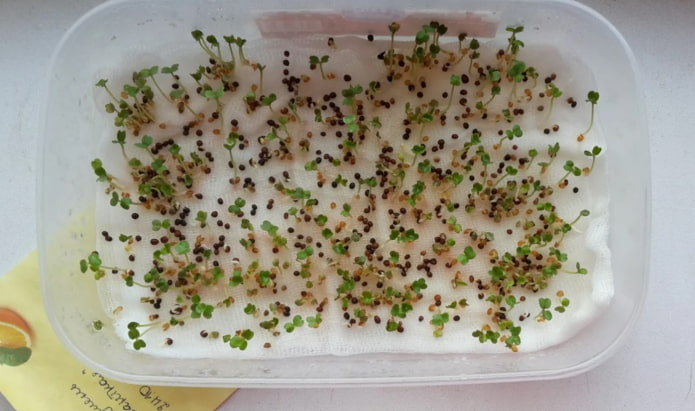
A third convenient way to plant microgreens is with simple gauze. In the mesh material, the roots are simultaneously moistened and breathed, which prevents them from rotting. Putting in gauze should be the same as in paper:
- Take a suitable food tray (transparent or dull), treat with potassium permanganate.
- Lay gauze on the bottom, soak it with water.
- Sprinkle the seeds.
- Cover, leaving in a place suitable for light and temperature.
Be sure to make holes in the lid or ventilate the tray a couple of times a day so that the sown seedlings do not become moldy. Check the humidity once a day - the gauze should not dry out.
Cotton pads
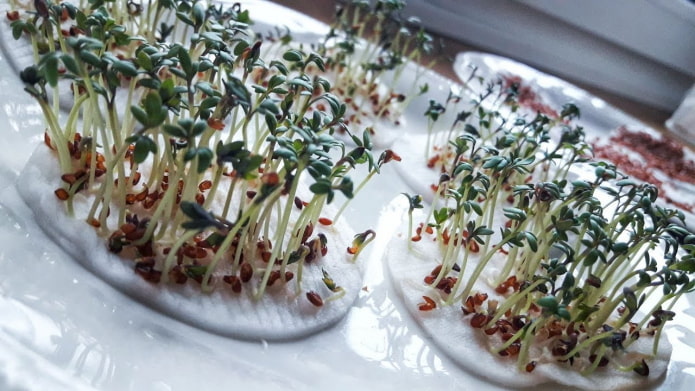
When none of the above is in stocks, you can grow microgreens on cotton wool. The principle is the same: cotton pads or layers act as the basis that gives green seedlings the main thing - life-giving moisture.
The way is the same: Cover the bottom of the container with discs, moisten, add seeds of the selected variety, then cover with a bag or a suitable lid. Spray, ventilate - as needed.
Bank
This method is well known to those who once germinated seeds. And in fact, it is best suited for germination, but if you are going to eat microgreens along with roots and seeds, try growing them in a jar.
It will take:
- can of 1 l;
- gauze or fine mesh;
- elastic band or rope.
Stages process:
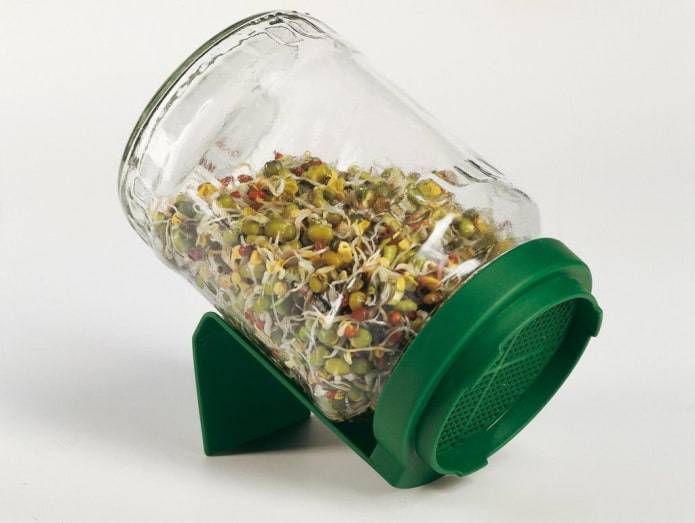
- Pour 3-4 teaspoons of seeds into a liter jar, pour 0.5 liters of settled water at room temperature. Leave it open overnight to soak.
- The next day, we put gauze or mesh on the neck, fix it with an elastic band. We drain the liquid, rinse the contents under running water, drain again.We distribute the seeds evenly along the walls and bottom. We install it with the neck down at an angle of 30 degrees so that excess water can drain off.
- Over the next days, we rinse once every 5-6 hours. During breaks, we leave with sufficient lighting on the window (at an angle with the neck down).
We give the sprouted greens how to grow and release the first leaves - most vegetable or green crops can be eaten as early as 6-7 days. After the leaves appear, the contents of the jar are washed again and discarded in a colander, allowing excess water to drain freely.
In the photo there is a special jar with a lid for germination
Germinator
You can try to leave microgreens with your own hands using any method described above. But if you want to have sprouts rich in vitamins at ease all year round, and not spend a lot of energy on cultivating, use special equipment.
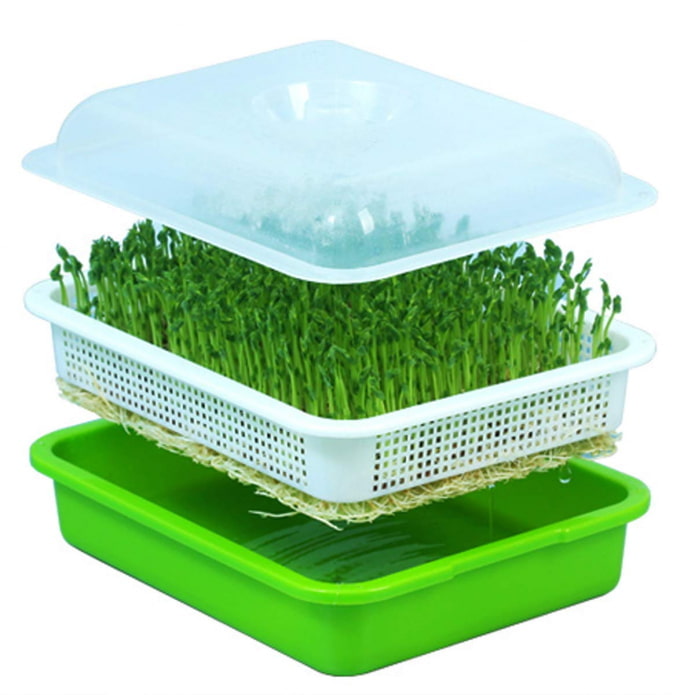
A reliable option, with which problems are almost impossible, is a multi-layer tray. Below is a compartment for water, a mesh in the middle, a lid on top. Thanks to the lid, a microclimate is maintained, and excess moisture evaporates through special ventilation holes - they also provide an influx of fresh air. You will only have to add water once every few days and monitor growth. When the first two leaves have appeared, it's time to cut off the ready-made healthy food supplement.
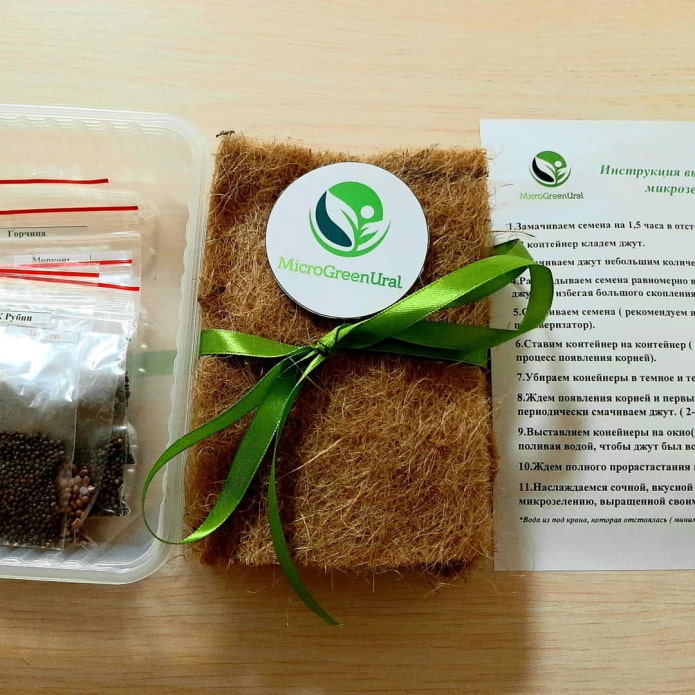
In addition to the above option, there are also sets with special jute rugs - germination takes place in the same way as in paper or cotton wool.
How to care?
Microgreens require minimal maintenance, which consists of two main tasks: supplying fresh air and adding water.
It is not worth pouring or overdrying the base on which the seeds grow: watering should be moderate, but regular. If you are afraid to overflow, it is better to use a spray bottle and simply spray the seedlings.
It is imperative to ventilate trays with lids without ventilation holes every day - several times. Make sure the cold air or draft does not blow through the delicate microgreens.
Microgreen is consumed in its pure form, added to various salads, cocktails - this is an excellent source of real vitamins, minerals, vegetable proteins, and it's easy to grow it yourself. So why not give it a try too.

 10 practical tips for arranging a small kitchen in the country
 12 simple ideas for a small garden that will make it visually spacious
 13 bad habits a good housewife shouldn't have
 24/7 home cleanliness - 4 secrets for the perfect housewife
 6 hotels in Sochi that will give odds to the promoted foreign hotels
 Top 10 interior design trends 2020
 Rating of cheap TVs with Smart-TV
 New Year's LED garlands on AliExpress - we disassemble while it's hot, so that it's bright at home