What is it?
As the name suggests, a self-leveling floor is a liquid floor covering that hardens after installation. But how is it different from a conventional cement screed?
Self-leveling floor for home is a topcoat that does not need additional coverage. It is also convenient to use as a base for laminate, parquet, linoleum or tiles, thanks to self-leveling. After hardening, you will get a perfectly flat surface on which you can easily lay any finishing materials.
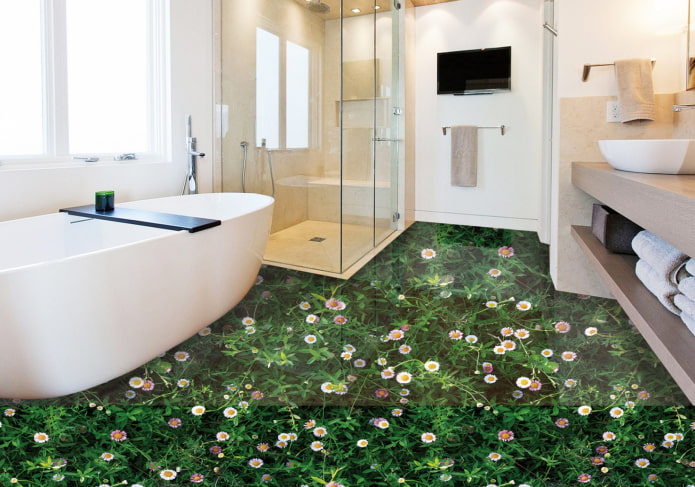
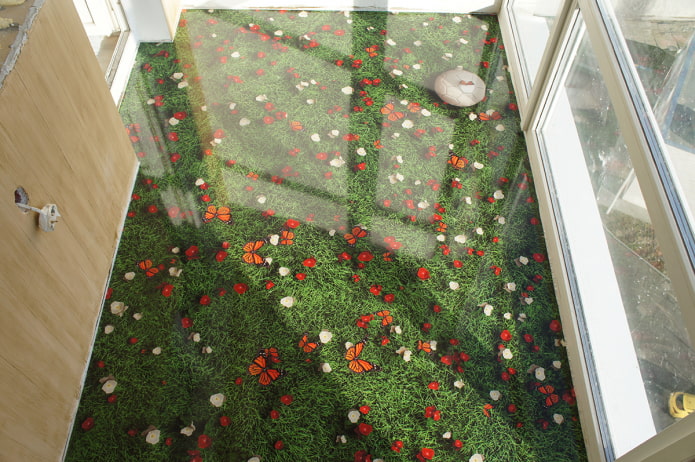
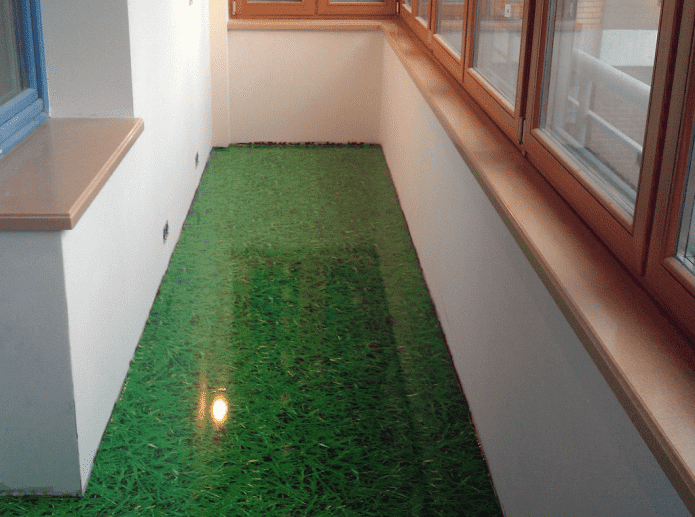
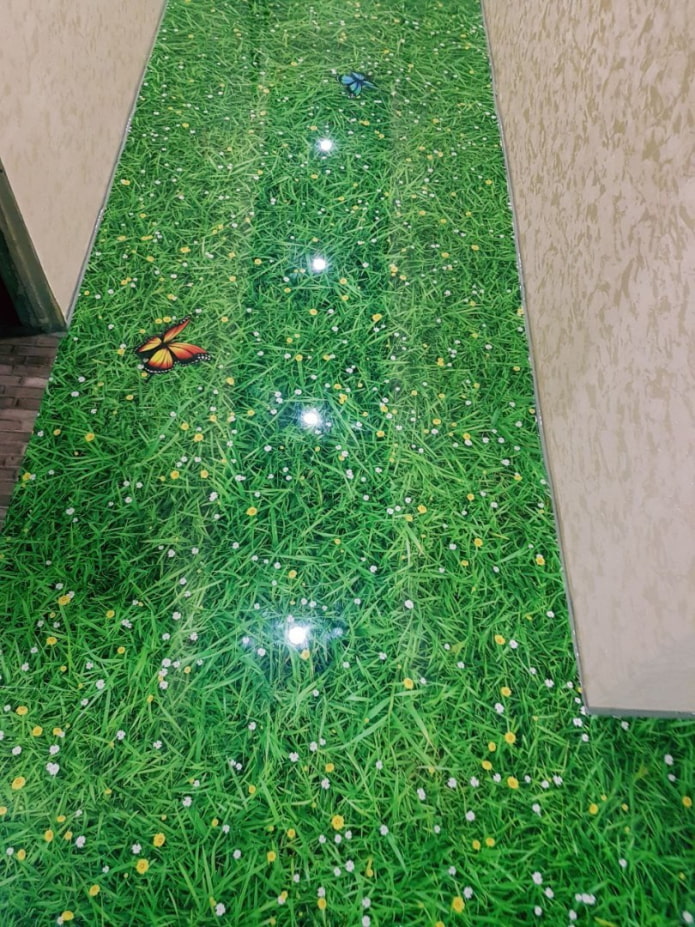
In the photo, a drawing of meadow grasses on the floor
Pros and cons
In addition to the mass of advantages, the self-leveling floor has some disadvantages. You need to evaluate the feasibility of such a solution before starting to install it.
| pros | Minuses |
|---|---|
|
|
Which image should I choose?
In appearance, they are distinguished:
- Monochromatic... It can be of any color - white, gray, beige, red, black. This option can be called the most versatile.
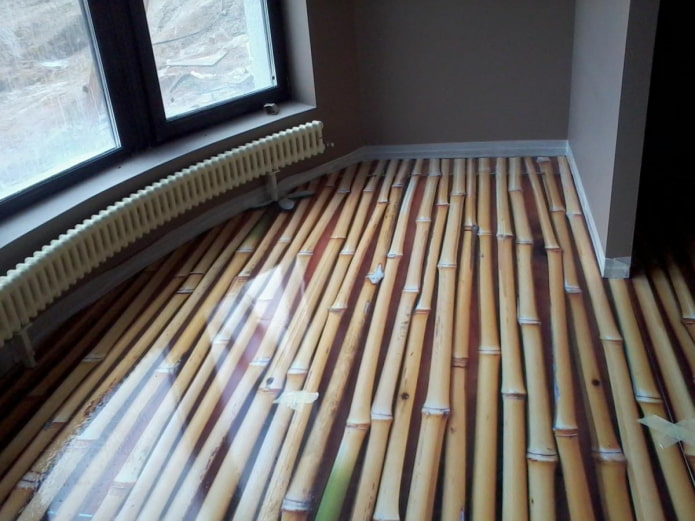
- Textured... The transparent composition is filled with the image of sand, brick, wood, tiles or any other texture. As a result, you can get a realistic imitation of concrete, but it will be easier to care for and more pleasant to walk on.
In the photo, one-piece flooring for the room and the loggia
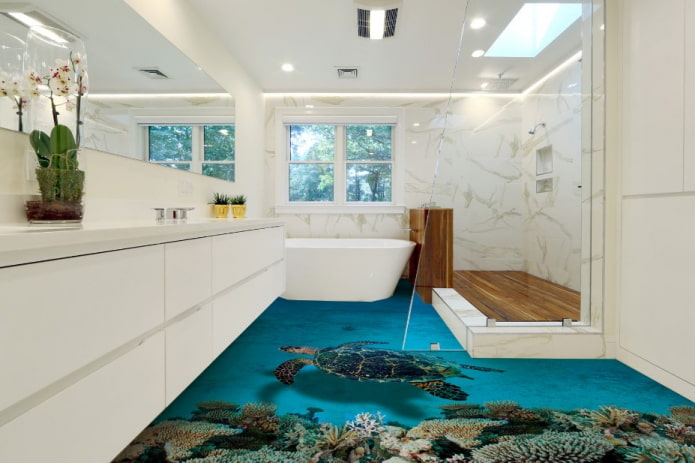
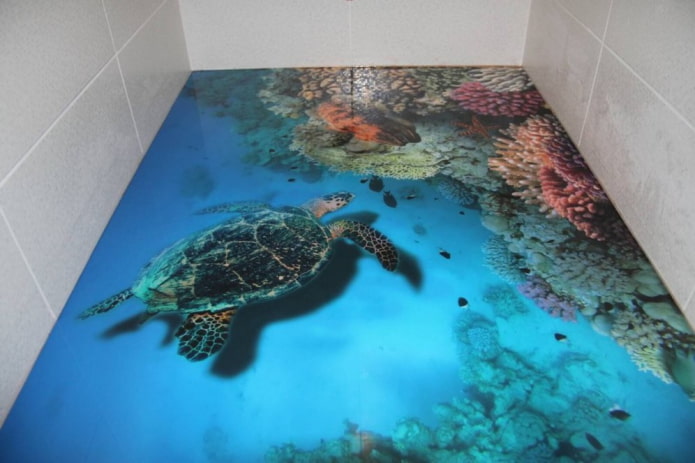
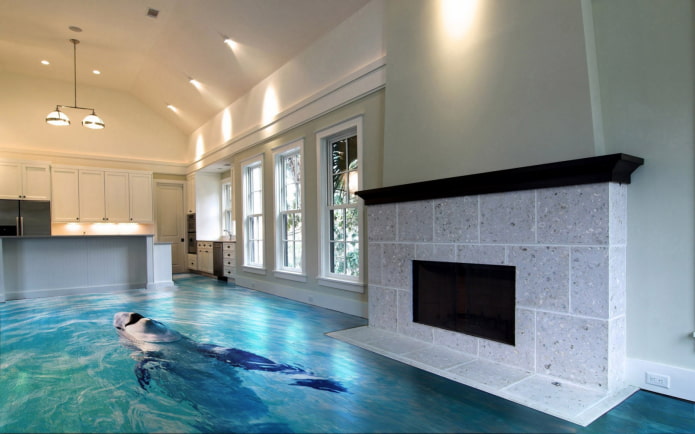
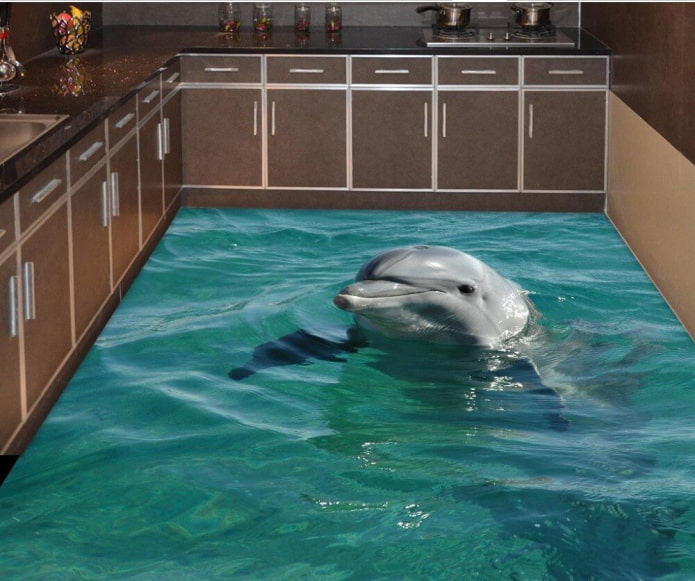
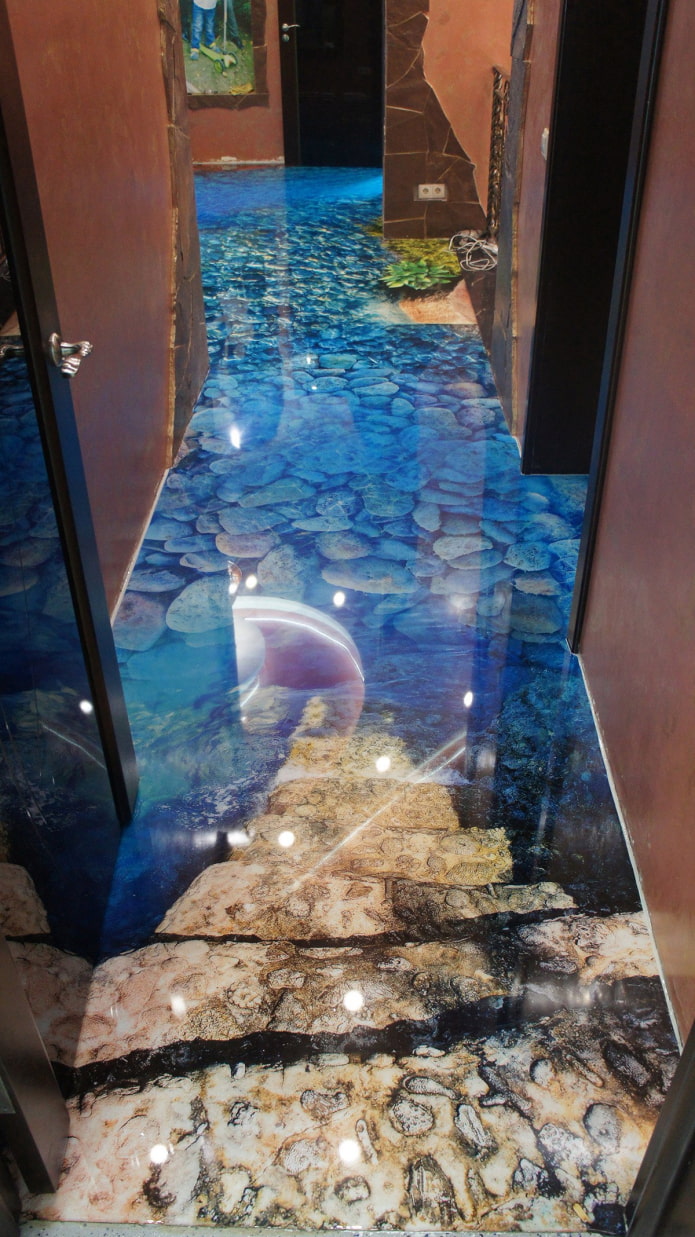
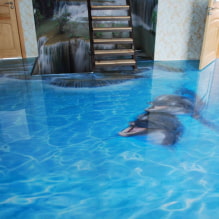
- 3D drawings... The most common motives are the underwater world, sea, grass, mountains, plants, animals, space and cityscape. When choosing a similar type of self-leveling floor, do it consciously: the finish will last for a single year - won't you get tired of the decorative image of a dolphin or flowers in 5-10 years?
3 tips for choosing a 3D effect floor:
- Match the location of the drawing with the future layout so that important parts of the image are not under the furniture.
- Choose neutral images in real scale instead of zoomed and zoomed ones.
- Decorate the room with minimalism, focusing on the self-leveling floor.
In the photo is a 3D photo with a turtle
What material is better to choose?
Self-leveling floors are distinguished not only in appearance, but also in composition.
- Epoxy... The resin is not afraid of chemicals and will last a long time. Due to its hygienic properties, the coating is suitable even for hospitals, and at home it is ideal for the bath, kitchen or nursery. Due to the large assortment of designs, epoxy self-leveling floors fell in love with the owners of residential premises. Among the disadvantages is a relatively low impact resistance, however, it is almost impossible to damage the coating at home.
- Methyl methacrylate... Even with a fill thickness of no more than 5 mm, such a surface is particularly durable. The composition firmly withstands changes in temperature and humidity, is not afraid of ultraviolet rays. Fast hardening can be considered both a minus (you will have to work quickly) and a plus (in 2-3 hours it is ready for loading). However, washing with aggressive substances and rubbing with abrasives is not recommended.
- Polyurethane... If reliability is important to you, choose polymer materials. They easily withstand the difference in humidity and temperatures, shock and mechanical stress, cleaning with aggressive agents and abrasives. But be careful when styling - too high humidity can negatively affect the result.
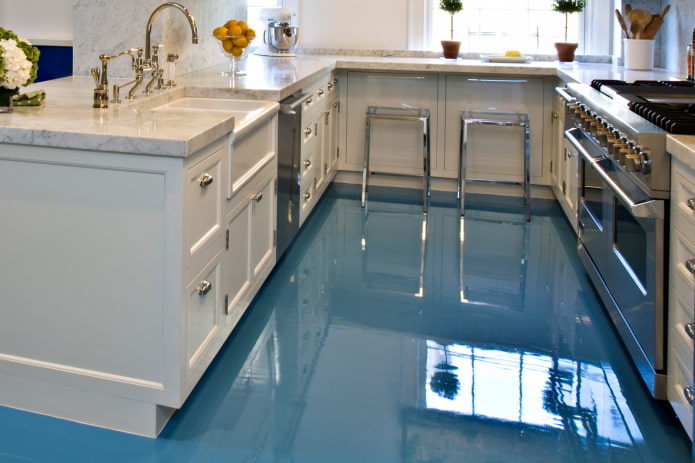
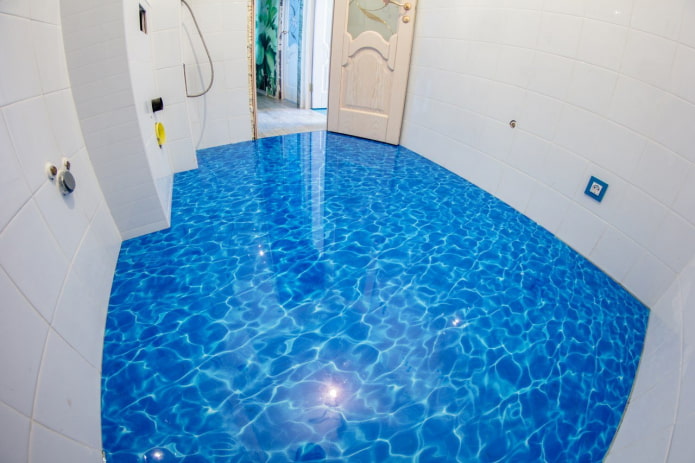
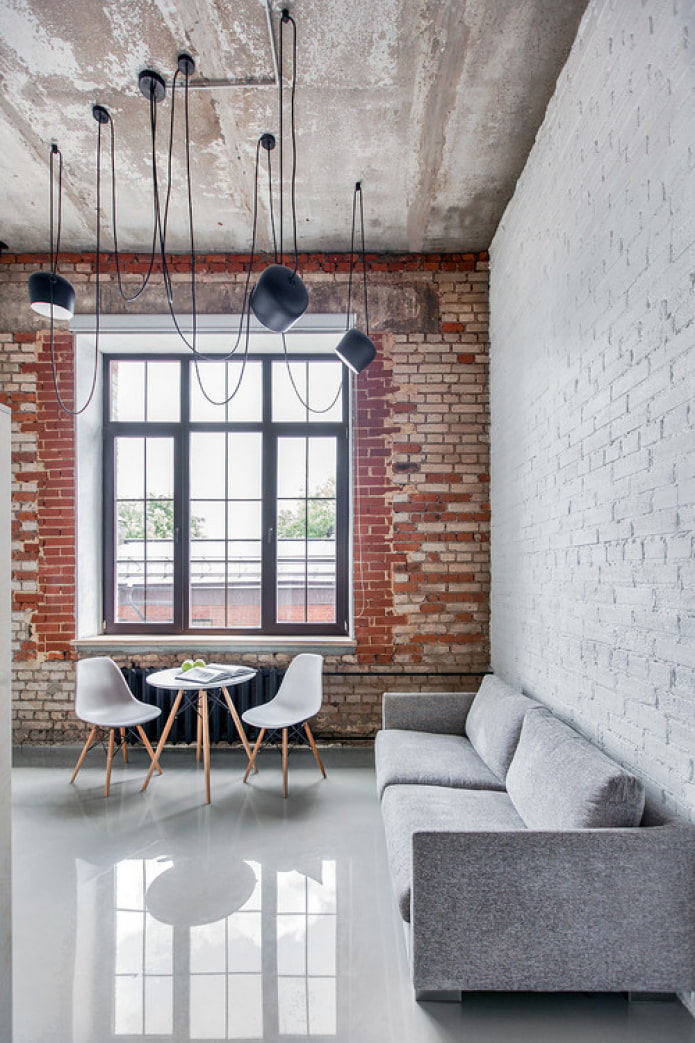
The photo shows a plain blue self-leveling coating
- Acrylic-cement... This type is more suitable for industrial workshops. The acrylic surface is not slippery, matte, and has the property of moisture protection. Withstands temperatures from -60C to + 110C.
How to install?
We have already said that you can create a self-leveling floor in an apartment yourself. Let's analyze the process step by step:
- Preparation of the base... Concrete, tiles and wood are subject to pouring. Dismantle skirting boards and poor-quality coating, clean from dirt and dust. Take care of the minimum humidity, it should not be more than 10%. Degrease, sand and level the base if necessary.
- Primer... Apply the first coat of primer, allow drying time according to the instructions.
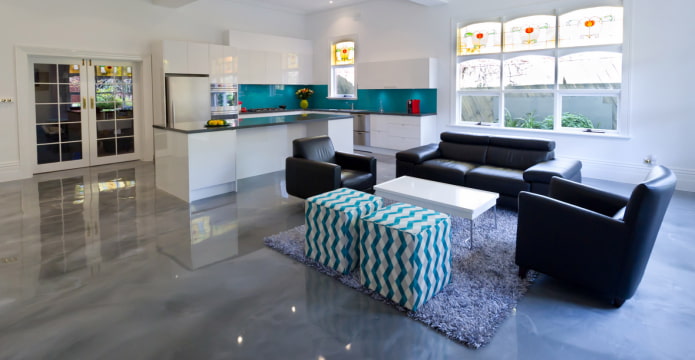
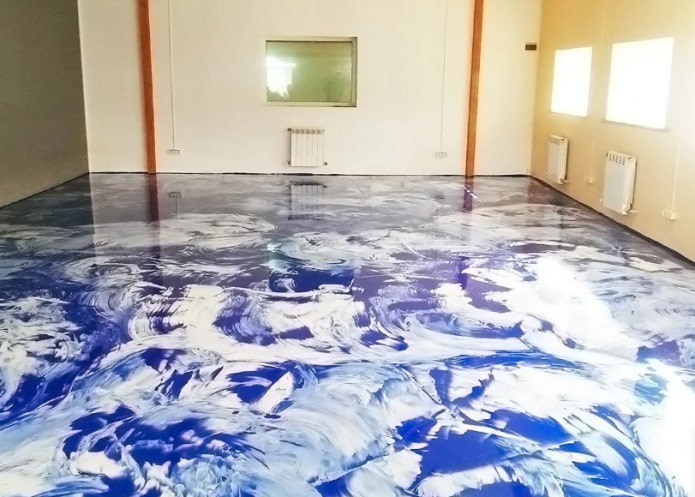
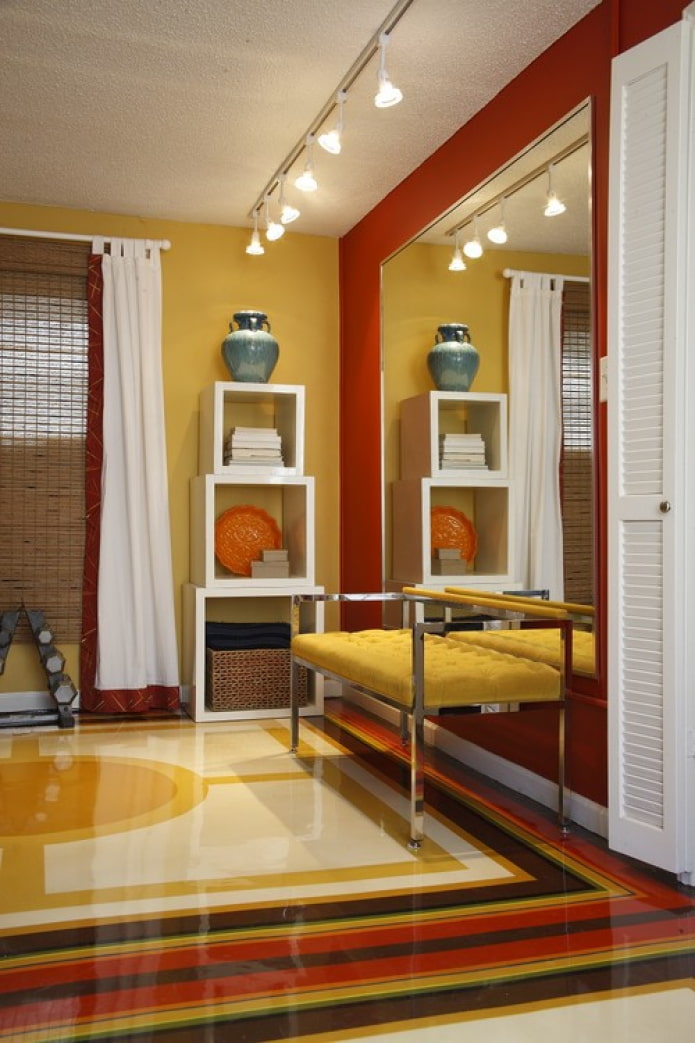
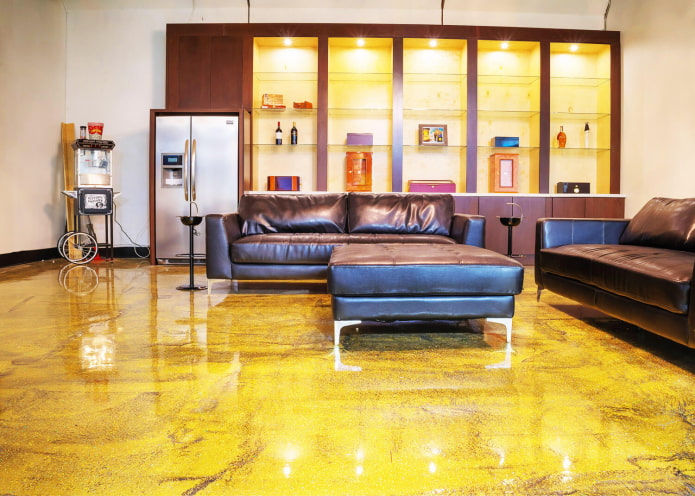
In the photo, an abstract composition for the living room
- Base... When the primer is dry, pour the base polymer from window to door. Do not rush - pour a strip of 30-40 cm, distribute the composition with a roller with needles to a thickness of 2-3 mm, wait 3-5 minutes, repeat with a new strip.
- Picture... After drying, gently glue the fabric with the photo. If it does not have a self-adhesive backing, use polymer as glue.
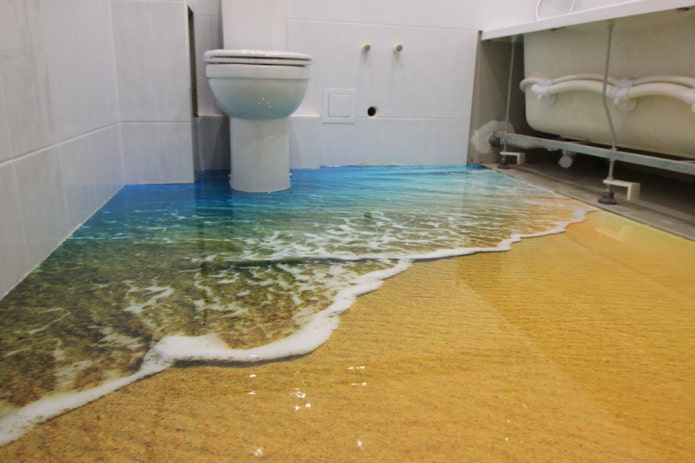
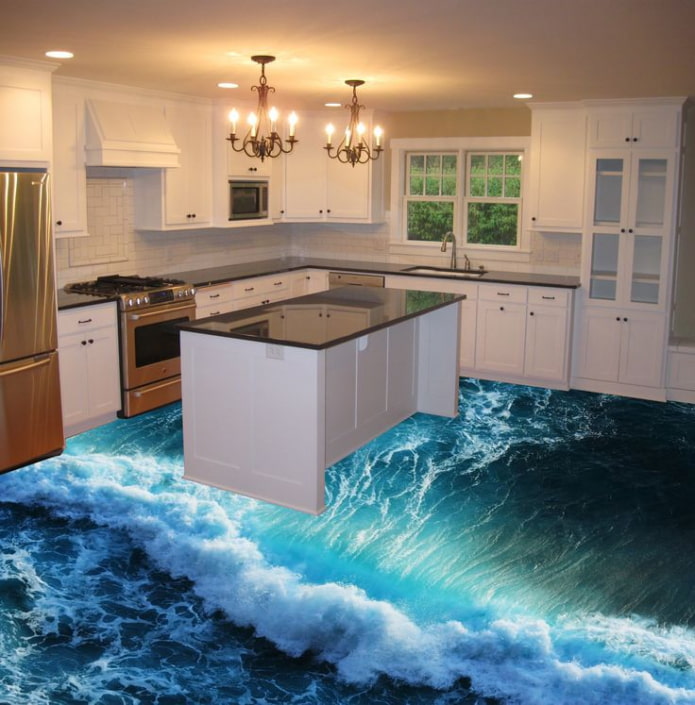
The photo shows the sea surf in the bathroom
- Finish... The top coat is applied with a thickness of 1-3 mm in the same way as the base. The time for complete drying depends on the type and manufacturer - read the instructions on the package.
Care features
The service life of a self-leveling floor depends not only on high-quality styling, but also on further care:
- Learn the characteristics of your material: polyurethane and epoxy can be cleaned with anything, and methyl methacrylate is afraid of rough brushes and aggressive chemicals.
- Place pieces of cloth or paper under the furniture legs before rearranging. Place soft buffers on chairs and tables to prevent accidental scratching.
- Do not walk on the surface with high heels and hard soles - better with bare feet, in socks or soft slippers.
- Polish the finish with a special wax or mastic 1-2 times a year to keep it smooth.
Design ideas for 3D floors in the interior
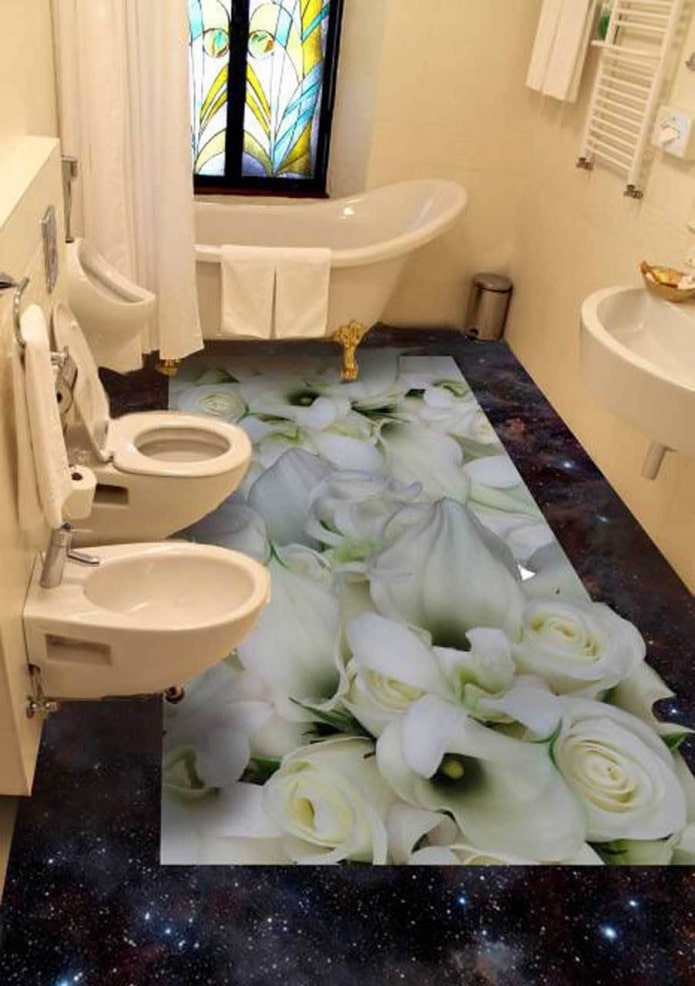
The design of the self-leveling floor covering is chosen based on the functionality of the room. A marine theme is suitable for a bathroom, flowers for a living room or bedroom, an abstraction for a kitchen.
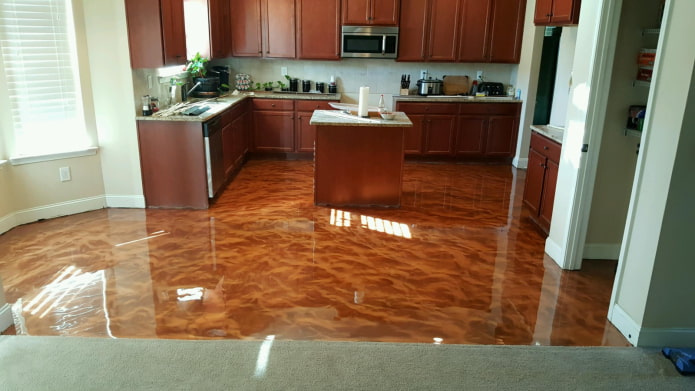
Photo of self-leveling floor in the kitchen
Due to the absence of seams and joints, it is the ideal solution for keeping the food preparation area clean and tidy.Depending on the style of the interior, choose floral motifs, images of animals, natural and urban landscapes. Imitation of sand, concrete, metal looks beautiful.
A selection of photos of the self-leveling floor in the bathroom
The self-leveling floor in the bathroom is preferred primarily due to its characteristics: hygiene, resistance to moisture and temperature. Images of the depths of the sea, waves, river sand look the most interesting. Combined with heating, you will feel like you are entering a warm sea.
Self-leveling floor on the balcony
Many owners use this coating for a loggia, because it is not afraid of sub-zero temperatures, water and does not require careful maintenance. Use as a rough finish (for linoleum, tile or laminate) or a fine finish.
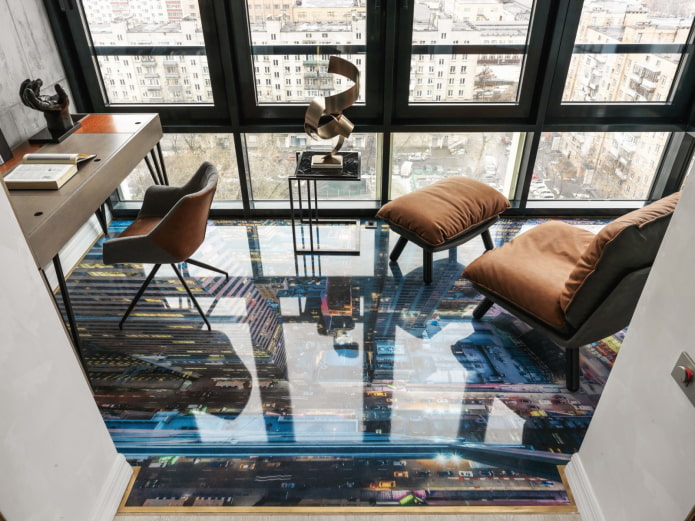
The photo shows an example of a cityscape for a loggia
Self-leveling floor in the toilet
The advantages of pouring in a separate bathroom are the same as in a piece-work one. The choice of image is also no different - sea, grass, pebbles.
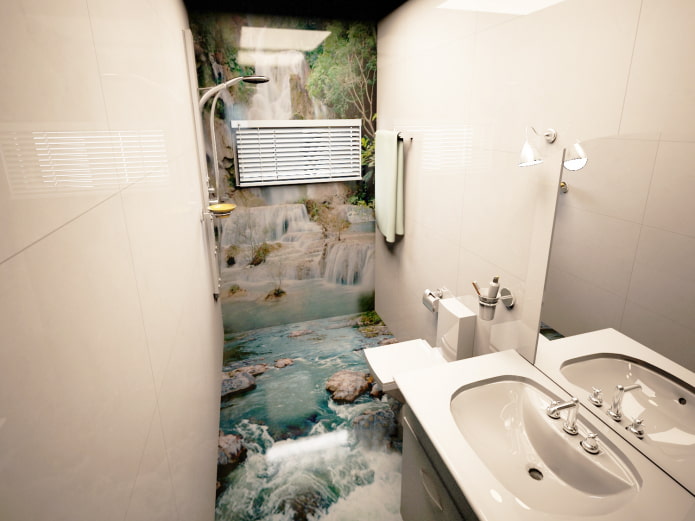
In the photo there is a volumetric composition on the floor and wall
Examples in the interior of the hallway
Choose a non-slip coating to prevent falls in wet shoes. For the corridor, the most neutral colors and patterns - imitation of stone, concrete, wood, pebbles, grass, sand.
Living room ideas
Self-leveling floor in the living room is a rarity, because easy-to-clean and waterproof materials are not needed here. However, a flower arrangement, city panorama or optical illusions can become a design highlight of the hall.
The photo shows an unusual textured floor in the guest room
Photos of floors in the bedroom
When choosing a photo under the self-leveling floor in the bedroom, do not forget that this room is intended primarily for relaxation. The views of nature - rivers, grass, trees - soothe. The imitation of marble will successfully fit into the classic interior, and the rough stone will fit into the loft.
In the photo, imitation of masonry using polyurethane
Photo gallery
We talked about the main types and shared a simple instruction for self-assembly of the floor covering. For more photos of the self-leveling floor, see the gallery.

 10 practical tips for arranging a small kitchen in the country
 12 simple ideas for a small garden that will make it visually spacious



 13 bad habits a good housewife shouldn't have
 24/7 home cleanliness - 4 secrets for the perfect housewife
 6 hotels in Sochi that will give odds to the promoted foreign hotels
 Top 10 interior design trends 2020
 Rating of cheap TVs with Smart-TV
 New Year's LED garlands on AliExpress - we disassemble while it's hot, so that it's bright at home