Why does laminate flooring creak?
If the laminate crunches and creaks, look for the reason in one or several factors at once:
- an initially low-quality laminate was purchased with unusable locks and a curved geometry;
- the climatic conditions of use are violated;
- the laying technology was not followed;
- the floor has not been leveled;
- no technical gaps are left;
- the backing is too thick;
- the cleaning of dust, debris was incorrectly carried out during installation;
- changes in temperature and humidity occur.
How to remove a squeak indiscriminately?
Why does the laminate creak, how to fix this problem without dismantling? If the reason lies not in serious violations of the laying technology, perhaps simpler, faster methods will help you.
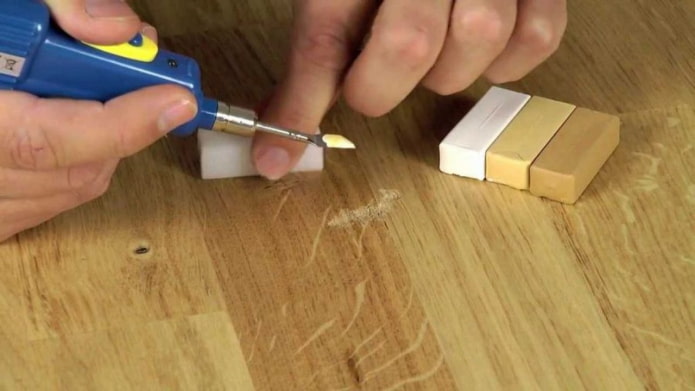
- Paraffin candle. Melt it, pour wax in the places where the sound is heard. If there are gaps between the joints, the spark plug can become a sealant. Processing with a soft spatula will close them and protect them from water and debris.
- Polyurethane foam. It will help with the bending of the floorboards. Put on the nozzle, shake the can, pour foam under the boards in the place where it squeaks. Wait until it dries completely, remove residues from the surface with a special solution. This method is quite simple, but not very effective - everything will be in order until the foam subsides. And it will happen very quickly.
- PVA glue. Used as a foam substitute. Drill a 0.5 mm hole (one or more) in the place of unpleasant sound, remove debris, use a syringe to pour glue into the hole. Until completely dry, do not step on this place, it should stop creaking.
- Butter. Life hack is exactly the same as with PVA glue - drill the floor, fill it with a syringe. Plank lubrication works great on sills and other places with constant stress.
The photo shows a colored wax, with which you can seal drilled holes
Best Ways to Eliminate Squeak
If the root of all evil lies in poor quality materials or faulty installation technology, most likely the floor will have to be disassembled and re-laid. But don't be in a hurry with this decision!
Dismantling is not the only way to eliminate the squeakiness of your laminate flooring. Understanding the cause of the unpleasant sounds in the future will help determine the simplest low-cost option for getting rid of.
We get rid of the creak due to uneven floor
Poor preparation of the base will lead to one result: the laminate creaks. Any pits or bulges appear when walking, spoiling the geometry of the laminate floor.
Unfortunately, the floor will have to be disassembled to fix the uneven base. How much depends on the scale of the problem.
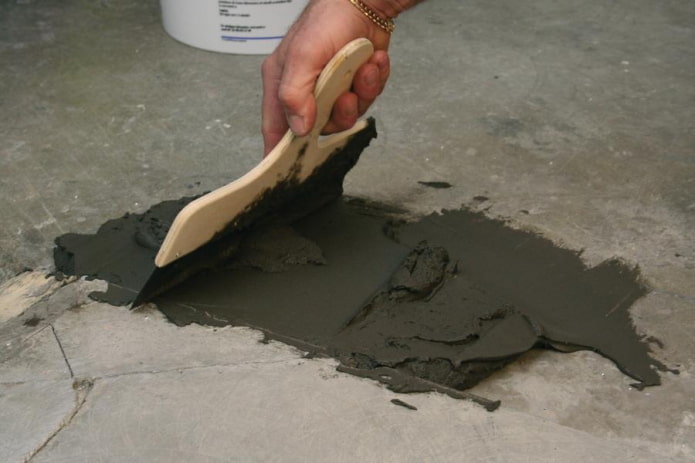
If the laminate creaks in one place, take it apart, cement the cavity or sand the bump, let it dry, put the boards in place.
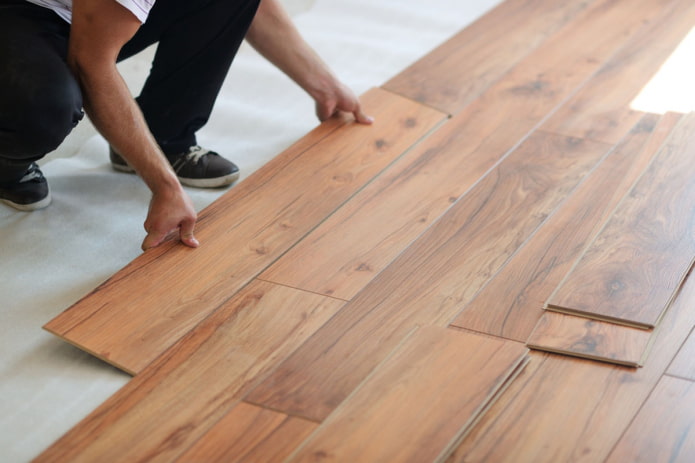
If the sound is all over the floor, it is necessary to dismantle the floor covering, level it - it is best to use the pouring method, lay the underlay, lay the planks on a new one.
Important: Lamellar lamellas cannot be returned to their place; they must be replaced with new ones.
Watch the video to find out why you shouldn't install laminate flooring on uneven surfaces yet.
What if my laminate squeaks due to the thermal gap?
When the laminate creaks not constantly, but with a change in the temperature or humidity of the room, remove the skirting boards and check the condition of the technical gaps.
Laminate boards tend to expand / contract with climatic fluctuations. If during the laying of the laminate you do not leave the distance between the coating and the wall or leave insufficient, when expanding the planks will quickly abut against the wall. The surface begins to creak, to stand on its feet in some places.
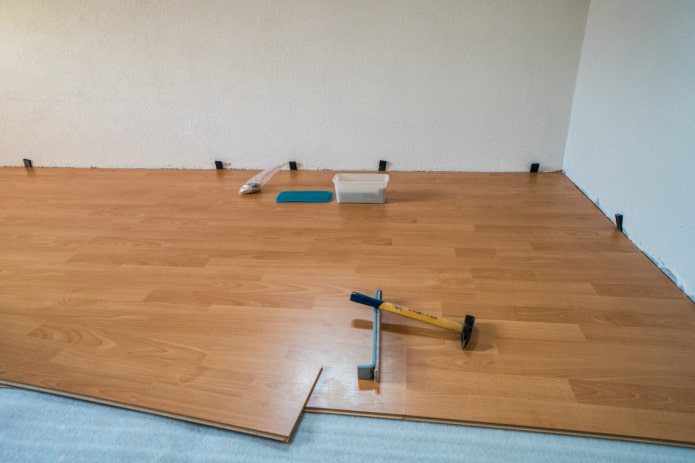
In the photo, one of the ways to leave gaps when laying a laminate board
Asking why the laminate creaks, first of all check the climatic gap near the walls and pipes for compliance with the standards:
- the correct gap for most rooms is 1 cm;
- the distance from the board to the pipe is 1.5 cm;
- the gap between the floor and walls in wet and large rooms is 1.5 cm.
If this is causing the laminate to squeak, the solution does not require dismantling. Masters advise to eliminate this problem by cutting the boards to the required width around the perimeter of the room. At long distances, a grinder, a jigsaw will help - saw off carefully so as not to damage the wall and floor. Cut the laminate around the pipes with a sharp knife.
We remove the creak of laminate locks
Tension in locks is another reason for creaking. If the problem is in it, then an unpleasant sound will appear almost immediately after installation. This is due to the fact that the flooring adjusts to the surface of the base, traffic, room climate.
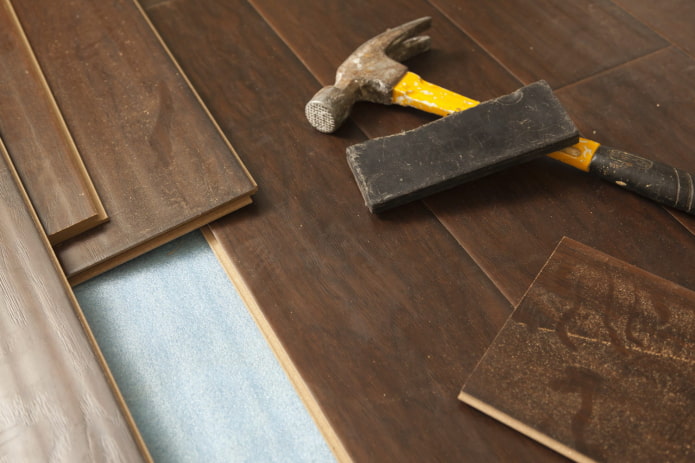
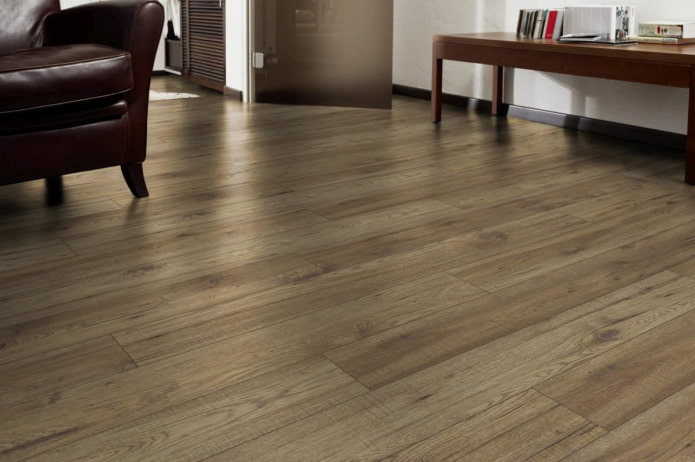
The photo shows an example of a laminate floor. After laying, 2-3 months should pass for the lamellas to take their final shape and stop creaking.
When the floor settles down, takes on its final shape, it will stop creaking by itself. This usually takes up to 3 months. If this does not happen - first of all, check the presence, size of climatic gaps, following the instructions from the previous paragraph.
How to remove squeaky laminate flooring due to leftover debris?
If the laminate floor squeaks when walking, sand and other debris may be the cause. Dust does not arise by itself, but remains after installation in haste - without thorough cleaning before, during, after installation.
A loud crunch will indicate that sand has got into the locks of the laminate floor. Do not delay the repair of the coating: small debris can lead not only to extraneous sounds, but also damage to the locking joints.
As a rule, it will not work here to remove the creak of the laminate without disassembling - the lamellas will have to be removed, the substrate removed, the base is cleaned of debris, the lamellas have to be put on a new one. To avoid confusion during re-installation - number each part before disassembling.
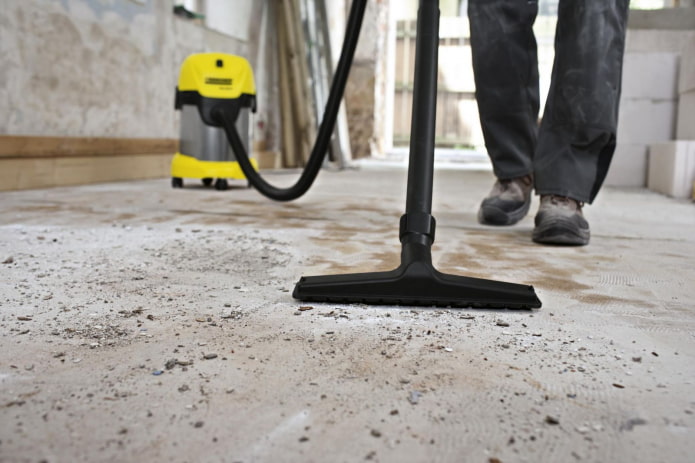
The photo shows a construction vacuum cleaner that will facilitate cleaning the screed from debris and dust
A crumbling screed can also lead to a build-up of dirt and squeaks in the laminate flooring. To correct the mistake, the coating is disassembled to the place where it creaks, poured with cement, leveled, dried well, primed. If you are not sure what you can handle, call the master for the lighthouse screed.
Proceed with styling after completely dry. Thoroughly clean the base before starting, and while vacuuming each strip.
How to fix squeaky laminate if the backing is too soft?
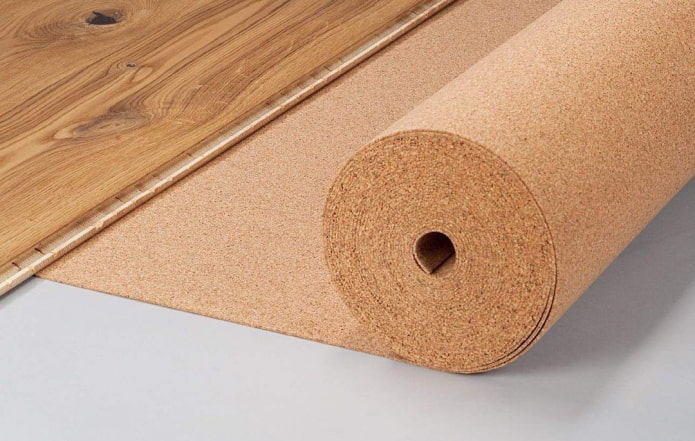
The underlayment is the most important layer of the finished floor. It smoothes out small irregularities, protects the laminate floor from water and moisture, dampens noise, insulates sound and heat. But bigger doesn't mean better. You should not try to solve the shortcomings of the screed, make an even floor with a thickened gasket. Too thick substrate will settle, the laminate will begin to bend on it, its locks will fail, and it will certainly begin to creak.
Pictured is a thin cork backing for laminated panels
The optimum thickness depends on many factors. Including the type of laminate, the operating conditions, and the backing material.Most often, the manufacturer indicates the most suitable option on the packaging with panels.
Thickness versus material:
- cork - 2-4 mm;
- coniferous - 4 mm;
- foamed - 2-3 mm.
Thickness versus laminate:
- standard 8 mm panels - 2-3 mm;
- thin 6-7 mm - 2 mm;
- thick 9-11 mm - 3-5 mm.
How to fix laminate squeaking due to backing? Change! It will be necessary to completely dismantle the coating, replace the old gasket with a new one and re-lay the lamellas.
How to avoid creaking?
The surest option how to remove the creak of the laminate is to initially do everything to avoid it. To do this, you need to know the intricacies of laying this coating and follow the rules.
- Do not use laminate flooring immediately after purchase. Like linoleum, it needs to lie down in the room where it will be bedded. Just leave the boards horizontally for 24 hours in summer and 48 hours in winter at room temperature. When they are in their final shape, they are ready to be laid.
- Buy high quality laminated flooring. Saving on materials can result in many problems: from creaking and crunching, to deformation, bulging. More expensive laminate will last much longer without any complaints.
- Prepare the base carefully. Self-leveling floor or cement screed must be perfectly leveled, smooth and durable. If the surface crumbles, you will definitely hear a crunch under your feet. And irregularities and defects will manifest themselves by sagging, swelling of the boards.
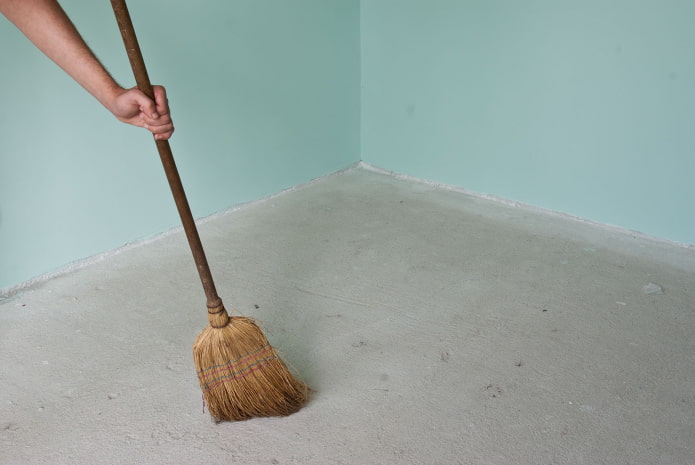
The photo shows an example of high-quality installation: perfectly flat and clean concrete floor, correct thin underlay
- Choose the right underlay. The most wear-resistant option is cork. It will not bend under the yoke of furniture even after several years, but it is not suitable for use in damp rooms. The most profitable is foamed, but it can deform, become thinner. Eco-friendly softwood bark is often too thick, therefore only suitable for compacted laminate. The optimum substrate thickness for use in an apartment is 3 mm.
- Keep it clean. Clean the area before installing the underlay and before installing the panels. Keep a vacuum cleaner handy during installation and remove dust as often as possible. If possible, cut in a separate room.
- Leave thermal gaps. We have already mentioned the ideal distance between the wall and the boards - 1 cm.In case of high humidity and temperature, increase it by 50 mm. In large rooms, gaps are also left between the boards themselves, covering them with decorative strips.
Before starting work, study not only the rules, but also take into account other people's mistakes:
Preventing a problem is much easier than getting rid of the squeak after styling. But if you are faced with the problem of extraneous sounds, do not delay the solution. Time can only aggravate the situation, increase the cost of correcting errors.


 10 practical tips for arranging a small kitchen in the country
 12 simple ideas for a small garden that will make it visually spacious

 13 bad habits a good housewife shouldn't have
 24/7 home cleanliness - 4 secrets for the perfect housewife
 6 hotels in Sochi that will give odds to the promoted foreign hotels
 Top 10 interior design trends 2020
 Rating of cheap TVs with Smart-TV
 New Year's LED garlands on AliExpress - we disassemble while it's hot, so that it's bright at home