Before the beginning installation of laminate on the floor, you should make sure that the subfloor in the room is level. This can be verified with a level. If the floors are uneven, they will need to be leveled, for example using dry screed technology. And if there are small depressions and potholes, then for correct laying of the laminate, they can simply be putty with a special solution.
And so, you did the preparatory rough work, bought the required number of packages with laminate and it was delivered to you on site. Do not rush to immediately open the packaging and start laying it. By technology for laying laminate on the floor this flooring needs to get used to the temperature conditions of the room. Let your packages sit for 1-2 days indoors.
To install the laminate on the floor, you will need:
- laminate,
- laminate backing,
- jigsaw or face saw,

- a hammer,
- limiters,
- roulette,
- square,
- masking tape,
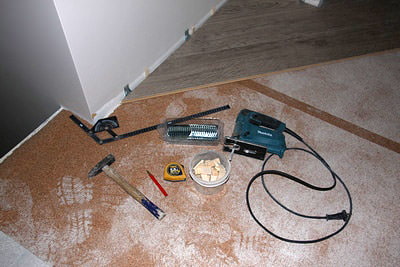
For correct laying of the laminate, spread the laminate backing on the prepared base of the floor, and connect all joints with adhesive tape.
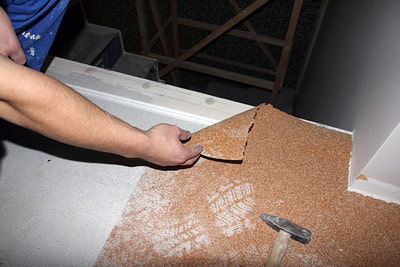
It is better if it is cork, it will protect your laminate from moisture, add additional heat and sound insulation, and also hide minor irregularities in the floor.
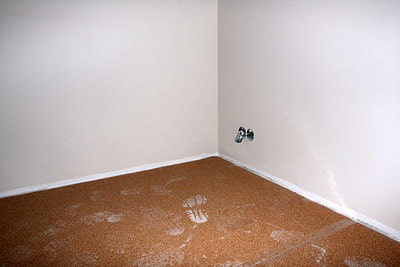
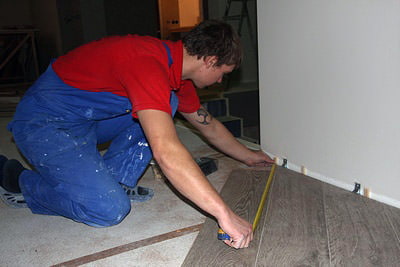
Adhering to technologies for laying laminate on the floor, start laying the 1st horizontal row of the laminate from the corner of the room, joining the boards with their ends. Further alignment along this row will be very important to collect it correctly. When you get to the last board in this row, measure its length and cut it taking into account the gap. Remember that for correct laying of the laminate, it is imperative to take into account the gap between the laminate and the wall at both ends of the row, the minimum is 8 millimeters.
Now the remaining piece of laminate from the 1st row, if it is at least 20 centimeters long, will go as the first board in the second row. Staggered laying saves material and makes the laminate flooring pattern more effective. This technology for laying laminate on the floor makes end seams less visible.
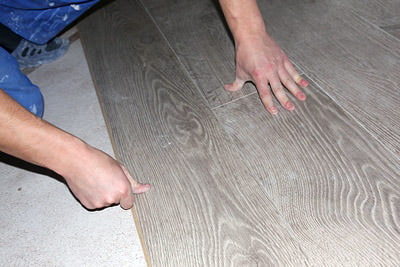
If you want to make a break in 1/3 of the board, then cut off 1/3 of the board and start the 2nd row from it. The disadvantage of this option is that there is no savings in the laminate, a lot of material is spent on trimming.
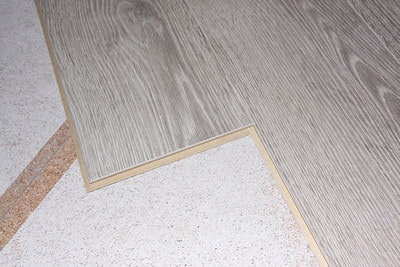
The next row is assembled in the same way as the 1st row.
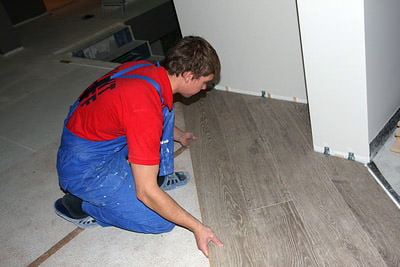
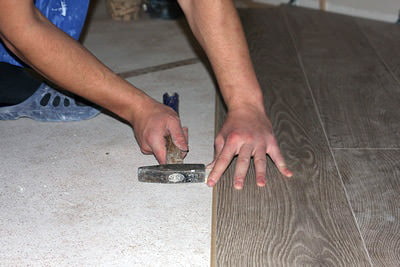
Connect both rows, if necessary, knock them out with a guide and a hammer.
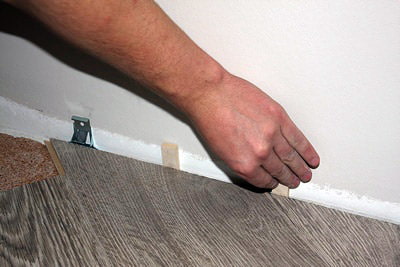
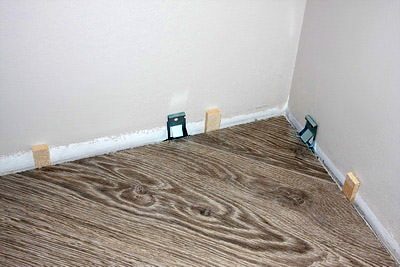
Move the resulting surface from the floor to the wall and place the wedges, for which you can use the remnants of the laminate.
Also consider the unevenness of your walls when installing the wedges. They may need different thicknesses.
Next, the process installation of laminate on the floor, occurs in the same way.
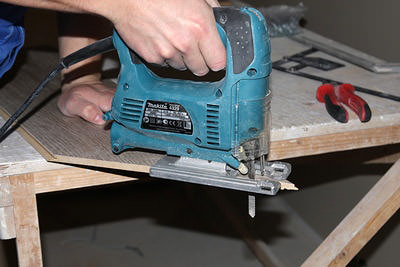
When you get to the last strip, it may not fit between the wall and the finished laminate surface. Measure in several places the distance between the wall and the finished laminate. Use a pencil to draw the desired marks on the laminate strips and saw off with a jigsaw. Install as before, leaving the required clearance.

 10 practical tips for arranging a small kitchen in the country
 12 simple ideas for a small garden that will make it visually spacious
 What is better not to do it yourself during the repair?
 Bloated linoleum: how to fix it without disassembly
 The worst decisions in apartment renovation
  Installation of ceiling tiles: choice of materials, preparation, order of work
 How to glue a ceiling plinth to a stretch ceiling?
 Ceiling plinth for stretch ceiling: types, recommendations for selection