What color to paint?
To make the room look more spacious, the surface of the ceiling should be lighter than the floor, and the shade of the walls should be intermediate between them. The choice of color is determined by personal preferences, style of room decoration, harmony of color combinations. When painting, it is also important to take into account the characteristics of each room.
- Light shades (cream, blue, white) are suitable for the corridor. Often, the hallway is characterized by insufficient illumination due to the lack of windows. Painting the ceiling in a light color allows you to visually increase the area of the room.
- When decorating a kitchen, you can paint in rich colors, which should not be too oppressive and saturated. You can choose the color of the ceiling paint in herbal green, coral, sand shades. Warm colors are believed to improve appetite, which is important when decorating a kitchen.
The photo shows an example of a painted ceiling in a white kitchen. Bright orange sets the tone for the environment, filling it with warmth and comfort.
- For the decoration of the bedroom, pastel shades are used, which helps to create a calm, relaxing atmosphere. Coloring in rich colors should be done with care in this room.
The color of the ceiling can match the color of one of the walls, as shown in the photo. This contributes to the creation of an enveloping atmosphere, which is important when decorating a bedroom.
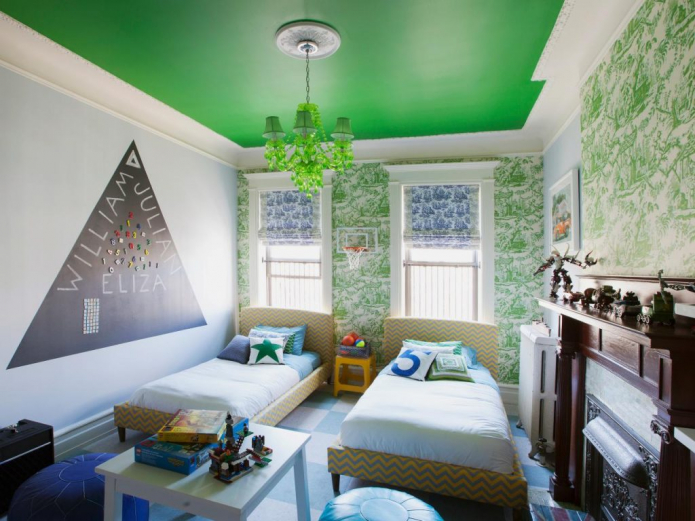
Bright colors are suitable for the nursery. A combination of several colors will look interesting.
The photo shows how a rich green hue decorates the interior of the nursery. This color is successfully used in room decoration and decor.
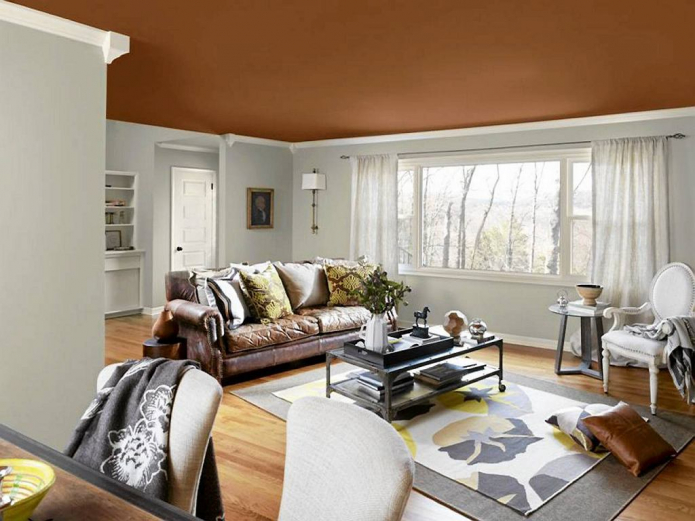
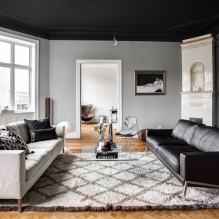
Depending on the style of decoration of the living room, it will be appropriate to paint both in light colors and in rich deep shades.
The cream ceiling in the living room looks fresh and original, as you can see in the photo. Its tone differs from the walls, echoes the tone of the floor and is in harmony with the decor of the room.
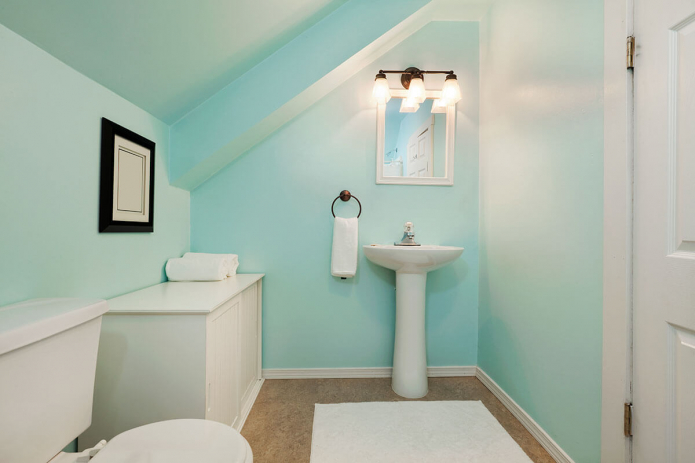
In the bathroom, the ceiling can be made in white, pastel or rich colors. Since bathrooms in most cases have a short size, you can choose bright colors only if the walls are not overloaded with decor.
The dark ceiling in the bathroom, combined with the floor in deep shades and the walls in subtle colors, creates a small space with a cozy enveloping atmosphere.
With an abundance of such colors in the decoration, it is necessary to correctly organize artificial lighting so that the room does not seem too cramped and gloomy.
The photo shows an example of painting the ceiling and walls in the same tone. Such a finish looks advantageous in rooms of complex shape, since lines that break the space are not visually created.
Matt paint will be an excellent choice in most cases.It is necessary to use such material with caution if the color of the ceiling matches the wall. To visually differentiate these surfaces and make the room more spacious, the texture must be different.
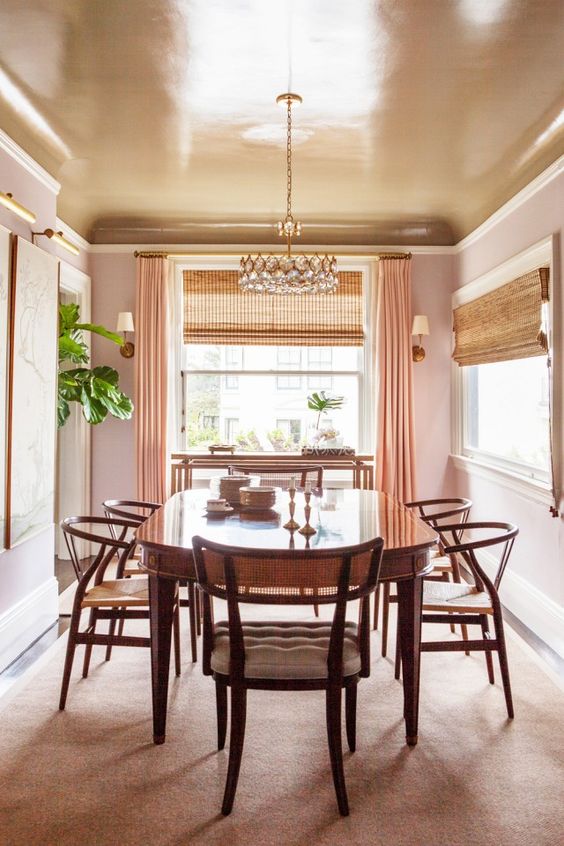
Glossy the coating helps to cope with this task. Due to its ability to reflect light, it visually enlarges the space, however, the gloss gives out all the irregularities on the surface of the ceiling, therefore, before using such a composition, it is necessary to carefully prepare the ceiling for painting.
The glossy finish helps reflect light. The walls visually become higher, and the play of textures makes the decoration more attractive.
Semi-matte and semi-gloss formulations are compromise options that combine the advantages of both types of paint.
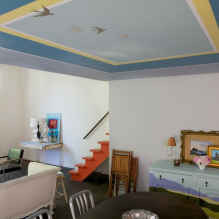
The photo on the right shows the interior of the kitchen-living room with a matte blue ceiling. A rich dark tone echoes the color of the furniture. Pastel walls compensate for the abundance of bright details, making the interior look balanced.
What paint to paint?
Different types of paint are used to paint the ceiling. Their characteristics and scope are determined by the framework. Distinguish between water-based coatings (water-based) and coatings based on varnishes, oils and drying oils (oil).
Water-based paints are used for painting concrete, plastered and brick surfaces. It dries quickly, has almost no smell, has good adhesion. You can even wash a tool after a water emulsion with water, and working with it is not hazardous to health. Among such finishing materials, there are:
- Acrylic paints that create a waterproof film and hide cracks up to 1 mm.
- Silicate paints that are durable and resistant to changes in humidity and temperature.
- Silicone coatings suitable for damp areas and preventing the growth of fungi.
- Mineral paints containing lime or cement. Such a coating is easily dirty, scratched and washed off.
Water-based paints hide small defects and irregularities, are easy to apply and have a long service life. The use of such materials allows you to achieve excellent results.
Oil formulations and enamels have a low price. A pungent odor, a long drying time, low vapor permeability and a tendency to form cracks make you think about the feasibility of such savings.
Paints are classified as washable and non-washable. To choose what paint to paint the ceiling surface, you need to decide whether it will be exposed to moisture and cleaned with household chemicals.
What can be painted: choosing tools
The choice of tool affects the finishing process and the result of painting. For work, the following devices are used.
- Brush... When painting the ceiling with a brush, the result is sloppy streaks. In addition, hands can become numb when working with the brush.
- Foam sponge... Sponge stains may leave unsightly stains.
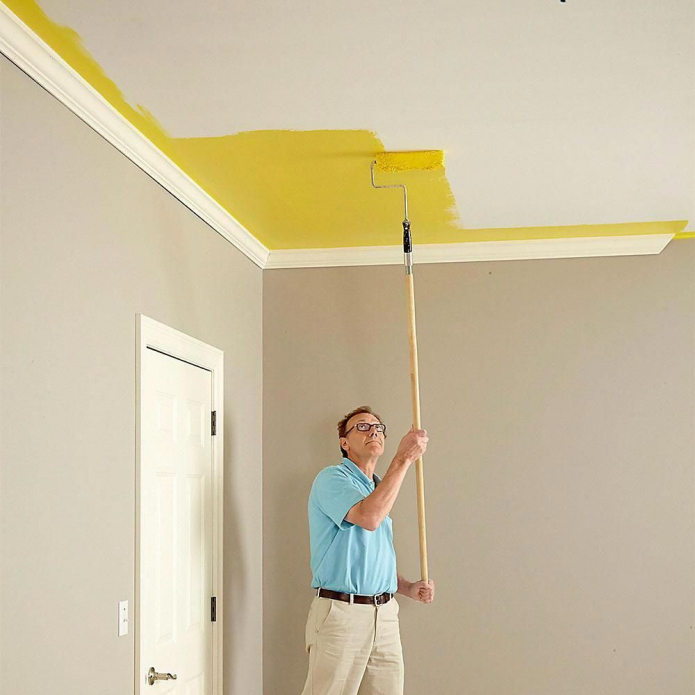
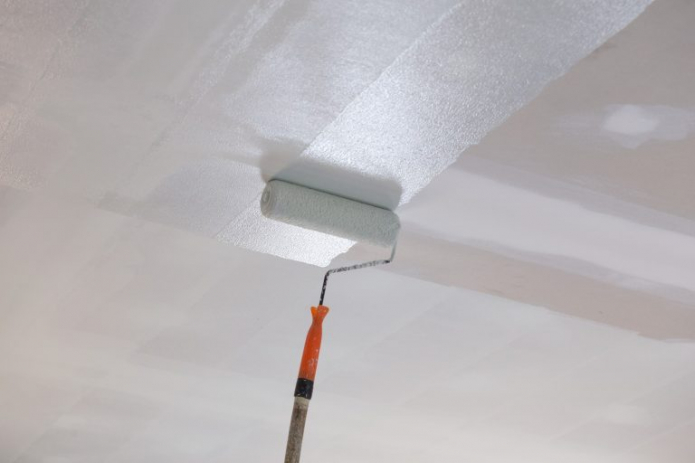
- Roller... The best option is a roller with a long handle and short nap. The velor roller allows you to create a coating without side stripes, however, its surface does not absorb paint well, so it becomes necessary to dip the tool into the tray more often. The foam roller contributes to the appearance of small bubbles, which must be smoothed out in the future.
- Spray gun... The tool is useful when painting a large area.
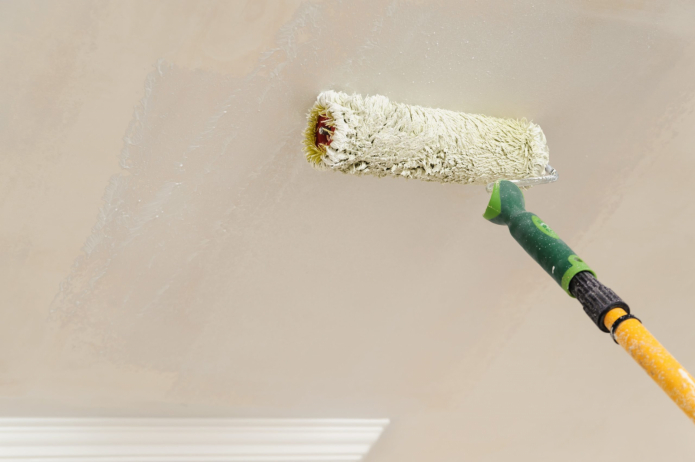
Thanks to the long handle of the roller, the working speed is increased. The short nap provides good absorbency, which results in an even distribution of the paint over the ceiling.
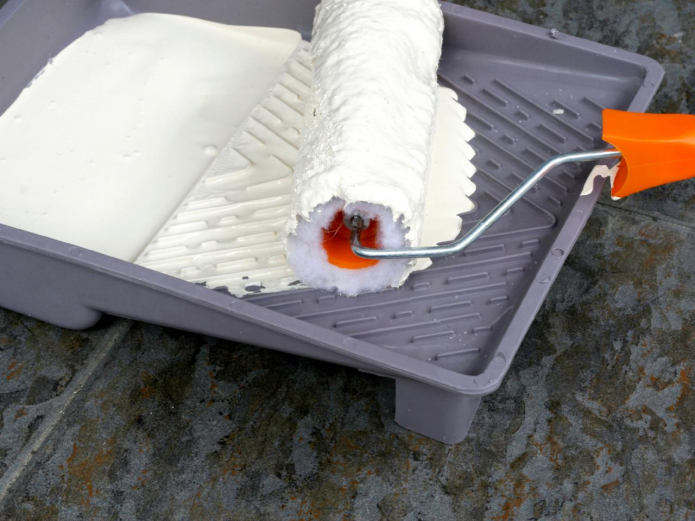
To paint the ceiling in an apartment, it is best to use a roller. Ease of use and affordable price make it an ideal choice for painting. A variety of options, differing in materials, surface widths and pile lengths, allows you to choose the most suitable tool.Painting will also require masking tape and paint trays.
How to paint yourself?
To paint the ceiling with your own hands, you do not need to have experience in doing this kind of work. Subject to simple rules, the finish will delight you with its appearance for a long time.
Staining rules
- Provide good lighting to control the progress of the painting.
- Following the manufacturer's recommendations, it is necessary to observe the temperature conditions during painting and avoid drafts.
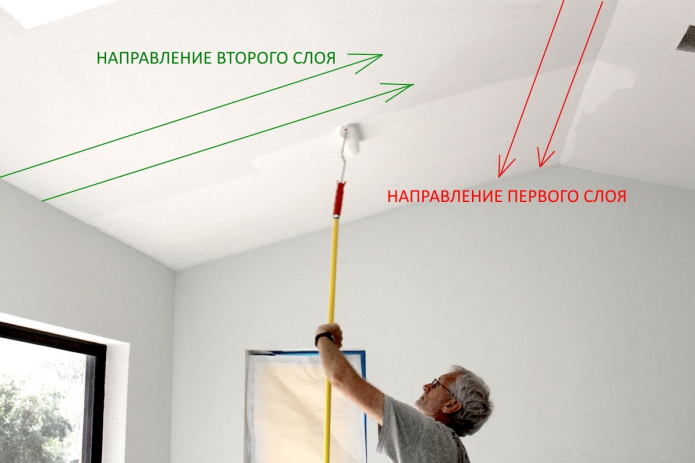
- Painting should start from the corner farthest from the door, that is, from the window. If painting is done in two layers, the first one is applied along the window, the final one - across, that is, in the direction of light.
- To avoid the appearance of streaks, do not turn the roller upside down during the painting process.
- It is not permissible to interrupt work until the layer is completely applied. Stops lead to drying out of the coating at the joints of the painted and unpainted surfaces. Uneven areas are striking in good lighting conditions.
To avoid unpainted areas and irregularities, you need to work quickly. It is necessary to correct the shortcomings before the paint has frozen. In this case, you can get an excellent painting result.
- It is necessary to constantly monitor non-stains and thickenings and eliminate them even before the coloring layer dries. It is better to inspect the ceiling from different angles before applying a new batch of paint.
- If possible, a new roller should be used for each coat to improve the quality of the paint.
Ceiling preparation
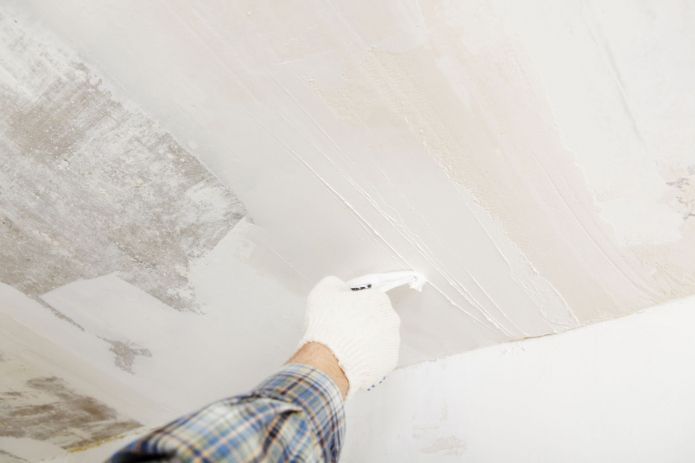
Before painting the ceiling, you need to prepare the surface for painting. In order for the paint to lay down smoothly and evenly in the future, you must adhere to the following sequence of actions.
- First you need to get rid of the old whitewash or paint on the ceiling.
- Plastering work must be done to seal the joints between the floor slabs and eliminate cracks and irregularities.
- The next step is to apply a primer.
- Next, you should carry out the filling for painting. Especially carefully you need to approach the choice of materials if you have to putty a plasterboard ceiling for painting.
- Finally, sand the surface with fine-grained emery paper.
Step-by-step instructions for painting the ceiling with water-based paint
In accordance with the technology of painting the ceiling with water-based paint, it is necessary to carry out the work in the following order.
- Stir the paint. To avoid the appearance of small lumps, you can filter through cheesecloth folded in several layers.
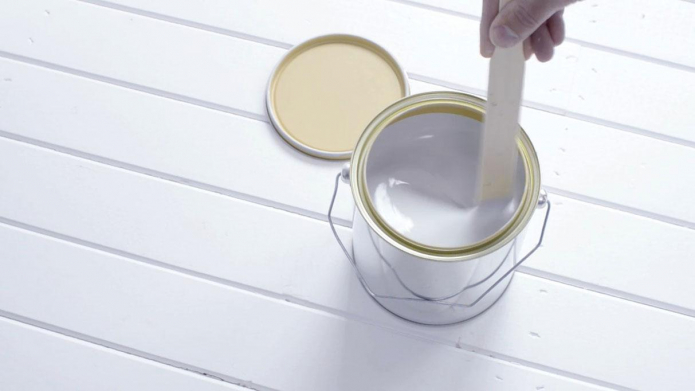
- Place the roller in the paint tray. It is necessary to roll the tool several times along the ribbed side so that it is evenly absorbed.
- The first layer should be applied parallel to the window, the second - perpendicular. It is better to run the roller from the wall to the window in order to be able to evaluate how the paint is applied.
- Roll the roller with a 5-10 cm wide overlap over the previously applied strip of paint. To provide the required force, the angle between the tool handle and the surface to be painted should be no more than 45 degrees.
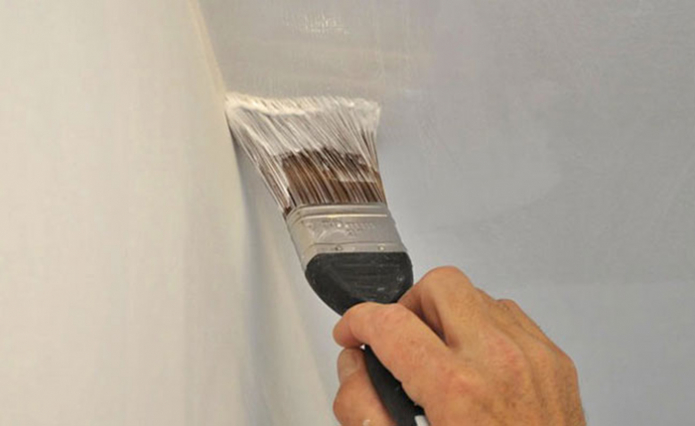
- Carefully paint the joint between the walls and the ceiling, the places behind the heating pipes with a brush.
- If after two layers you can see streaks and unpainted areas, you need to apply the third one. For the previous layer of paint to dry, you need to wait about 12 hours.
Video tutorial
The following video describes the features of painting the ceiling. Compliance with the recommendations from the video tutorial will allow you to avoid mistakes in work.
Ideas for painted ceilings in the interior
A bright ceiling will serve as an accent or harmoniously support the color scheme of the room. The following ideas will help make the finish even more original and expressive.
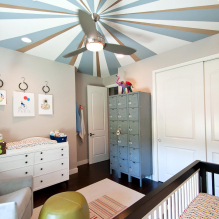
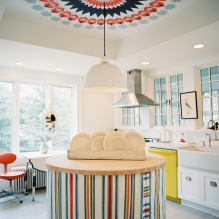
- When painting, you can create simple geometric patterns or stripes. This will require two or more shades. You can mark the areas to be painted using masking tape.
- You can paint around the chandelier.A floral or geometric ornament looks unusual, so it will become a real decoration of the room.
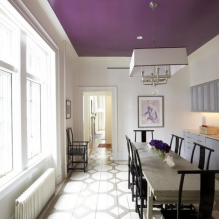
- The ceiling can match the color of the accent wall. This will create the feeling of a canopy. This painting technique visually stretches the space, riveting all attention to the painted area.
Ceiling painting is an easy way to refresh your home. The tips, photos and video tutorials proposed in the article will help you think over the design and do the simple painting work yourself.

 10 practical tips for arranging a small kitchen in the country
 12 simple ideas for a small garden that will make it visually spacious









 What is better not to do it yourself during the repair?
 Bloated linoleum: how to fix it without disassembly
 The worst decisions in apartment renovation
  Installation of ceiling tiles: choice of materials, preparation, order of work
 How to glue a ceiling plinth to a stretch ceiling?
 Ceiling plinth for stretch ceiling: types, recommendations for selection