Pros and cons of a built-in refrigerator
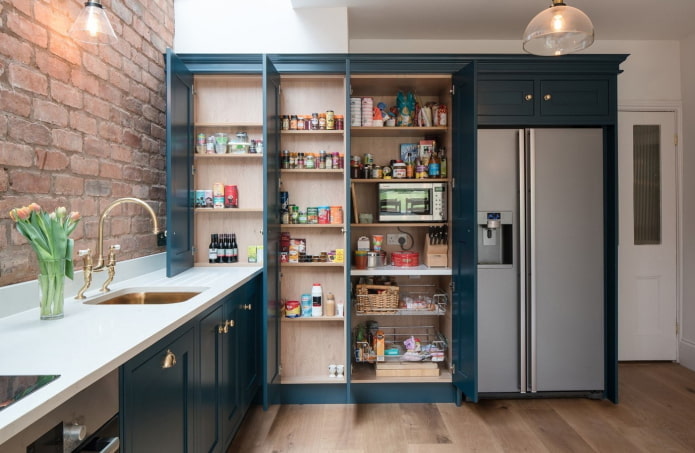
The refrigerator built into the kitchen has a lot of advantages:
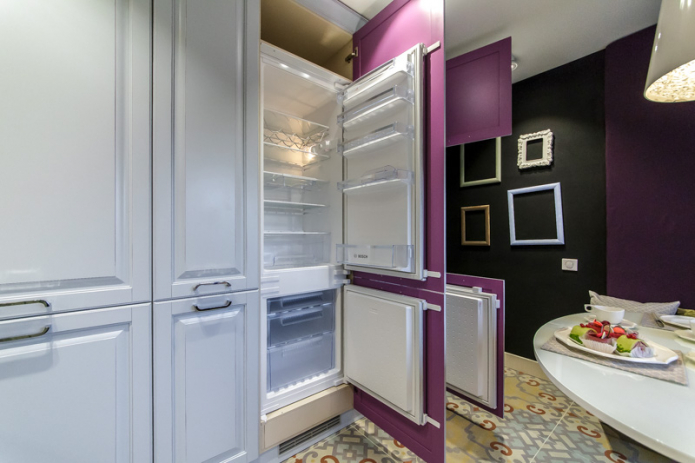
- Fits perfectly into the interior, no matter what color it is made.
- Helps to save time and money on finding a suitable unit in style and design.
- The consumption of electricity is reduced due to the thermal insulation properties of the box.
- The noise level during operation is reduced.
- Suitable for small kitchensas it doesn't look too bulky.
Unfortunately, by building an ordinary refrigerator into a closet, you will not solve all problems. After all, this method also has a number of disadvantages:
- "Eats up" more space than a free-standing model, due to the box being erected around it.
- Poorly made ventilation can cause excessive energy consumption.
- Relatively short service life of the device due to aggressive working conditions.
Important! If you are going to integrate a simple new refrigerator into the headset, please note: during installation, its body will have to be drilled, and this will automatically cancel the factory warranty.
Why do many experts advise to build in a classic refrigerator instead of a special one:
- Standard models are more spacious.
- Manufacturers offer more filling options.
- Prices for conventional devices are 30-50% lower.
If the pluses in your understanding outweigh the minuses, we suggest figuring out how to hide the refrigerator in the closet.
We build an ordinary refrigerator into the closet: step by step instructions
First, think again and compare the built-in and conventional refrigerator. The second one definitely wins in price, it is cheaper. And in size - the building has more compact dimensions. But at the same time you do not have to invent anything, tk. built-in appliances are designed specifically to be hidden.
There are two ways to build the unit: order work from professionals, for example, together with the kitchen: they will make measurements themselves, make furniture and install them. Or you can do the same with your own hands.
To build an ordinary refrigerator into a kitchen set yourself, evaluate the model you already have: take general measurements, separately mark the height of the lower and upper doors. Transfer the numbers to paper.
The next step - design of the frame. Several requirements for the design into which the device can be built:
- the door should open to a full angle to make it more convenient to use the refrigerator;
- the back wall must be removed, leaving room for ventilation;
- there must be sufficient distance between the floor and the bottom of the refrigerator, taking into account the free opening;
- the inner width of the frame is made 7-10 cm larger than the refrigerator - this is necessary for air circulation and high-quality cooling without overheating;
- the outer width of the structure depends on the free space in the niche - but it cannot be less than the width of a conventional refrigerator + 10 cm;
- the depth should preferably not be wider than the table top.
At the design stage of a suitable module, you must clearly understand exactly where it will stand: it depends on which direction the door opens and exactly how much free space you have.
When the technical drawing on paper is completed and the exact dimensions of each part are known, proceed to sawing. If you are going to make a cabinet from chipboard, make sure that the glued film does not break during the cut. Doubt about your technique and experience? Order a cut to your size in any furniture workshop.
Important! After cutting, do not forget about edging: all ends must be protected from moisture.
Don't forget to order the facades too - it is best if they are made in the same factory as everyone else: otherwise you risk not falling into the color of the kitchen set.
We proceed directly to the assembly and installation of the refrigerator in the kitchen cabinet.
For work you will need:
- screwdriver or drill with a drill for confirmation;
- the furniture confirmations themselves;
- Ruler and pencil;
- square;
- roulette;
- level;
- suitable special screwdriver bit;
- fittings (hinges, corners, fasteners);
- ball guides - 2 pcs.
Let's start placing a regular refrigerator in the kitchen:
- The first step is to assemble the cabinet body. We twist the side walls with a bottom, shelves and a lid with minifixes. Install spacers (10-15 cm wide) at the top and bottom of the back wall. We fasten the hinges - 2 each for the upper and lower doors.
- We install the refrigerator in the box. Place it evenly in the center so that there is enough room for air on the back wall and side posts.
- We fasten it with spacer corners on both sides to the sides - 2 pieces are enough in the center - between the upper and lower parts.
- We hang the facades on hinges, align them, fasten the handles.
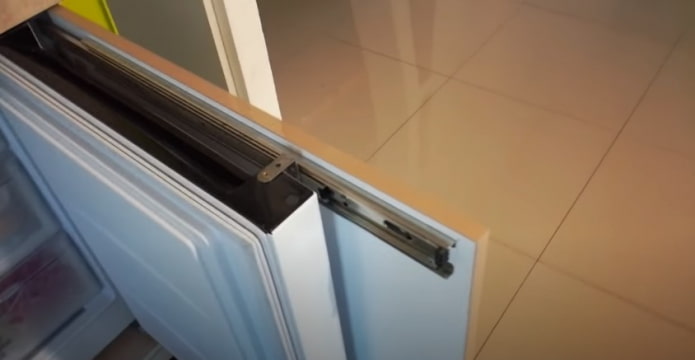
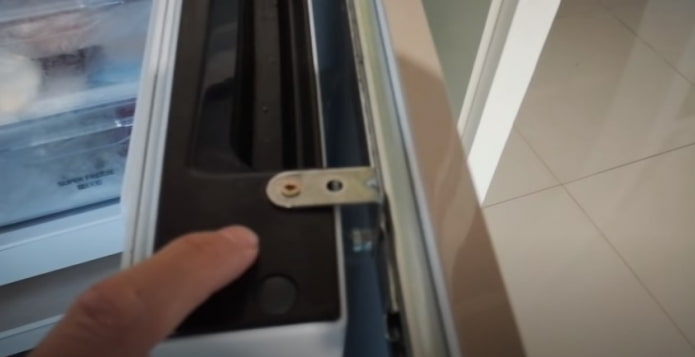
- We fasten the guides to the front panels in the upper part (3-7 cm below the upper end of the refrigeration doors).
- It remains to screw the metal corners to the refrigerator door and rail, thereby fixing the facade on the door.
Important! Be sure to check the cabinet for stability - during operation, the refrigerator vibrates slightly, which can cause an unreliable structure to collapse. So that nothing happens to the frame, it is attached to the corners to the wall.
To understand the embedding process in more detail and listen to the advice of the masters, watch the video:
How to hide the refrigerator with decorative elements and trimmings?
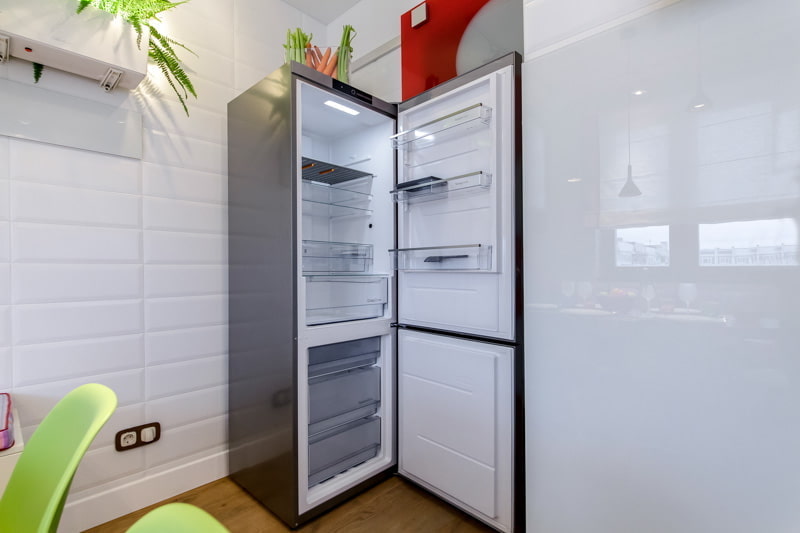
The refrigerator in the cupboard in the kitchen is not built-in - not the only placement option. It is not necessary to hide the device in a case and cover it with facades, it can be disguised!
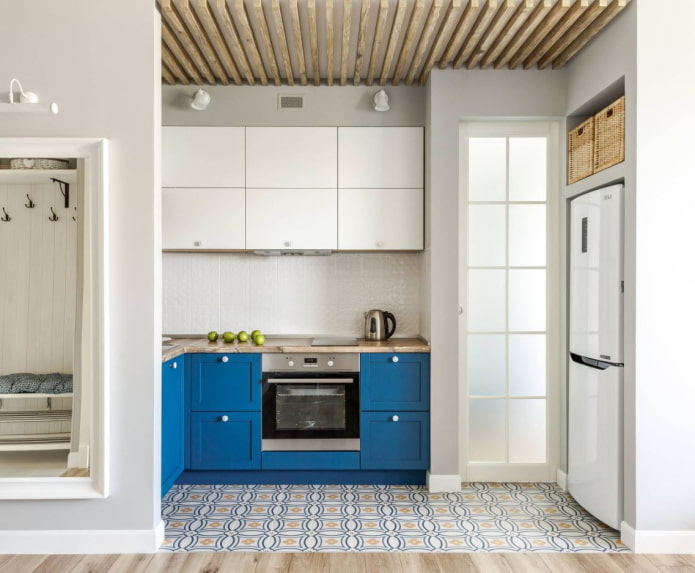
The first way also involves the use of furniture, but the installation will not be complete: create a niche without doors and install the refrigerator inside. This option is simpler and cheaper than full embedding, but it looks better than a freestanding one.
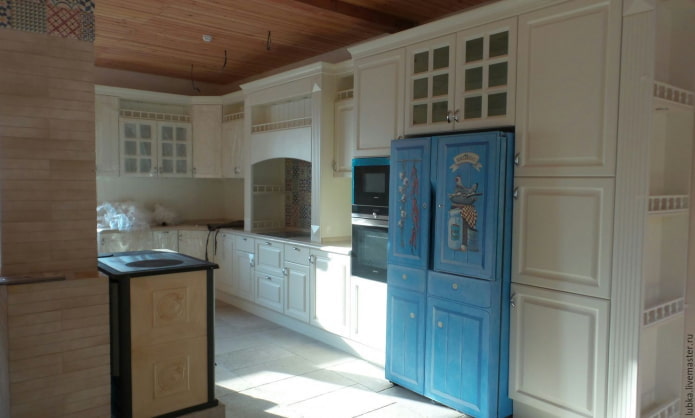
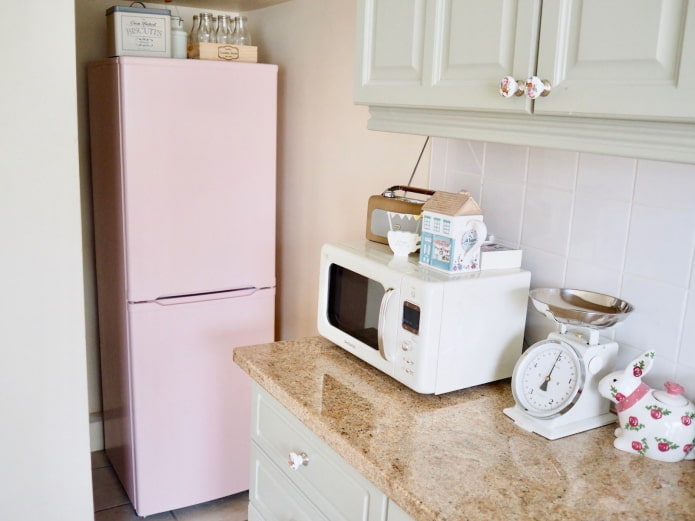
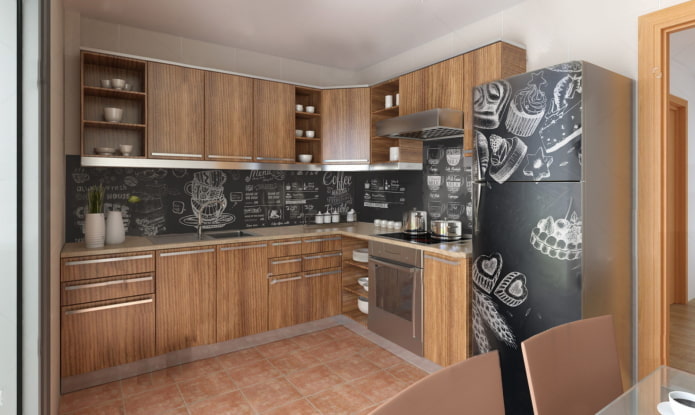
Idea number 2: paint in a suitable color. Choose paint to match the walls, headset, or, conversely, focus on the refrigerator: for example, using slate paint or its imitation.
If you don't want to tinker or paint anything, buy self-adhesive film: most likely you will not find the most suitable one, so place your bet on emphasis! Take a bright color scheme that will turn a familiar unit into a kitchen art object.
Advice! It is not necessary to glue the entire refrigerator and freezer - it is enough to use separate stickers to make the device look more "relaxed" and harmonious. Choose according to your style and taste: animals, plants, geometric shapes.
Is there a niche in the kitchen? Take advantage of it! Pick a model that fits the width and "hide" it inside. This is the ideal architectural solution that can form when moving a doorway or redeveloping.
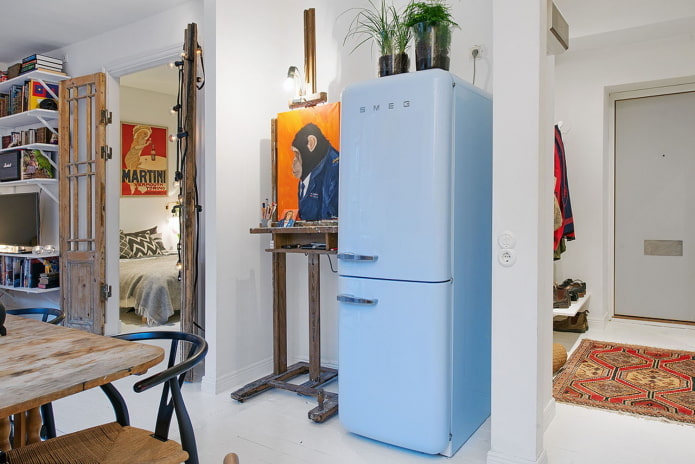
The last option is based on the saying "If you want to hide something, put it in a conspicuous place."The refrigerator can be located separately from the headset, for example, in the dining area. Or choose the most vivid, unusual color: so that he literally "screams" and attracts maximum attention.
Whether to build a refrigerator or not is only your decision. We just offer some interesting options that will make the interior of the kitchen more stylish and modern.

 10 practical tips for arranging a small kitchen in the country
 12 simple ideas for a small garden that will make it visually spacious


 How to choose the color of your kitchen sink?
 White kitchen set: features of choice, combination, 70 photos in the interior
 Black set in the interior in the kitchen: design, choice of wallpaper, 90 photos
 How to choose curtains for the kitchen and not regret it? - we understand all the nuances
 Design of a white kitchen with a black countertop: 80 best ideas, photos in the interior
 Kitchen design with green wallpaper: 55 modern photos in the interior