Tile recommendations
It is logical that before gluing tiles to the ceiling, you need to buy them. It should be noted that in comparison, even with the time 5-7 years ago, products from expanded polystyrene have changed a lot: they have become more sophisticated and aesthetic. There are new ways of processing foamed plastic:
- Stamped... The most inexpensive and simple in appearance, 5-7 mm thick. The texture is grainy, prone to absorbing dirt. Needs additional protection with paints and varnishes.
- Extruded... Thin (up to 0.5 cm) tiles are produced by heating expanded polystyrene in molds. The surface is smooth and easy to clean.
- Injection... A compromise between the two previous options: not as strong as extruded, but more reliable than conventional stamping.
In addition, the tiles are laminated - the film on the surface increases the service life, simplifies maintenance, and expands the design possibilities.
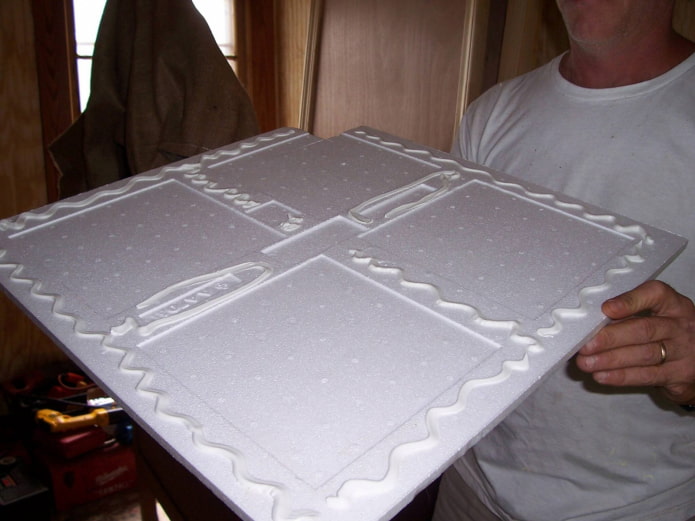
The dimensions of the slabs are standard - 500 by 500 mm, 4 elements add up to 1m2, which allows you to quickly calculate the required amount, knowing the ceiling area. Since the details are not too large, there will be a lot of seams in the finish - to avoid this, choose special seamless patterns, the edges of which do not have edging and perfectly fit together.
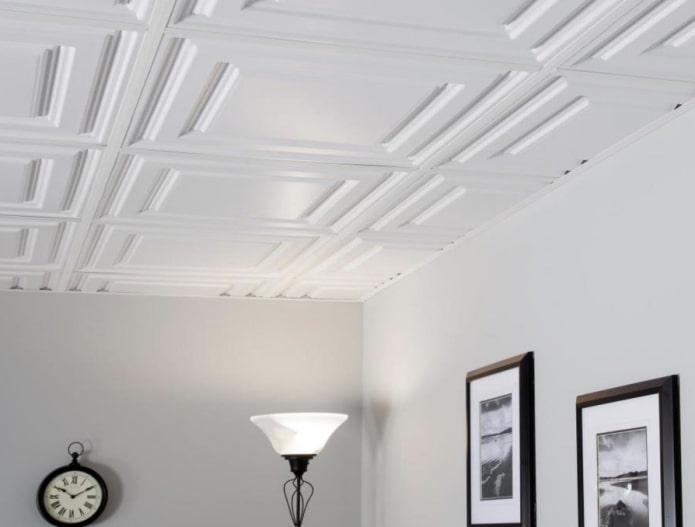
As for the design, choose according to your interior: ceiling foam tiles can be with an imitation of an abstract texture, classic stucco and small patterns.
On what surface can and cannot be glued?
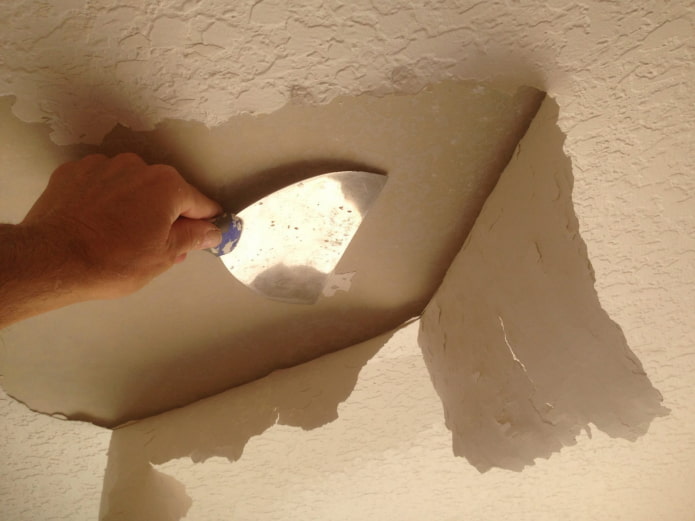
Before installing the tiles, it is imperative to evaluate the existing ceiling covering: first of all, it must adhere well, not flake off, and look reliable.
The second stage is to determine the type of coating, because although the tile is light, it can not be glued to every base.
- Whitewash... The chalk will definitely have to be washed off - the glue will not stick to it. Lime, if applied in a thin layer and adheres tightly around the entire perimeter, can be left.
- Painting... The same question as for limestone - if it does not exfoliate, you can glue it on top.
- Wallpaper... Removal before starting work is mandatory.
- Plaster... Not the best base for the adhesive, it is better to treat it with a thin layer of putty.
- Putty... Ideal for gluing expanded polystyrene boards.
How to prepare the surface?
To glue the ceiling tiles correctly, you need to prepare the surface. Because the smoother the ceiling initially, the more beautiful the final result will be.
- Remove old coating... Applies to wallpaper, chalky whitewash, paint that has poor adhesion, or lime whitewash. High-quality whitewashing or painting is dismantled only if there are irregularities on the ceiling and it needs to be plastered.
- Prime... First layer primers dedusting, improves adhesion.
- Align... It is not necessary to putty as for painting, the main thing is that the geometry of the plane is ideal - this guarantees the absence of gaps between the tiles in the future.
- Prime... For the topcoat, select a primer with antifungal additives before gluing. Although the expanded polystyrene itself is not prone to the formation of mold and mildew, it does not allow air to pass through and can provoke the appearance of spores on the plaster.
How to calculate the materials correctly?
In order not to buy tiles for the ceiling with a surplus, but to be sure that there are enough materials, a simple but accurate calculation is required.
First of all, measure the area of the ceiling, for example, your square room, has dimensions of 4 by 4 meters. We multiply the values, we get 16m2.
There is no need to calculate the area of the tiles: standard elements are produced in squares in the size of 0.5 * 0.5 m, respectively, one piece occupies 0.25 m2.
Divide the first value by the second to find out the exact number of pieces: 16: 0.25 = 64. It is better to buy with a margin of 10%, therefore, 71 tiles are needed for a room of 16 square meters. Ceiling tiles are sold in packs of 8, in this case you need 9 packs (72).
Important! It is always better to round up: for example, if the room is incorrect and you get the number 71.2, buy 72 pieces.
Layout options
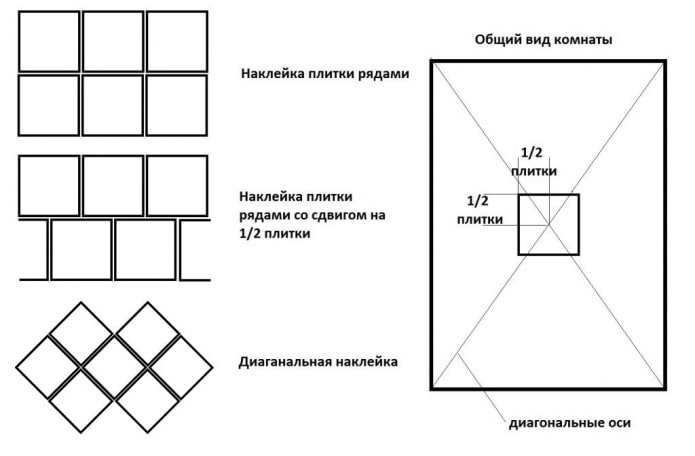
There are different ways to glue foam plastic ceiling tiles. Basic layout schemes:
- Stripes... Laying squares in straight lines is both simple and problematic. The slightest mistake will lead to a discrepancy between the gaps and a damaged drawing.
- Shear rows... The shape of the sticker is reminiscent of brickwork. Usually one row is shifted 50% relative to the other, but you can experiment with an offset of 25-33%.
- Diagonal... To make the interior more dynamic, glue diagonally, placing it at an angle of 45 degrees to the walls.
Where is the best place to start gluing?
Start gluing foam tiles to the ceiling always needed from the center: In general, this rule applies to any "prefabricated" finishes.
Starting from the center of the ceiling gives a 100% guarantee of the symmetry of the final result. The trims on each side will be the same width: this finish looks as harmonious as possible.
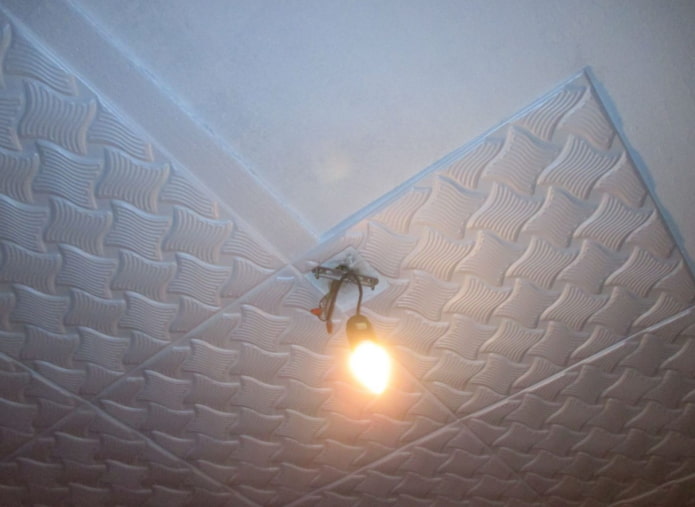
In addition, in most apartments, the chandelier hangs exactly in the middle of the room - therefore, it is better if it is installed in the center of one tile, and not at the junction of two adjacent tiles.
Step-by-step gluing instructions
Choosing a tile, preparing the ceiling, we completely forgot about the element that binds these surfaces - glue. To get reliable adhesion, you should select a composition that:
- will not melt expanded polystyrene;
- grabs the base.
Also pay attention to the gluing time: Ideal 10-15 seconds. This time is enough to align the tiles with respect to the neighboring ones, while not pressing it against the ceiling for a long time. There are compositions that take 30-45 seconds or even a minute, with which the installation of ceiling tiles will turn out to be unreasonably stretched.
Suitable adhesives:
- Water glue... Like TYTAN WILD. Suitable for any type of substrate, sets in 10-20 seconds. Has a convenient dispenser to reduce consumption.
- Liquid Nails... A construction gun is useful for application. "Nails" quickly set, adhere perfectly to porous coatings.
Advice! In order not to memorize the names, just look on the shelf in the store for an adhesive that is suitable for polystyrene foam and check the setting time indicated on the back.
We proceed directly to gluing the ceiling tiles with our own hands.
1. Ceiling markings
As the famous saying goes - measure 7 times, cut 1. To make the ceiling even, first draw two diagonals from corner to corner. The point of their intersection is the center of the room, concurrently - the center of the location of the first tile.
2. Preparation
Check if the ladder is high enough - you should be able to reach the ceiling without any problems. Open the packages with tiles, open the glue, if necessary, insert it into the gun.Just in case, have a rag ready to remove any excess glue immediately.
3. Installation
Put glue points in the center and along the edge of the tiles from the wrong side, attach the first one exactly in the center of the applied markings. Press down until the moment it sets. Repeat for all other items.
Important! Installation is carried out "in a circle", as if gradually bending around the central tile: first, one row is built around it, then the second, the third.
4. Finishing
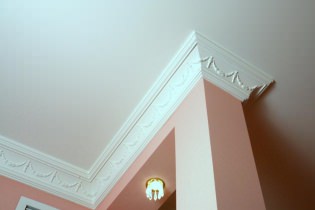
It is not enough to stick on the ceiling tiles. When the material seizes, visible cracks and joints are sealed with a sealant, if necessary, the ceiling is painted in the desired color or varnished. In places of abutment to the walls, install moldings and skirting boards.
Tiling is one of the simplest finishing processes. Having calculated everything correctly, preparing the base and choosing the right glue, anyone can achieve the perfect result.

 10 practical tips for arranging a small kitchen in the country
 12 simple ideas for a small garden that will make it visually spacious
 What is better not to do it yourself during the repair?
 Bloated linoleum: how to fix it without disassembly
 The worst decisions in apartment renovation
  Installation of ceiling tiles: choice of materials, preparation, order of work
 How to glue a ceiling plinth to a stretch ceiling?
 Ceiling plinth for stretch ceiling: types, recommendations for selection