General recommendations
You can talk for a long time about the sequence of repairs in an apartment, but the main recommendations fit into a small list:
- Always start with the most remote non-walkable rooms - bedroom, nursery.
- Move towards the exit, the penultimate living room is being repaired. Leave the corridor for last so as not to damage the finish with debris from other rooms.
- Observe the order of surface finishing for cosmetic repairs: always work from top to bottom. Ceiling first, then walls and floor.
- Draw a detailed project of the future room with the location of furniture, electrical wiring, pipes. This will help you not to be mistaken with the location of the sockets and switches, the laying of plumbing.
- When planning a redevelopment, make sure the legality of your actions and check in advance - are you going to demolish a load-bearing wall?
Where to start repairs?
The correct sequence of repair work begins long before the finishing and even the rough finish. The initial stage of the repair should always be drawing up a plan, only then you can proceed to active actions.
- Discuss your wishes with your family... Apartment renovation will affect all its residents, so everyone should be sure that he will be comfortable in the house after all the work is completed.
- Think over the layout. Do you need all the existing partitions, do you need to make new ones and divide, for example, the nursery into two parts? Or zone the hall?
- Decide on the design... Although the final finish is at the tail end of the renovation sequence in the apartment, decide which one it will need even before dismantling. To create a design project on your own, we recommend that you first draw up a mood board and draw a diagram of an apartment. So it will be easier for you to understand exactly how the ceiling and walls, floor, interior doors, furniture will look like.
- Draw up a work plan and budget... An important stage of the renovation, on which the success of the future project depends. Be sure to lay 10-20% for emergencies and changes in prices for building materials. It is not difficult to calculate the main pool of costs, knowing the volume of the apartment, the proposed materials and other details.
- Find workers... Apartment renovation can be done independently or entrusted to specialists. If you are going hire a brigade, make sure in advance of the level of their abilities. It is advisable to read reviews, but it is best to use the recommendation of friends. Also explore what questions should be asked to the construction team before the repair.
- Pack things and furniture... The repair process involves a lot of debris and dust, especially if you have to dismantle old coatings, redevelopment and other large-scale work. In case of a major overhaul, we advise you to temporarily take things and furniture out of the apartment; in case of a cosmetic one, it is enough to protect them with a special film.
Overhaul procedure
The sequence of repairs in an apartment is largely determined by preparatory work: what exactly needs to be dismantled, whether communications, interior doors and windows will have to be changed. If the housing is in a deplorable state, the usual wall decoration will not work.
Dismantling unnecessary structures and old coatings
Apartment renovation always begins with destruction: removing unnecessary partitions, removing old material from the ceiling, walls, floor, dismantling plumbing fixtures and pipes. It remains to take out the garbage from the apartment and step # 1 can be considered complete.
Repair and laying of communications
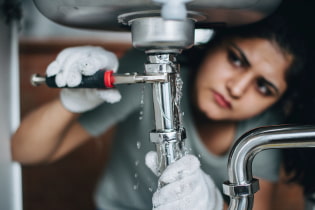
The durability of the finish in the bathroom and in the kitchen directly depends on how well the plumbing will be made. Please note that if after finishing finishing work you suddenly have a leak, the repair will have to be done again.
Check pipes: if they are still in good condition, they can be left. The old ones will have to be completely replaced. Often, for a new project, a different wiring is made, plumbing is sewn into boxes - these stages are also being performed at the moment.
Erection of new structures
The next step in the sequence of major repairs in the apartment is the installation of the necessary partitions made of plasterboard or brick. This stage is needed when redeveloping or renovating an open space. Divide the area into rooms and determine the location of all the walls should be at the design stage.
Electrical work
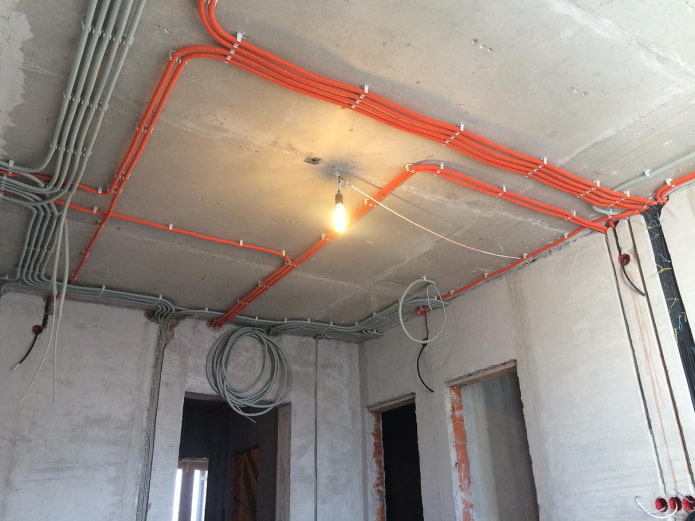
After installing the partitions, it is the turn of the wiring. It's time to use the planned plan and hide unnecessary sockets, place new ones in the right places, move the switches.
Important! In the walls for laying wires, strobes are made, in the ceiling, the wiring is also either hidden (without strobes!), Or, if there is a stretch ceiling, they are laid superficially.
Replacement of windows and entrance doors
Replacing the front door and refining the doorways is done before any actions with surfaces. The old boxes should have been removed in the first step, you just have to put in the new ones.
But do not rush to fix the platbands and the canvases themselves - in order to avoid damage, it is better to postpone their installation until the end of the finishing. An exception is the front door, it is placed immediately along with the slopes and the threshold, but the inner surface can be pasted over with a film to protect it from damage.
The windows are completely replaced, immediately changing the window sills and ennobling the slopes.
Advice! If you do not want to damage the glass and the window sill, do not remove the film from them until the end of the entire finish.
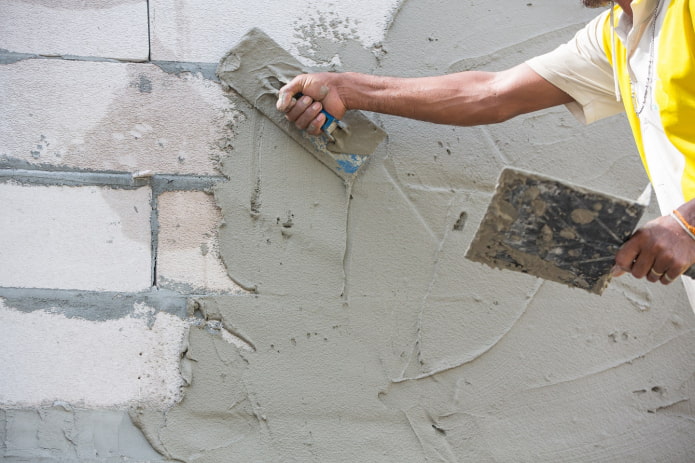
Aligning surfaces
In the repair sequence in the apartment, the alignment is somewhere between the preparatory and finishing processes. The quality of laying the flooring depends on how well the alignment of the walls, ceiling and floor will be performed, wallpapering the walls or painting, beautifying the ceiling.
Important! In rooms where a warm floor is planned, it is sewn into a screed or made immediately after it (depending on the type of construction).
Installation of plumbing and heating systems
There are no iron building rules regarding the installation of plumbing - someone prefers to finish the bathroom after installing the main elements, someone postpones the installation of the bath and toilet at a later time. One way or another, built-in plumbing, taps and pipes must be placed before plastering, tiling, etc.
At the same stage, radiators, boilers and other heating elements are placed.
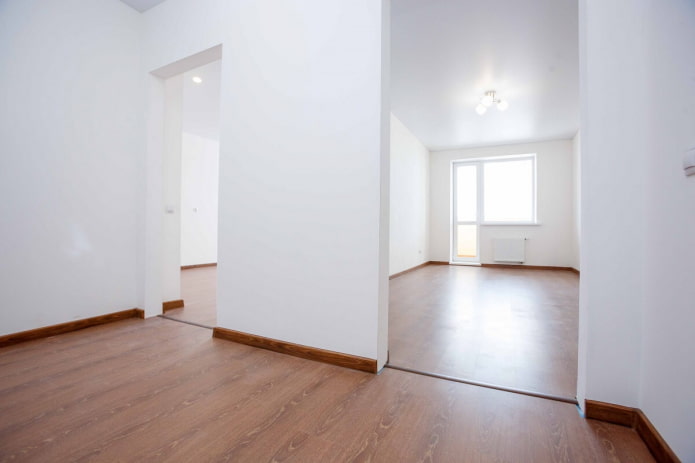
Fine finishing
The finishing line for building materials! The sequence of work in a separate room assumes movement from top to bottom - first, they paint or mount the stretch ceiling, then they do plastering, painting or pasting the walls, after which the flooring is laid.
Important! All materials should be allowed to rest in the apartment for 24-72 hours before laying, especially for linoleum, parquet, laminate.
Installation of built-in furniture and appliances
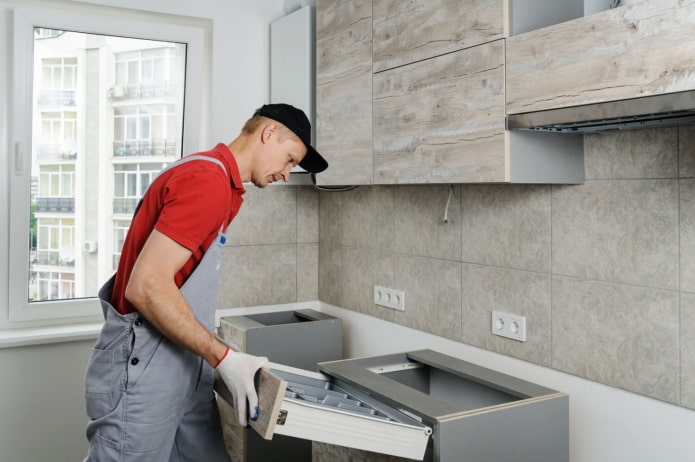
After finishing the finishing work, let everything dry completely (24-36 hours) and proceed with the installation of furniture and equipment. At this stage, wardrobes, kitchen sets, bathroom furniture and other stationary items are installed.
Installation of interior doors
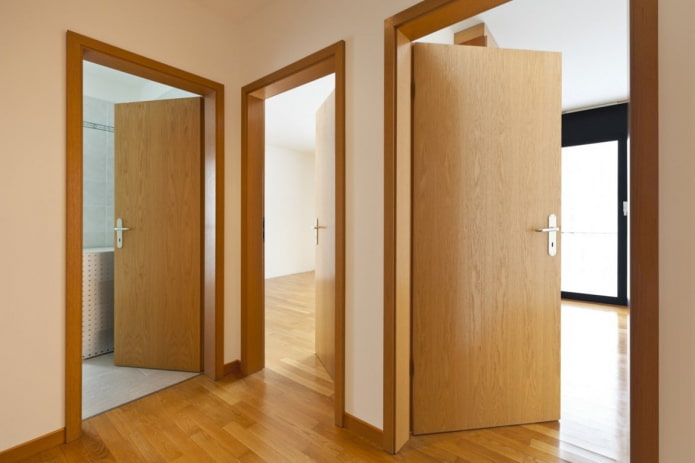
The time has come to return the door leaves and cashing to their places, why we shouldn't have put them right away in the section "Replacing windows and entrance doors".
Installation of lighting fixtures and sockets
The correct sequence of repairs in the apartment assumes that wires have already been brought out for all future electricians - you just have to connect the contacts and put in place sockets, switches, chandeliers, sconces and other parts.
Decorating with decorative elements
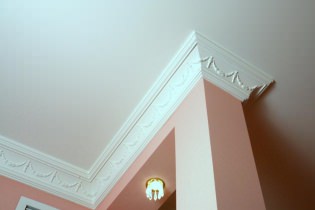
At the final stage, you need to finish the remaining small details: install floor skirting boards, ceiling fillets, curtain rails and other elements that require your attention.
Stages of cosmetic repair
The procedure for performing finishing during cosmetic repairs does not imply complete destruction and manages only the most necessary actions.
Room preparation
We analyzed all the preparatory stages in the last section - start with the one that is relevant to you and move step by step.
Removing electrical appliances
So that nothing interferes with the dismantling of old and applying new materials, remove the sockets (at least covers), switches, remove ceiling and wall lamps.
Important! Do not leave bare wires, be sure to route them and insulate with tape.
Removing old coatings
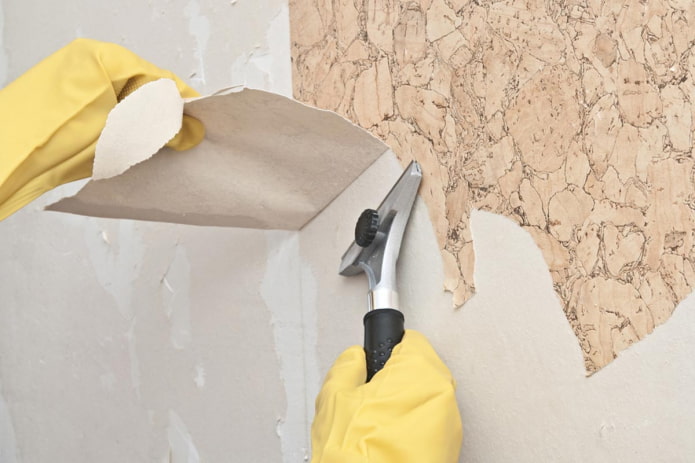
Remove the wallpaper from the walls, tiles, panels, paint to plaster. Subsequent steps are made only on bare walls.
Ceiling it should be cleaned of old paint or whitewash - most often unstable aqueous compounds are used for it, which will simply roll off when a new layer is applied.
Old floor they are also dismantled, the only exception can be tiles or boards - provided they are reliable and a suitable subsequent coating.
Correcting old surfaces
Even the walls that have already been putty will have to be leveled (with the exception of previously perfectly prepared walls for painting - they can be safely repainted over a new one). Standard roughing steps: Primer, Plaster, Putty, Finish Putty, Primer. However, it all depends on the coating that you plan to apply in the future.
Final finishing
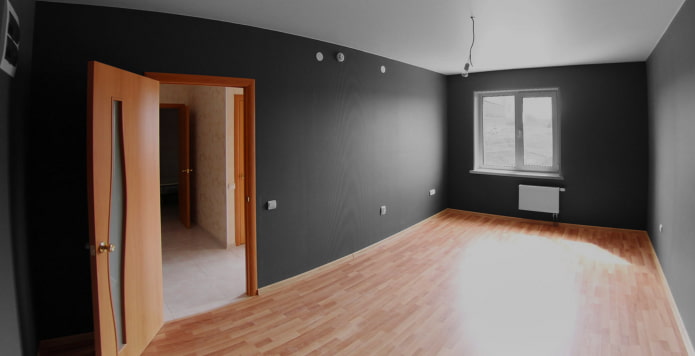
It is easy and pleasant to apply decorative coatings if you have not skipped and followed all the previous steps with high quality. Start with ceiling painting, then the repair of walls and floors.
Do not skip the stages and pay due attention to each of them - then your renovation in the apartment will last for more than one year and will delight you throughout the entire time.

 10 practical tips for arranging a small kitchen in the country
 12 simple ideas for a small garden that will make it visually spacious

 What is better not to do it yourself during the repair?
 Bloated linoleum: how to fix it without disassembly
 The worst decisions in apartment renovation
  Installation of ceiling tiles: choice of materials, preparation, order of work
 How to glue a ceiling plinth to a stretch ceiling?
 Ceiling plinth for stretch ceiling: types, recommendations for selection