What to look for when choosing?
To kitchen apron served for several years and did not spoil the appearance of the interior, and at the same time fully fulfilled its main function - protecting the wall, you need to choose the right finishing material. Therefore, a high-quality plastic kitchen apron must meet the following requirements:
- Optimum thickness... The thinner the tile, the more likely it is to be mechanically or thermally damaged.
- One-piece canvas... Find or order a sheet for your kitchen size or larger. Here, as with glass skin - the fewer joints, the easier it is to maintain and the better the appearance.
Important! The thickness of the plastic varies depending on the material: PVC - 5-10 mm, ABS - 1.5 mm, acrylic - 5 mm.
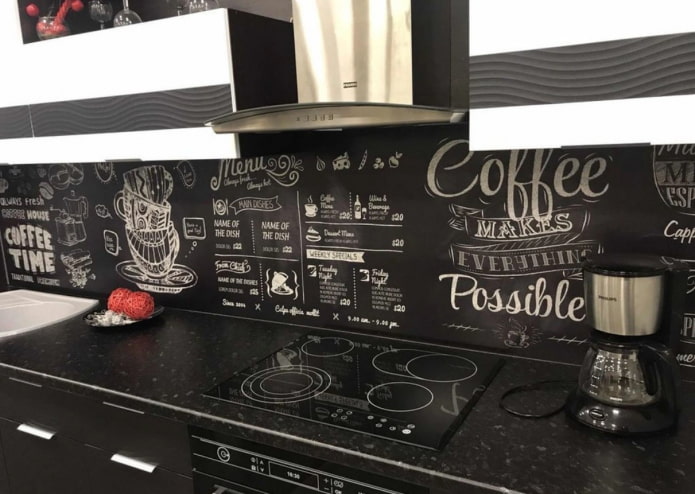
In the photo, an imitation of a chalk board
Types and characteristics of materials
The properties of a plastic apron depend not only on the size, but also on the very composition from which it is made.
PVC apron
The PVC kitchen apron has only one plus: it's cheap. Otherwise, plastic PVC panels are much inferior to their counterparts: the drawings on them fade, glossy coatings are scratched, the material itself emits harmful substances into the air.
In addition, it is suitable exclusively for "cold" zones. Since the PVC apron melts easily from heating, it is strictly forbidden to install it near the stove.
The photo shows a cheap plastic made of polyvinyl chloride
ABS plastic apron
A kitchen apron made of ABS plastic (acrylonitrile butadiene styrene) is more practical, but it also costs a little more than PVC. Unfortunately, it is also not recommended to use it near the stove: the maximum temperature that the plastic apron can withstand is 80 degrees Celsius. A little more and beautiful plastic will soften, slide down under its own weight.
But the ABS plastic panels look stylish (they resemble skinals), they are installed simply, they are easy to clean (they can withstand small abrasives and chemicals).
Acrylic
If, according to your idea, the plastic apron should be located near the stove, you need to use acrylic. Polycarbonate is the only heat-resistant option available.
Looks almost indistinguishable from glass - does not have a yellowish undertone, unlike ABS. But this is only the first time - from mechanical damage and constant stress, the surface is scratched, therefore, 1-2 years after installation, the acrylic plastic apron will lose its aesthetics.
Pictured is an acrylic apron
Pros and cons
Whether to use a plastic apron in the design of your kitchen or not is up to you. We only propose to re-evaluate the advantages and disadvantages of this solution:
| pros | Minuses |
|---|---|
| Affordable price... A meter panel will cost 500-600 rubles, a 2-meter panel in 1000-1500. | Fragility... When trying to save money, remember - skins or tiles will last a lot longer. |
| Big choice colors, interesting designs. With the help of photo printing, almost any image can be applied to the surface. | Care restrictions... You can wash plastic from fat either with water or with special non-aggressive agents. |
| Ease of installation... Stick on the wall with liquid nails and make holes for sockets anyone can. | The complexity of dismantling... We remind you that you will have to change the decor made of plastic once every 1-3 years, and removing the remnants of glue from the wall is not an easy task. |
| Light weight... Bringing plastic panels to the floor and generally transporting them is not a problem. | Instability to mechanical stress... The plastic coating is easy to scratch; over time, the damage will become more and more noticeable. |
| Resistant to water, moisture... Falling drops will not in any way affect the condition of the apron and its appearance. | Probability fungus formation... If installed incorrectly, voids will form behind the panels: if water gets into them, it is guaranteed that mold will develop. |
How to fix it yourself?
Installing a plastic apron is a relatively clean and simple task, it can be installed even after the repair is completed. The process will not take more than 2 hours.
Be sure to look in which order to do the right kitchen renovation.
Step-by-step instruction
To install the apron you will need:
- level (better laser);
- tape measure and pencil;
- utility knife or scissors;
- suitable adhesive (liquid nails, sealant, universal rubber based).
Also prepare the panels and decorative strips themselves - they will come in handy to close the ends, corners and joints.
Important! The surface before pasting must be prepared: leveled, free from dust, degreased (if you plan to glue on paint or tiles).
Getting Started:
- If you don't have furniture yet, draw the top and bottom lines of the kitchen using a level, ruler, and pencil.
- Open the panels by cutting them lengthwise to the desired size.
- Mark the location of the sockets on the panels, cut them out.
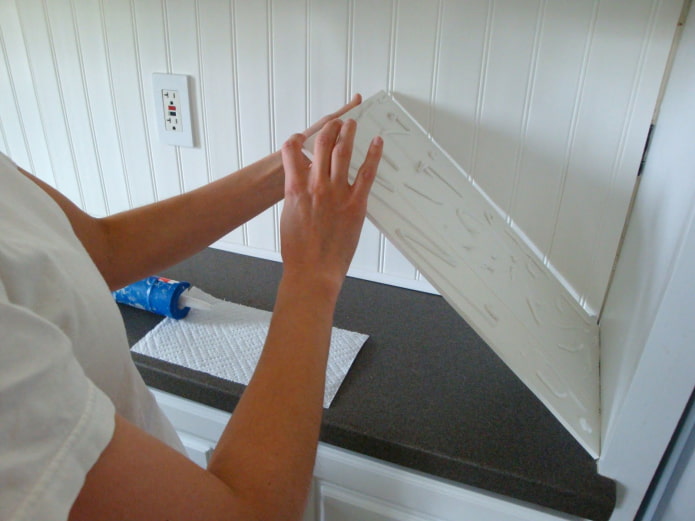
- Apply glue to the inside, press the decor against the wall, wait until it dries completely.
- Glue decorative trims to ends and seams.
Advice! So that the upper and lower edges of the plastic do not have to be decorated, wind the apron under the furniture (upper cabinets and countertops) by 3-5 mm.
Video tutorial
To make sure that gluing a plastic apron is really as easy as shelling pears, watch a quick video tutorial:
Design options
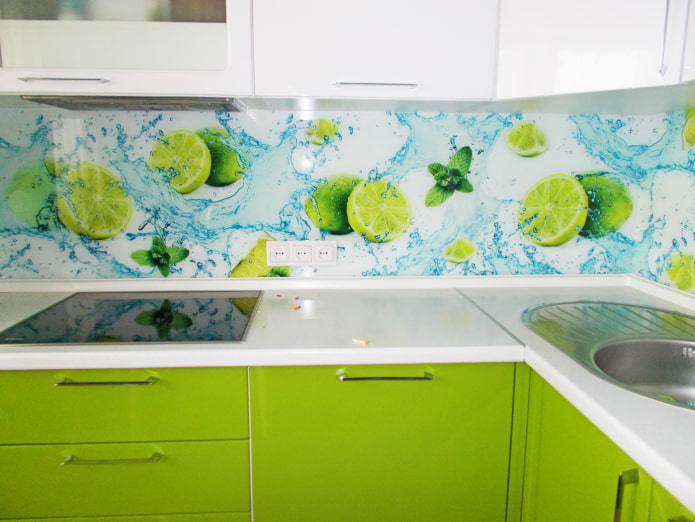
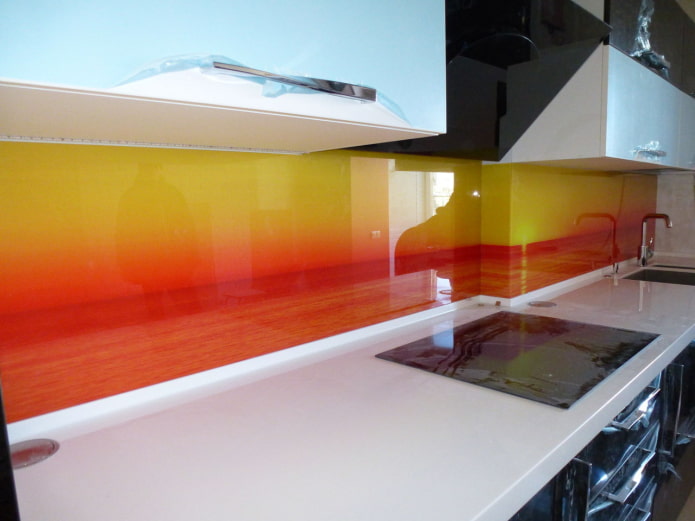
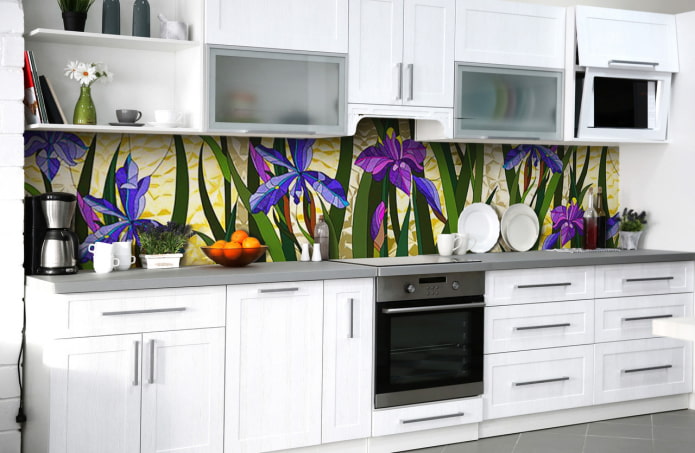
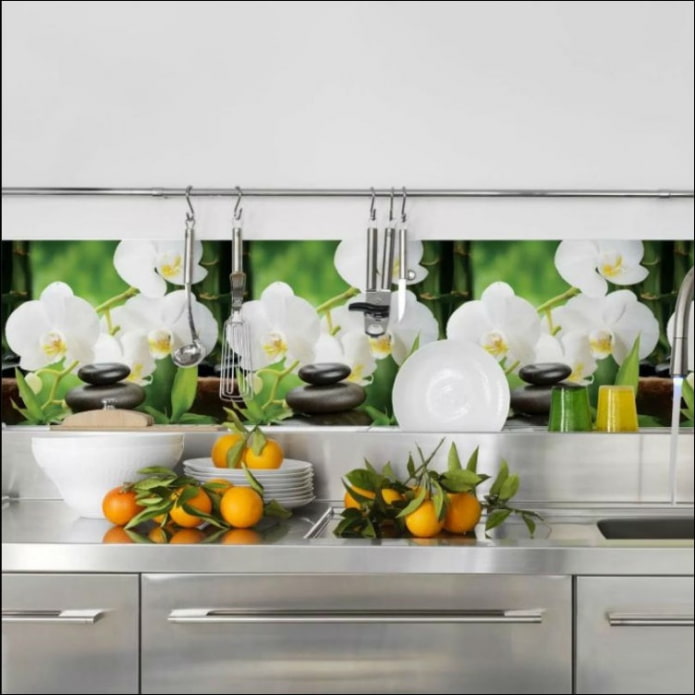
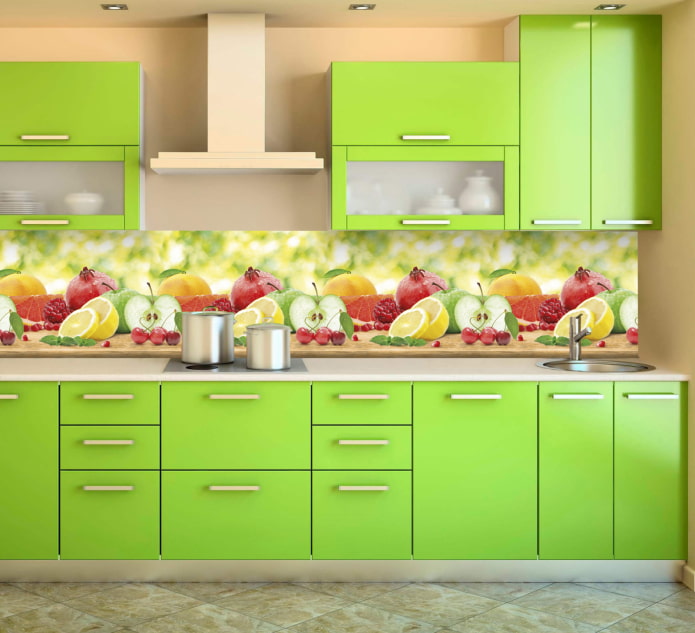
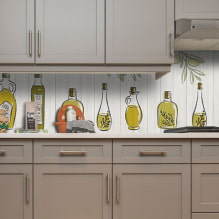
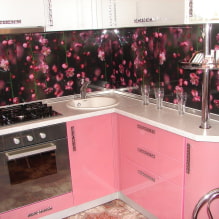
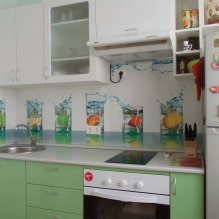
There are as many design ideas for a plastic apron as there are options for printing on it - an incredible amount. The most popular motives were and remain flowers, fruits, still lifes.
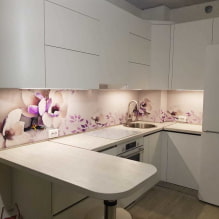
The photo shows a bright floral design
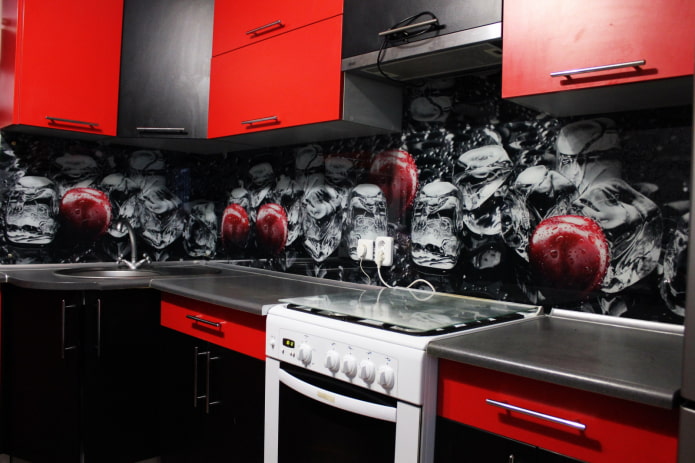
Most often, shades are made to repeat facades - for example, on white kitchen - white orchids, on black and red - cherries on a dark background.
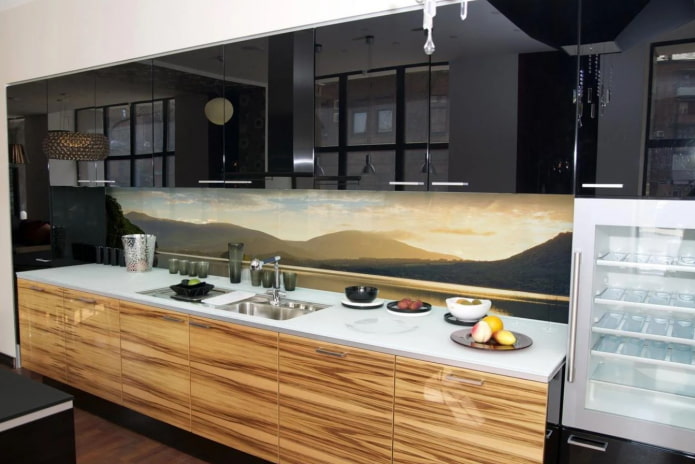
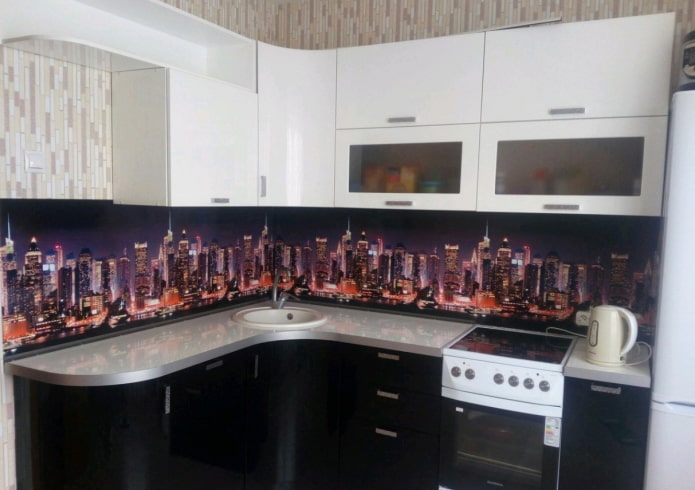
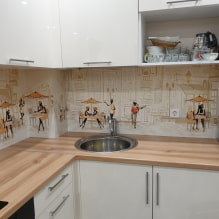
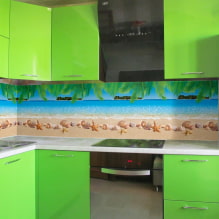
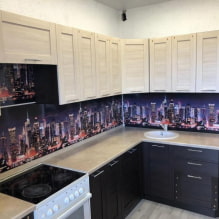
The second most popular motive is landscapes. Pictures can depict cities with tall buildings, cozy city streets, seashore, forest, flower meadow.
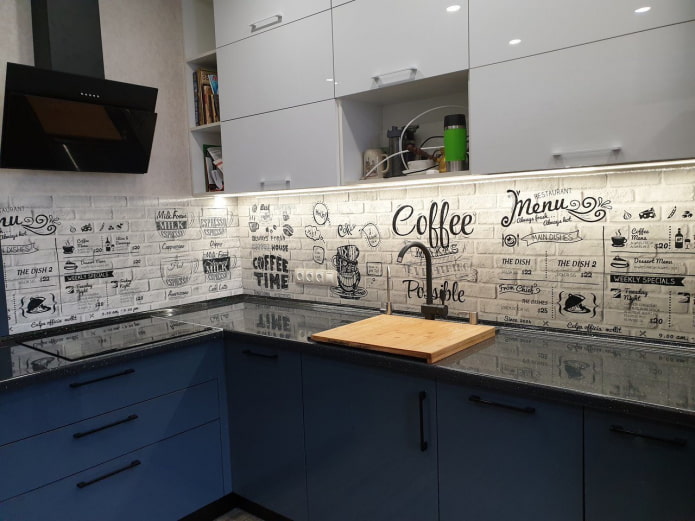
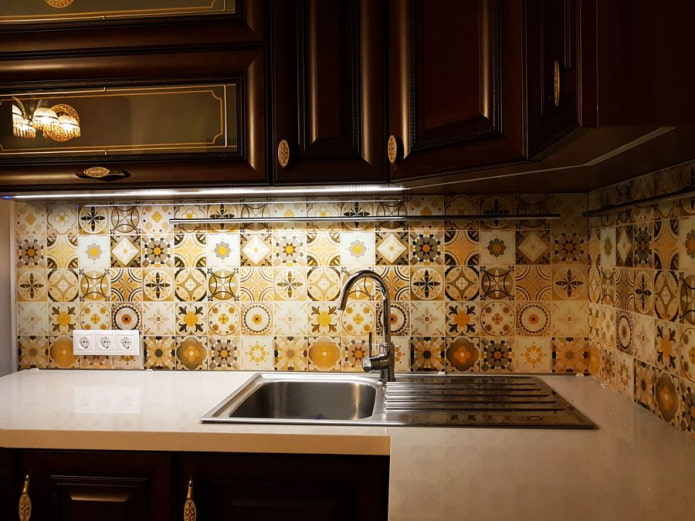
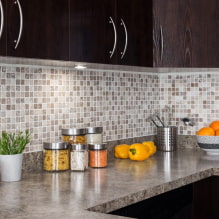
But in modern styles practically none of the listed options fit, therefore today neutral designs with imitation of tiles (oriental, mosaics, hog), chalk board, wood or metal texture.
In the photo there is a stylish apron made of plastic
When choosing an apron design, do not forget that no matter how beautiful and clear the pattern is, it will not hide the origin of the plastic: therefore, pass it off as brickwork or glass panel will fail. But it's worth a try! Some acrylics look very stylish - look at the photos in the gallery and see for yourself.

 10 practical tips for arranging a small kitchen in the country
 12 simple ideas for a small garden that will make it visually spacious
 How to choose the color of your kitchen sink?
 White kitchen set: features of choice, combination, 70 photos in the interior
 Black set in the interior in the kitchen: design, choice of wallpaper, 90 photos
 How to choose curtains for the kitchen and not regret it? - we understand all the nuances
 Design of a white kitchen with a black countertop: 80 best ideas, photos in the interior
 Kitchen design with green wallpaper: 55 modern photos in the interior