General recommendations
Before you start repairing the kitchen yourself, pay attention to the general work requirements:
- Follow a clear repair algorithm: first dismantle the floor, walls and ceiling. Then a rough surface finish, after - a finishing one.
- Correct repair sequence "For a clean copy" - from top to bottom. That is, first they do the final finishing of the ceiling, then the walls, and then the floor.
- Consider the features of the space: eg, walls in the kitchen should be easy to clean from grease and other stains, and also be water resistant.
- Don't forget about safety: the electrical wiring should be walled up into the walls as much as possible, the sockets should be brought out at the necessary points (to avoid kilometers of wires), the old water supply lines should be replaced to prevent leaks.
- When decorating walls lay right angles: this will simplify the installation of complex structures from cabinets and pencil cases.
Where do you start?
Kitchen renovations begin long before the old coatings are removed. The first thing to think about is a clear plan of the kitchen area, which is based on the desires and requirements of the residents.
Brainstorm
So, when planning a major kitchen remodel, the first thing to do is get a family council: you have to make a list of the principal points for each family member.
- It's easier to start with what does not suit you now: e.g. small working area, not enough storage spaces, it is difficult to keep clean due to an unsuitable apron, not enough light, etc.
- Next, discuss technical requests for repair: there will be cabinets or shelves on top, do you need pencil cases or columns, which filling is more convenient from below. Perhaps the height of the hostess should be taken into account - if it is above or below average, this will affect the height of the countertop.
The question that needs to be resolved in advance is what equipment needs to be installed, and what can you do without... Move from large to small: refrigerator, dishwasher, washing machine, oven, microwave, hob, extractor hood, multicooker, mixer, blender, grill, etc. You should even take into account the one that will be stored in the cabinets in order to leave enough space for it.
Choose a design
First choose interior style: it can repeat or differ from other rooms in the apartment. Someone like restrained minimalism, someone prefers modern classics, someone is "fanatical" of decorative scandi or boho.
Then you need to understand how the kitchen should look like: what colors are acceptable for the wallswhat will be flooringwhat to do on ceiling... The appearance of the facades is also determined in advance: flat or paneled.
Make a project
The design project takes into account the nuances of repair to the smallest detail:
- room size,
- layout,
- desired redevelopment,
- water supply piping, sewerage outlet,
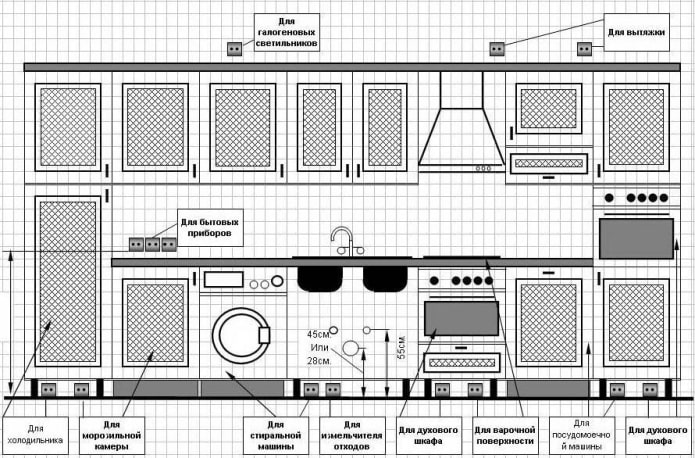
- placement of sockets, switches, lamps,
- the location of the working and dining area, equipment,
- dimensions of furniture,
- Decoration Materials,
- color range.
Prepare technical plan: used at the stage of dismantling and rough finishing, as well as designer - is responsible for the visual component.
Plan a budget and work plan
Without a clear financial plan, there is a risk of going far beyond the budget in order to have an idea of how much money is needed, proceed from two components: maximum figure and distribution to individual items of expenditure. The approximate size of each item:
- 25-30% - purchase of building and finishing materials;
- 30% - basic furniture;
- 15% - services of third-party specialists (designer, repair team);
- 15% - additional furniture;
- 10% - decor and accessories.
When the estimate is laid down, once again evaluate the upcoming volume of repairs, draw up a short plan that takes into account the main stages of kitchen renovation: dismantle partitions, make a floor screed, level the walls, order furniture, etc.
Find specialists
It's time to decide - what work will you entrust to professionals, and what you can do in the kitchen with your own hands. It is better to entrust the alignment of walls to beacons and puttying for painting, for example, to experienced workers, as well as replacing electrical wiring - safety directly depends on it.
What during the repair you will do yourself and whether you will at all depends on the desire, skills, finances: you can save a lot on the commission for the workers.
Take a look a selection of works that are better not to do on your own.
The main stages of repair
Moving on to the most active renovation period in the kitchen - the main one. Let's analyze the most correct order of actions.
Dismantling
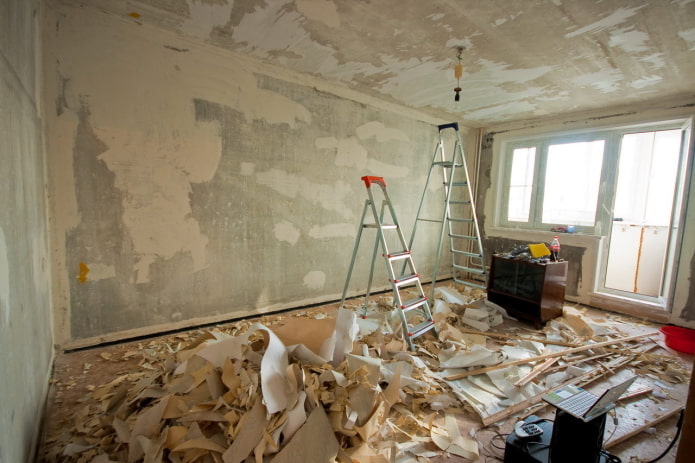
The transformation process in an apartment with an already existing finish begins with removing the coatings - this step is simple but dusty. Remove paint from the ceiling, wallpaper, ceramic tiles or paint from the walls (if the painted walls are in good condition and repainting is planned - you can skip this step), remove the floor covering, old doors.
If you want to redevelopment - dismantling of the walls is carried out at the same moment.
Next, the construction waste is removed and moved on to the next step.
Wiring and reconstruction of communications
Next in line are communications. Before repairing, check the condition of the sewer and water pipes: if you doubt that they will last another 5-10 years, the communications should be replaced.
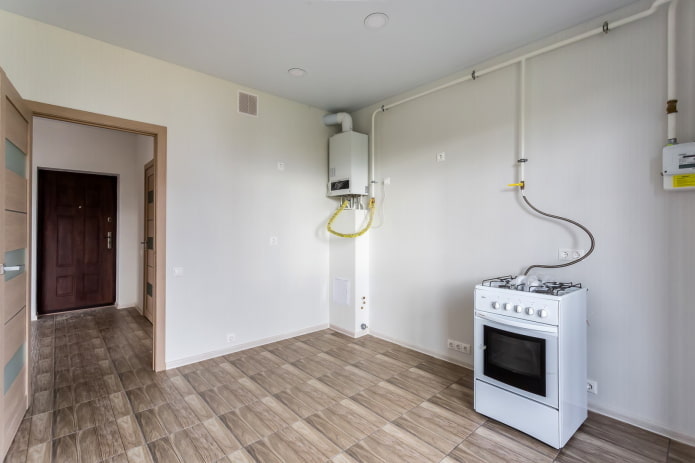
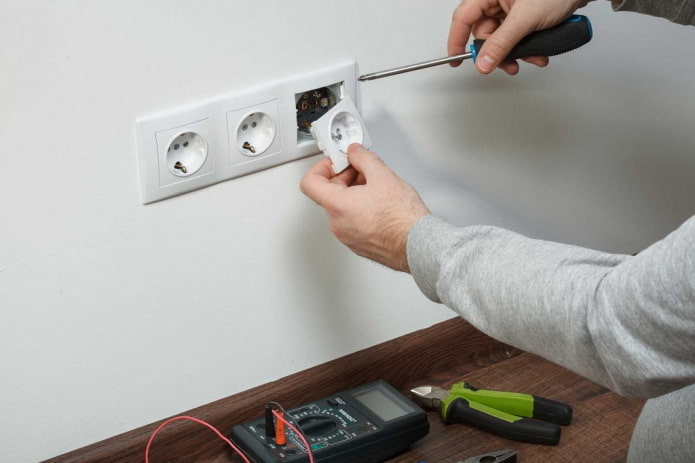
In new houses or apartments with a fresh overhaul, the plumbing does not require renovation, but you will have to work with an electrician: you need to remove the sockets and wires for the lamps.
Important! The electric stove is connected with a separate wire from the shield - not through the outlet, but directly.
Replacement or installation of windows
A step-by-step transformation reached the window: a new double-glazed window is a guarantee no drafts, heat preservation, fresh air access.
If the glass unit is in good condition, it is necessary to carry out maintenance: perhaps, in some places to refill, change the rubber bands and fittings.
Ceiling, wall and floor decoration
The main forces during the repair in the kitchen are spent at this stage, within which there is also its own sequence.
First of all - from top to bottom... First, the ceiling, after the vertical, then the floor. The second is rough and fine finishing.
Rough:
- Ceiling... Select Option - As Is, Alignment drywall or stretch ceiling... Based on this, we prepare the surface: we fix the sheets of gypsum plasterboard, putty, level them for painting.
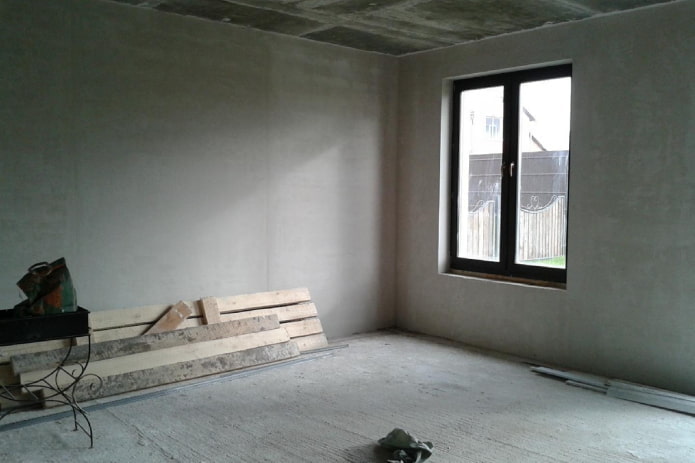
- Walls... If the angles are far from 90 degrees, start by aligning with plaster along the beacons. Further, with several layers of putty, the surface is brought to the ideal.
- Floor... The work plan depends on the base: on concrete - they make a screed, wooden floors are first checked for strength, then poured with a mixture.
When the surfaces are ready proceeding to the finishing:
- Ceiling... The modern repair option is to paint it in a single color: it is easy to look after such a thing (which is important for the kitchen), it will not go out of fashion. Choosing a tensioner - postpone the installation for after painting walls.
- Walls... There are many options for coatings for the kitchen: tiles, decorative plaster, paint, wallpaper. Choose an option that will wash well: any tile, plaster - waterproof, wallpaper - vinyl hot stamping, paint is sold special for the kitchen and bathroom.
- Floor. The most practical solution is considered a tile or porcelain stoneware, but these materials are cold - therefore, at the roughing stage, a warm floor is laid under them. Will also fit laminate, linoleum, quartz vinyl or bulk.
Door assembly
When the walls and floor are ready, you can refine the doorway: in apartments with electric stoves, doors can be abandoned altogether, leaving an empty arch... In houses with gas there must be a swing between the room and the kitchen, or sliding door.
Installation of lighting and sockets
It's time to install lamps, sockets for household appliances in the kitchen.
Light scenarios in the kitchen set at least 2: above the worktop and dining table. For work, it is better to choose bright lamps of neutral temperature; warm light is more suitable for gatherings at dinner.
There should be more sockets than appliances: Progress does not stand still and additional outputs provide peace of mind for the future when you decide to purchase additional equipment.
Place them away from the sink. If a socket is needed in a wet area, choose an IP of at least 44, with a protective cover.
Installation of decorative elements
Before bringing in furniture, you should close the imperfections: for example, install skirting boards between the wall and the floor. Or insert an elastic band into a stretch ceiling, glue a baguette under a regular ceiling.
Installing a radiator or screen on the battery is also produced at this point.
Important! If the set is built-in, it is better to move the installation of the floor skirting boards - this will make it easier to make the correct connection to the furniture.
Installation of furniture, appliances and sinks
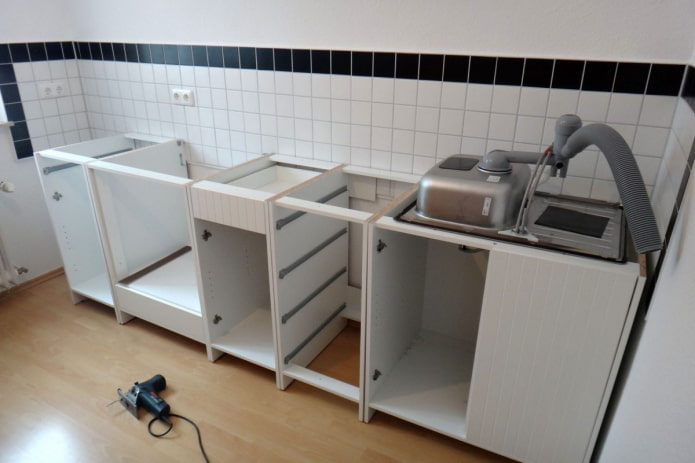
First thing a "skeleton" is created: the frames of the floor cabinets are installed, connected, the table top is attached.
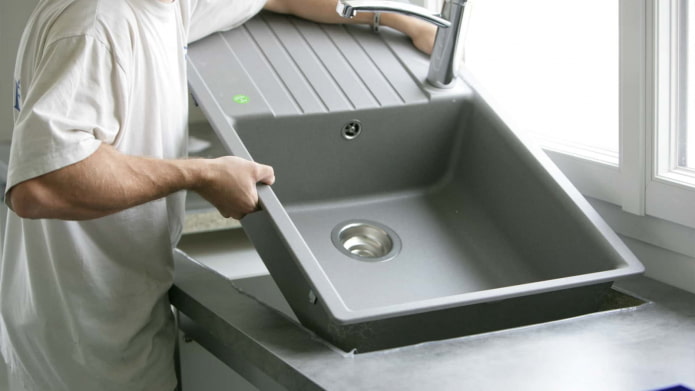
Further, all built-in appliances are mounted.: refrigerator, PMM, washing machine, oven, hob, microwave. It should not just be installed, but connected to communications. At the same time, a sink, a mixer, an osmotic filter for water, and a waste grinder are installed.
Top cabinets or shelves can now be hung, hang facades, insert boxes.
Last but not least bring in lunch group, hang or lay out various decor.
Recommendations for renovation from scratch in a new building
New houses are different: the quality depends on the developer, finishers, materials. In brick or panel houses you should wait for the shrinkage time (from 2 to 5 years) - repairs for this time are made inexpensive, it makes no sense to invest a lot of effort and money in it.
In monolithic structures final finishing can be done immediately, but using various preventive measures such as expansion joints.
The sequence of actions is the same as described above, but with a single mark for each item: "if necessary."
The system described in the article is not an ironclad rule, but only a set of recommendations, thanks to which you will make fewer mistakes during kitchen renovation. Watch and act according to the circumstances, but do not forget about the recommendations.

 10 practical tips for arranging a small kitchen in the country
 12 simple ideas for a small garden that will make it visually spacious
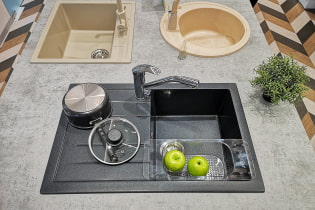 How to choose the color of your kitchen sink?
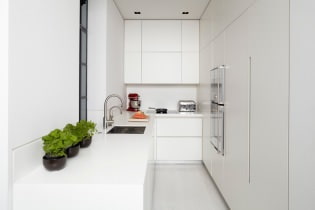 White kitchen set: features of choice, combination, 70 photos in the interior
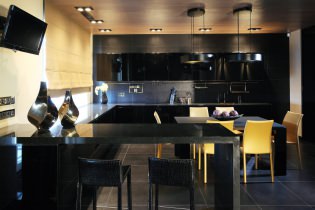 Black set in the interior in the kitchen: design, choice of wallpaper, 90 photos
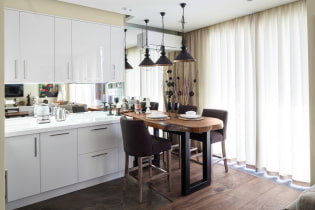 How to choose curtains for the kitchen and not regret it? - we understand all the nuances
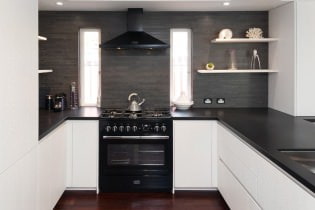 Design of a white kitchen with a black countertop: 80 best ideas, photos in the interior
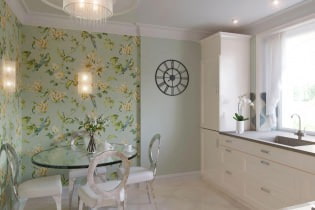 Kitchen design with green wallpaper: 55 modern photos in the interior