What can be used to make a screen?
To create a screen, both traditional and very unusual materials are used:
- Wood.
- Plastic pipes.
- Pvc panels.
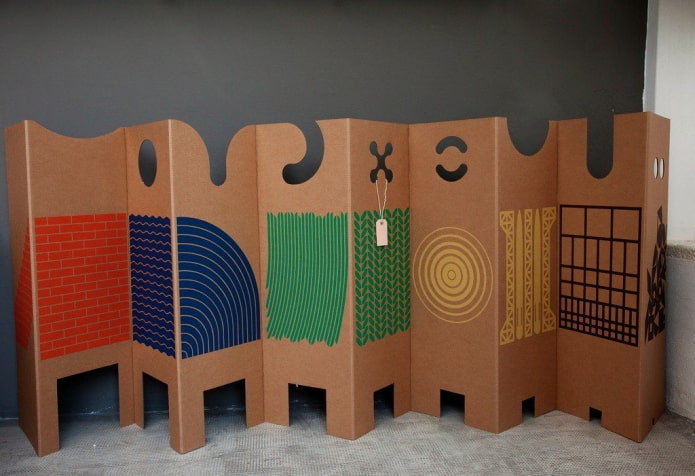
- Cardboard.
- Louvered doors.
- The cloth.
A selection of master classes from improvised means
The screen is very mobile, if necessary, it can be moved around the apartment or folded so as not to clutter up the space. Therefore, the materials used to create the structure must be of high quality, and the fittings must be strong.
Do-it-yourself wood screen
If you need a solid structure that will completely hide a section of the room, it is best to make a screen of wooden boards or chipboards - chipboard or chipboard. Unlaminated chipboard should be painted in any suitable color or decorated with family photos.
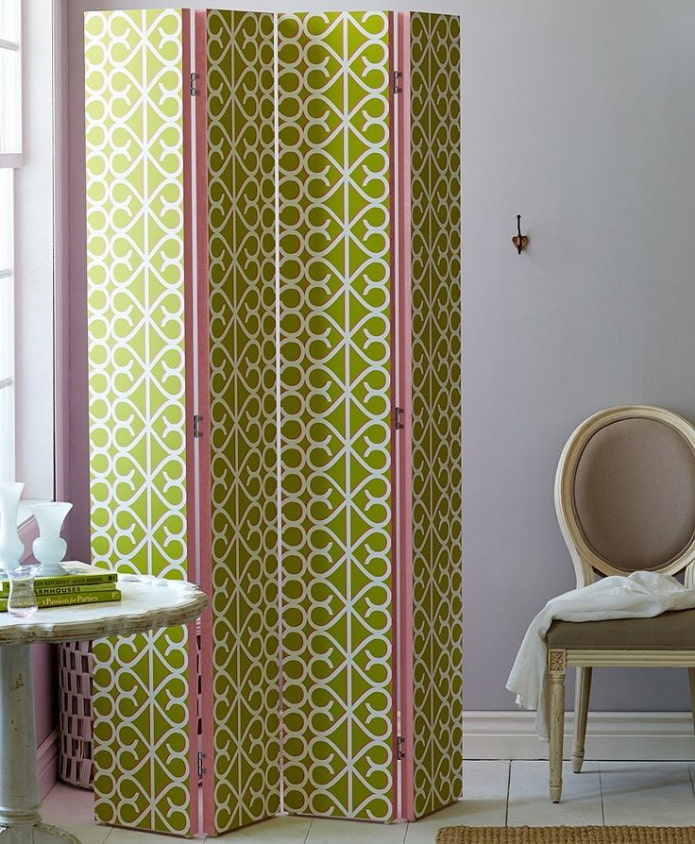
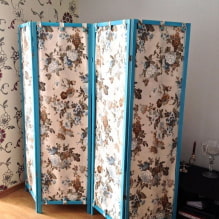
The photo shows a simple folding screen made of boards, pasted over with bright wallpaper. Against the background of the interior in pastel colors, it acts as a bright accent and attracts attention.
Tools and materials
In order to make partitions you will need:
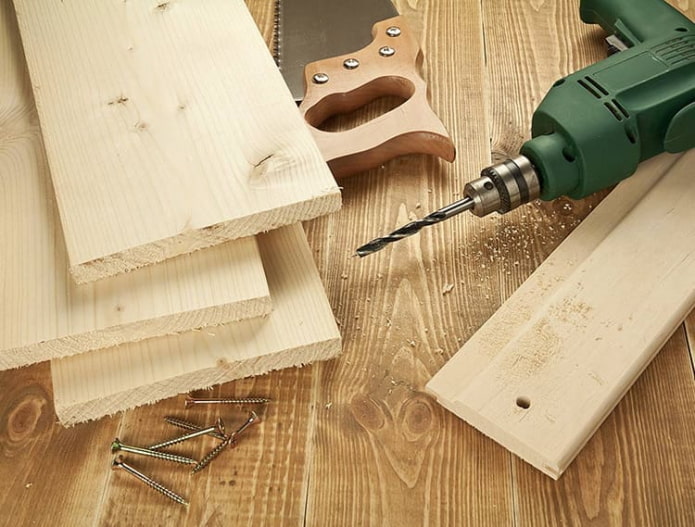
- 4 sanded boards or chipboards of the same size.
- Metal hinges 60 mm, 9 pcs.
- Screwdriver, self-tapping screws.
- Legs for furniture.
- Paint or wallpaper.
- Primer or glue.
Step-by-step instruction
Getting started:
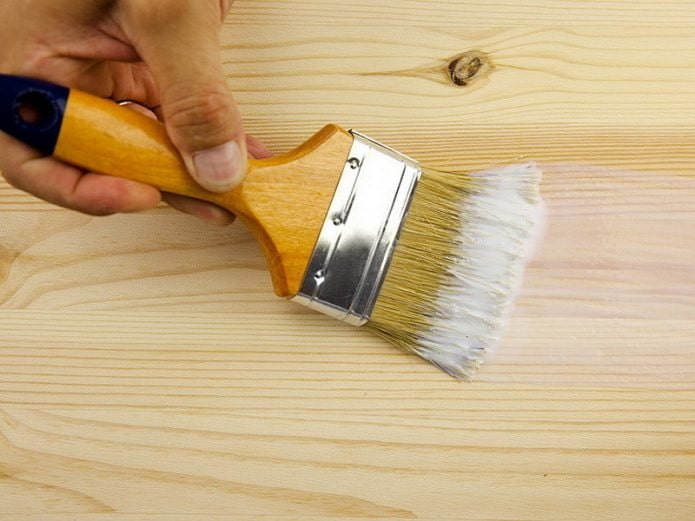
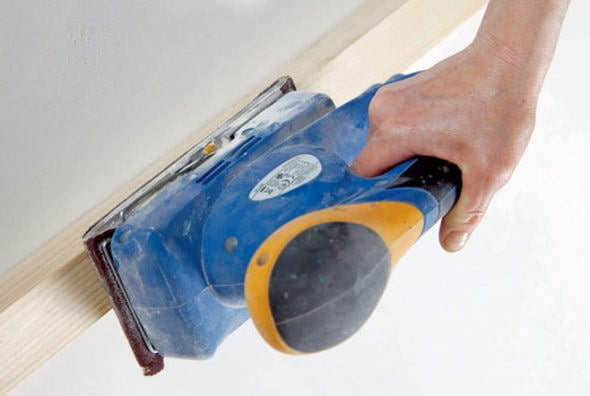
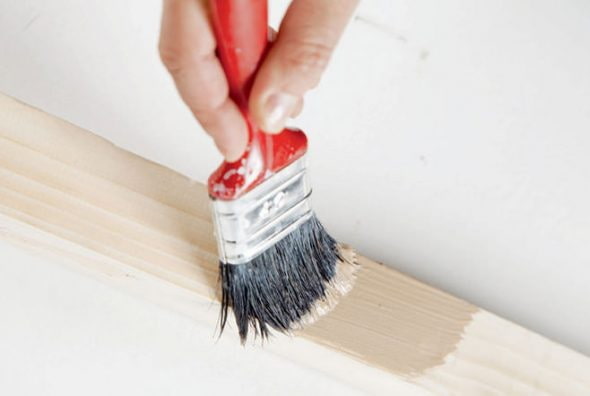
- First of all, we put the boards in order, grind them with sandpaper, if necessary. We decorate in any available way - primer and paint:
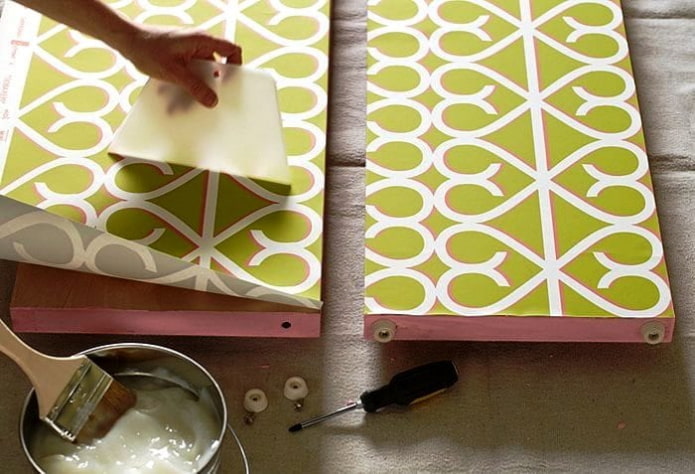
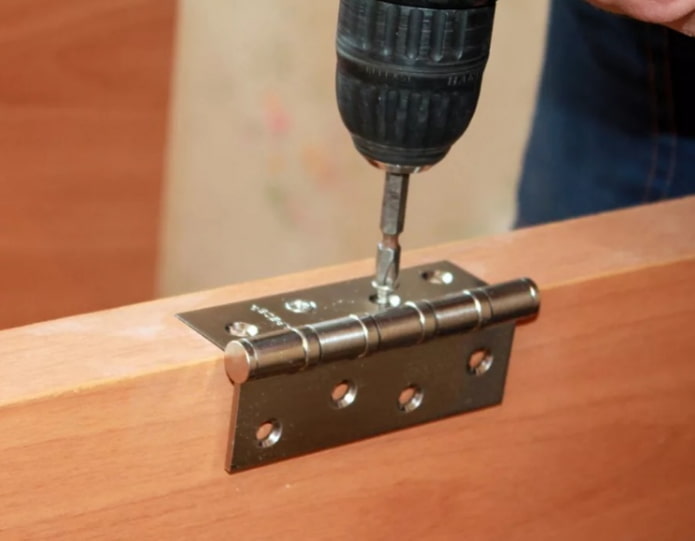
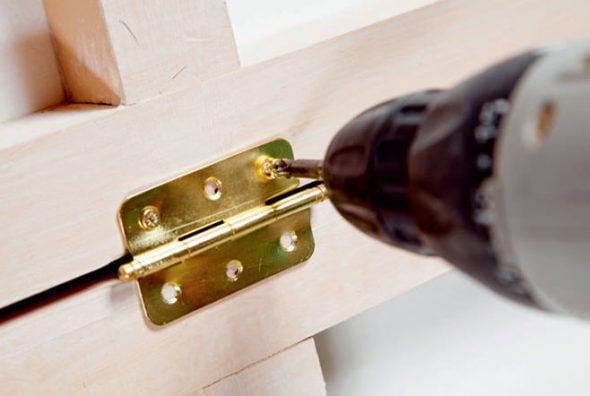
Or we glue the wallpaper: - We fasten furniture legs or casters. Let the blanks dry. The next step is to connect the elements together using loops. Since the boards are heavy in themselves, we fasten the hinges in at least three places.In this way, not only boards are connected, but also plywood, as well as old abandoned doors.
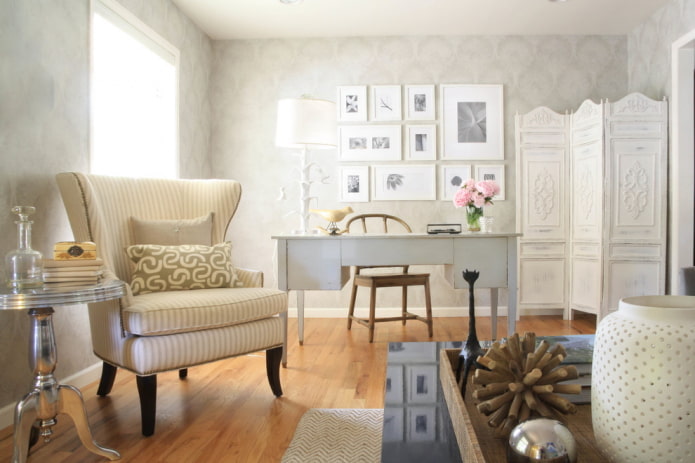
The photo shows an exquisite interior in a classic style, where the partition of old restored doors harmoniously fits.
Screen made of plastic pipes
Such a lightweight, versatile design is perfect for a summer cottage, as well as for various children's games. It is very simple to make it, you just need to imagine the dimensions of the product. Installation work is carried out at home; this does not require any special skills.
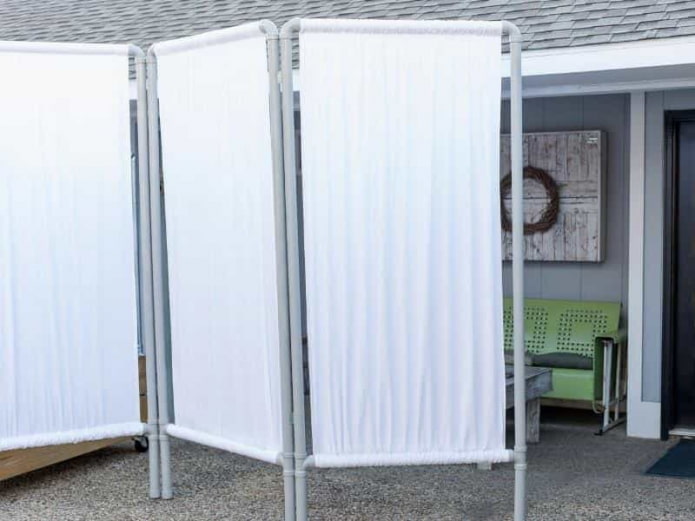
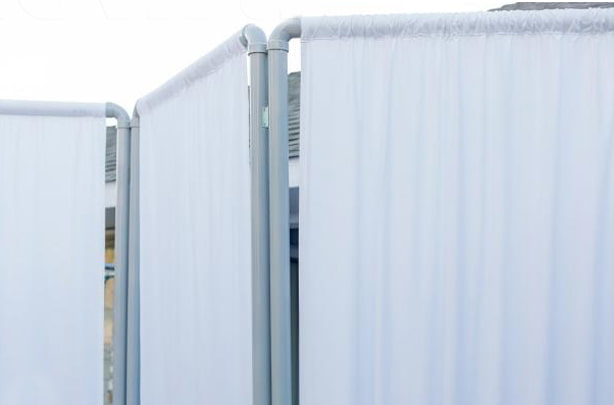
The photo shows a portable screen for giving PVC pipes, painted with gray paint.
Tools and materials
In order to make a structure out of pipes, we need:
- PVC pipes. Their number depends on the number of sections. The height and width of the sections determine the dimensions of the pipes.
- Connecting angles (fittings), 4 pieces for each section.
- Plastic connectors or hinges.
- Hacksaw or special pipe cutter.
- Cloth, sewing machine.
- Soldering iron for pvc pipes or glue for plastic (cold welding).
- Decor paint.
Step-by-step instruction
And now let's talk in detail about making a functional screen with our own hands:
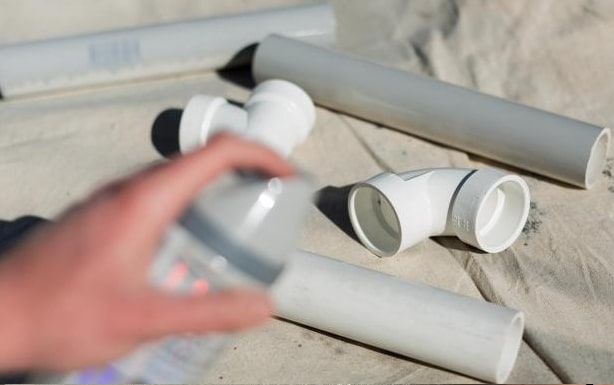
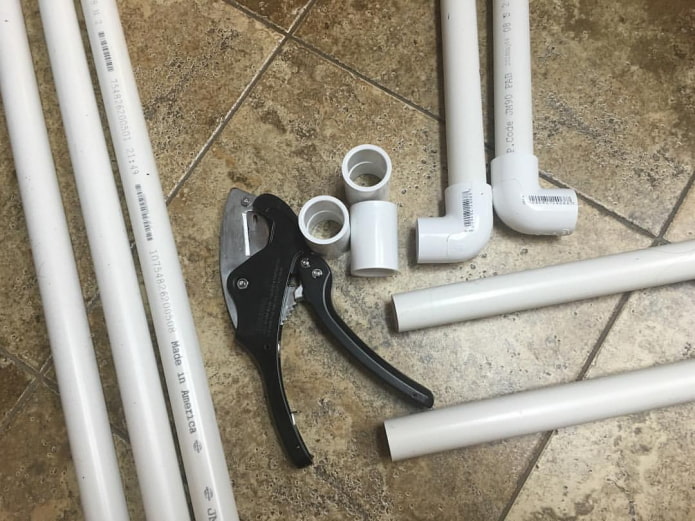
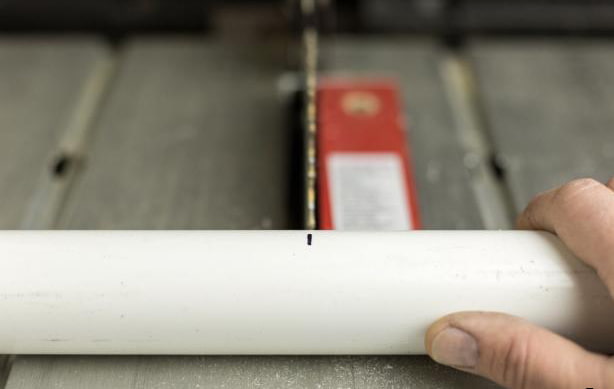
- We cut the pipes into equal parts using tools. Their length depends on the height of the finished screen. For a screen with three wings, you will need to make 6 long parts and 6 short ones.
Acrylic paint or spray paint is used to decorate the frame. You must first degrease and prime the surface.
-
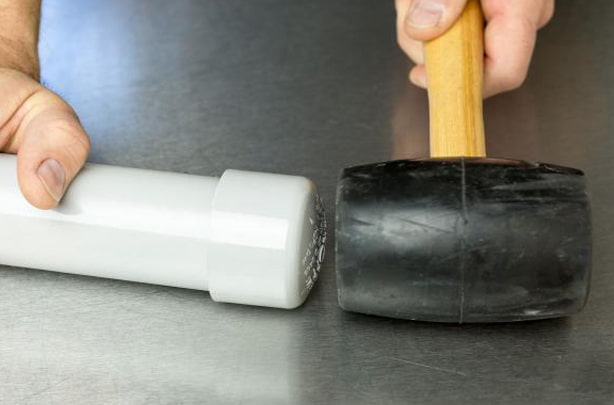
A pipe soldering iron is used to connect the parts, but it is much easier to purchase a jar with "cold welding". With its help, we fasten the elements with corners, making up rectangular sections for the screen.
-
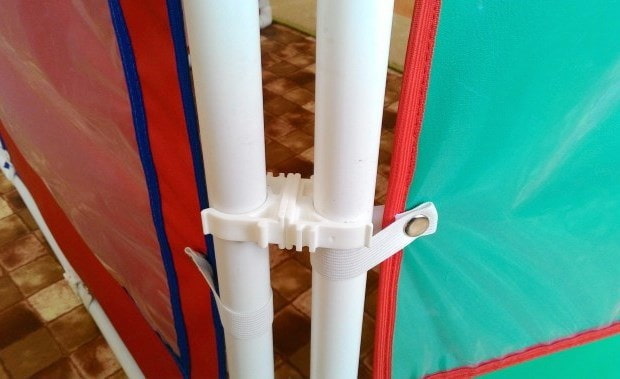
We start draping the walls with our own hands. We calculate their area and sew the fabric from above and below. Velcro, buttons or hinges are also used for connection, which allows you to change the walls depending on your needs. Plastic products are often used in kindergartens for hospital play, puppetry, room zoning, and more. Pockets are sewn onto the walls or windows are cut out.
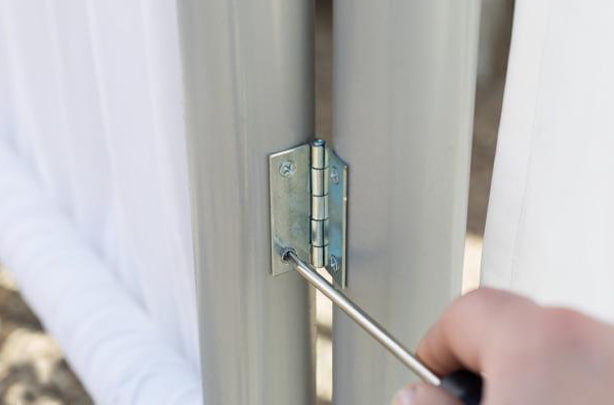
- To make the sash movable, you can use door hinges:
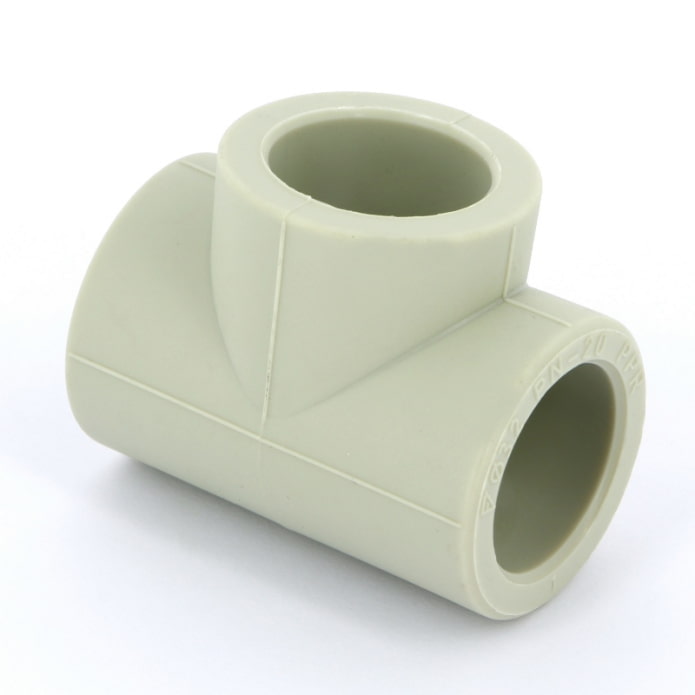
- The creation of a partition with legs requires additional materials and efforts. To do this, during the assembly of the structure, we form not a rectangle, but an arch with a crossbar, connecting the parts using a triple fitting.
-
We put special plugs on the resulting legs.
- The construction is complete. In the summer, it will come in handy in the country during water procedures: a screen with your own hands will serve as a partition in the shower room or near the pool.
A detailed master class on how to make a screen out of propylene pipes in this video:
Decorative screen made of cardboard
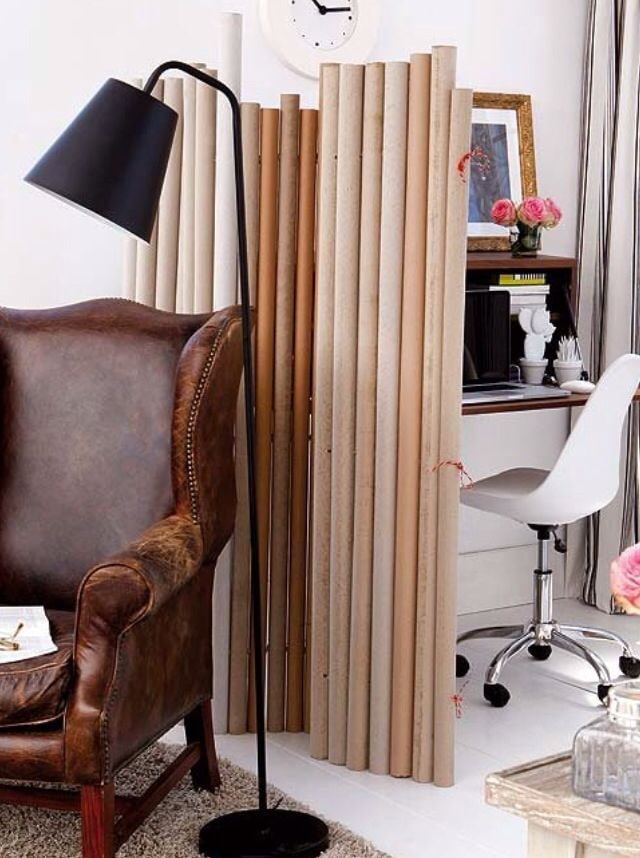
This original product consists entirely of cardboard tubes (sleeves). Even a beginner can handle it. For decoration, you can use paints of different tone or paint a screen for bamboo, the shape of which resembles pipes.
The photo shows a flexible do-it-yourself screen made of cardboard sleeves, dividing the room.
Tools and materials
To create a structure you will need:
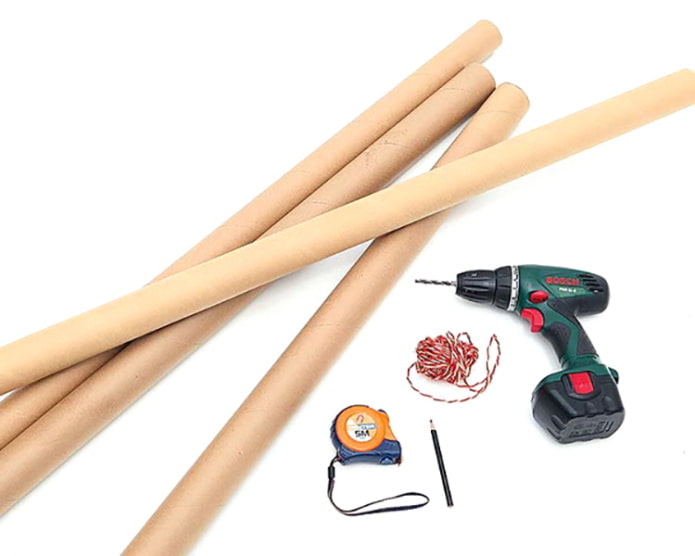
- Cardboard tubes for winding linoleum (about 20 pieces). They are very cheap, some sellers give them away.
- Strong thin rope for joining parts.
- Pencil.
- Drill.
- Roulette.
Step-by-step instruction
Let's start creating a screen with our own hands:
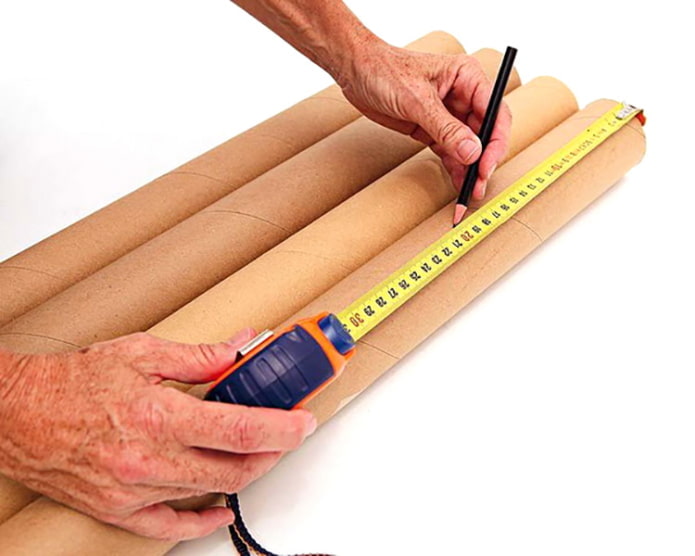
- First, you need to fold all the sleeves in a row to determine the height of the product. We lay out the blanks evenly - this will be the lower part of the product. It is necessary to make the markings at a distance of 20 centimeters from the flat edge. Tubes of different lengths, if desired, are trimmed with a circular saw or knife (the second method is more difficult).
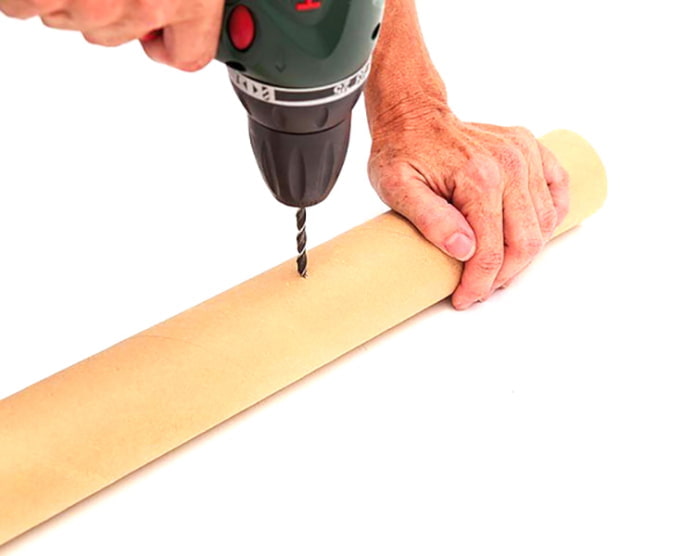
- From each resulting point we measure approximately 1 meter, make a mark. This will be the top hole. In the middle between the points, mark another one. We do the same with each pipe. We drill holes with a drill, working at low speeds.
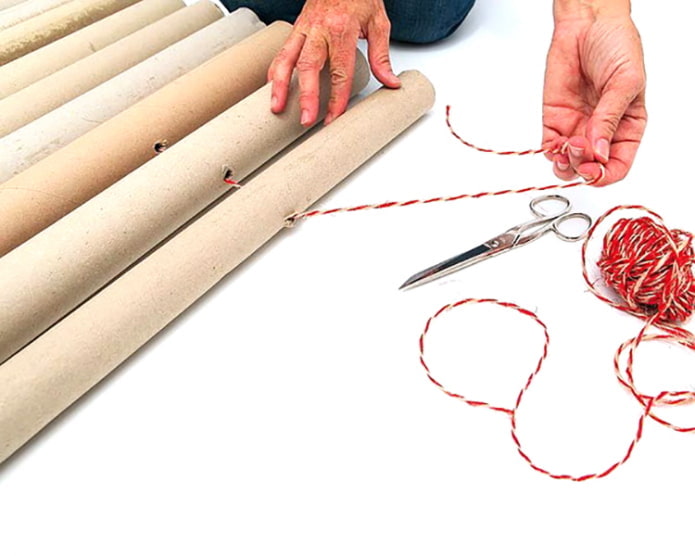
- We pass a strong cord through each row, connecting the parts together.
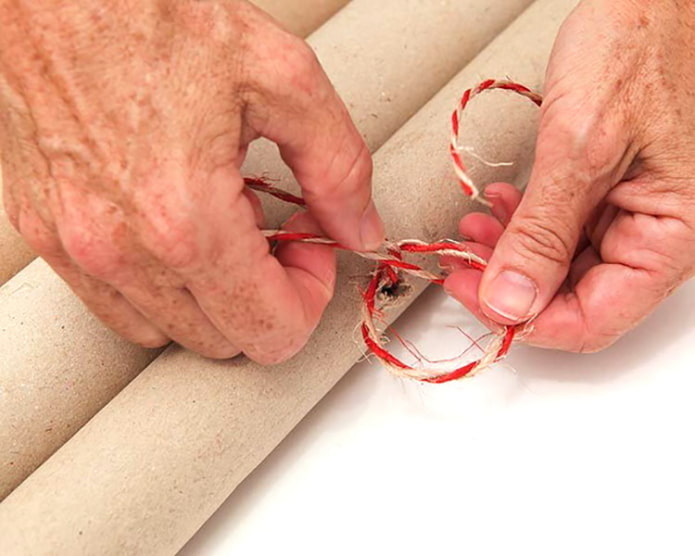
- We tie large knots at the ends. Do-it-yourself cardboard screen is ready! It is worth considering that the larger the "wave", the more stable the structure.
And you can make such a cardboard screen yourself, having in stock only boxes from large household appliances, scissors and PVA glue. Safe and environmentally friendly option for a child's room.
In the photo there is a cardboard screen with your own hands from scrap materials, cut from three tall boxes.
How to make a screen out of blind doors?
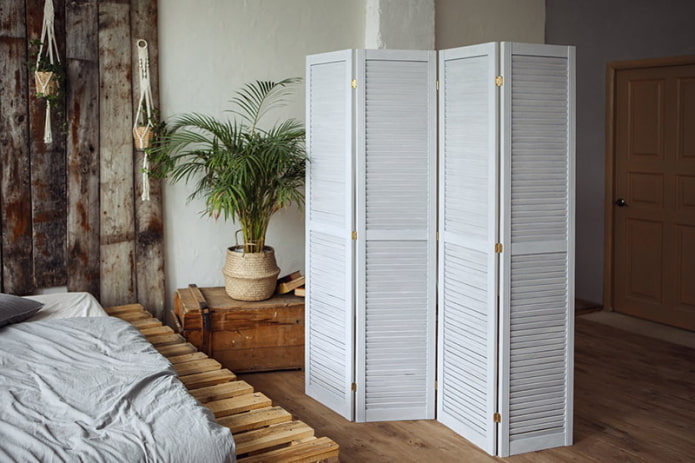
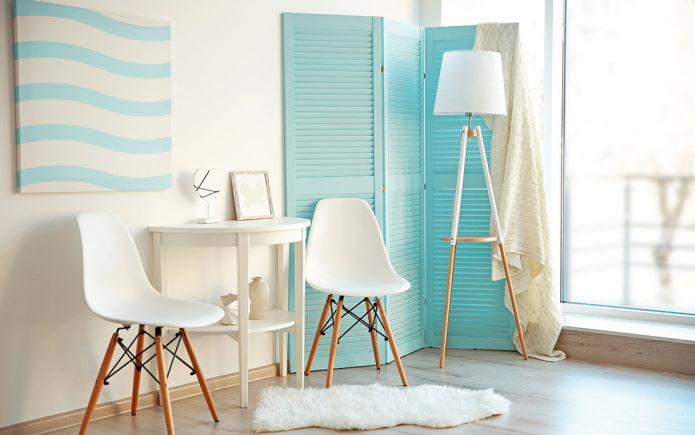
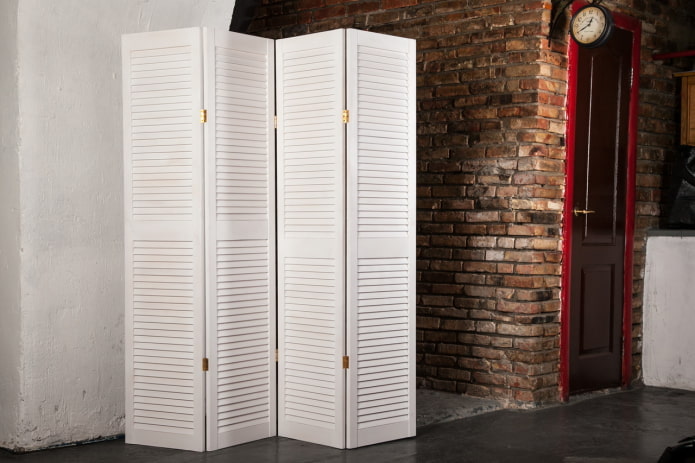
Popular louvered doors look great in any style: Scandinavian, loft, Provence. They look complete on their own and do not require additional decorative elements. If desired, the boards can be painted or left in the natural color of the wood and varnished.
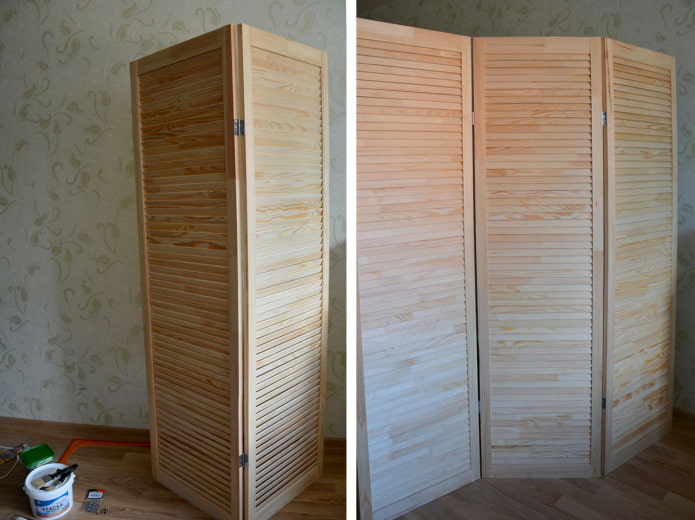
In the photo there is a screen of three louvered doors, painted in azure color.
Tools and materials
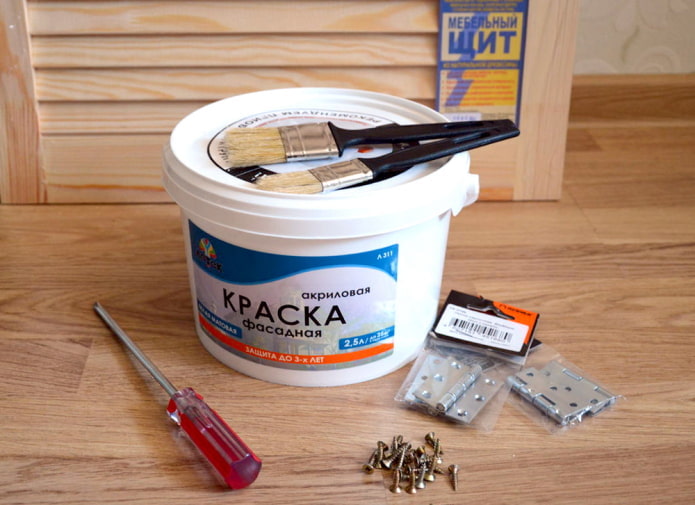
In order to make a screen for the house with your own hands, you will need:
- Furniture boards, 3 pieces.
- Hinges (at least two for each pair of leaves).
- Self-tapping screws.
- Screwdriver.
- Pencil and ruler.
- Water-based paint and brushes (optional).
Step-by-step instruction
The manufacturing process is very simple.
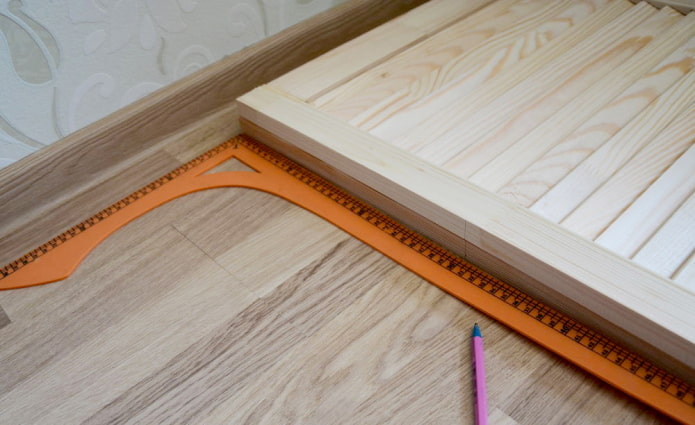
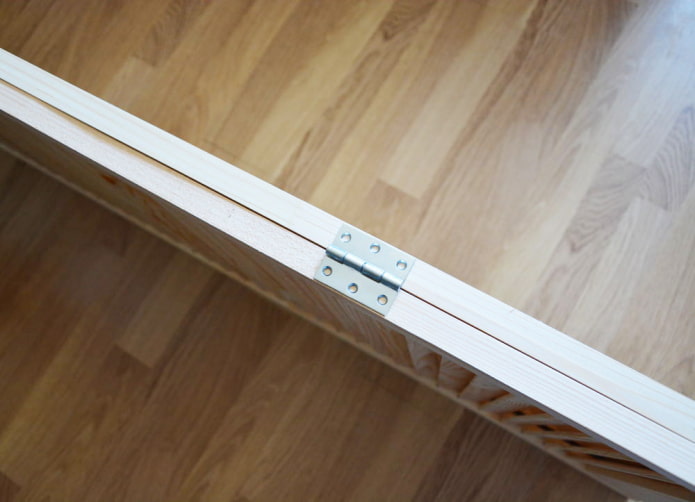
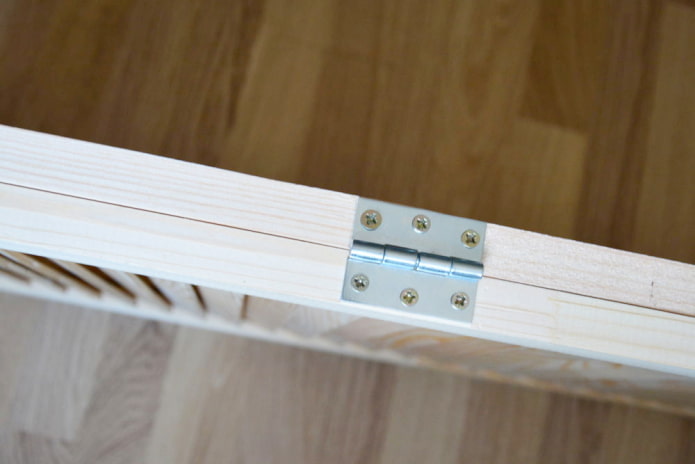
- We fold the shields on top of each other face up, make marks to determine the location of the hinges.
- Trying on the loops. If the doors are high, additional fasteners are installed in the middle.
- We screw in self-tapping screws. Better to do this together so that one person can hold the shields.
-
Trying on the third shield, carefully following the front side. The screen should open like an accordion so that it can be folded and unfolded at any angle. We attach the third door with self-tapping screws using hinges.
- We paint the finished screen in 2-3 layers with acrylic paint and enjoy a convenient and useful piece of furniture.
And this video clearly shows how to make a stylish screen with your own hands:
MK screens made of fabric
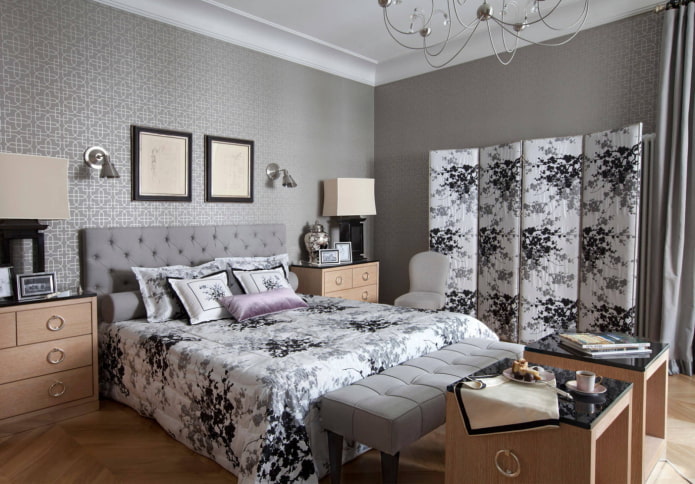
This versatile wood-framed screen looks great in classic, modern and oriental styles. To make it, drawings are not required: it is enough to calculate the height and width of one frame and then proceed by analogy.
In the photo there is a bedroom with a homemade screen against the wall, which echoes the bedspread and acts as a feature of the interior.
Tools and materials
For manufacturing you will need:
- Reiki or bars.
- Sawing tool (hacksaw).
- Corners.
- Drill (screwdriver).
- Self-tapping screws (screws).
- Hinges.
- Cloth fabric.
- Construction stapler.
Step-by-step instruction
Below is a detailed description of how to make a screen with your own hands:
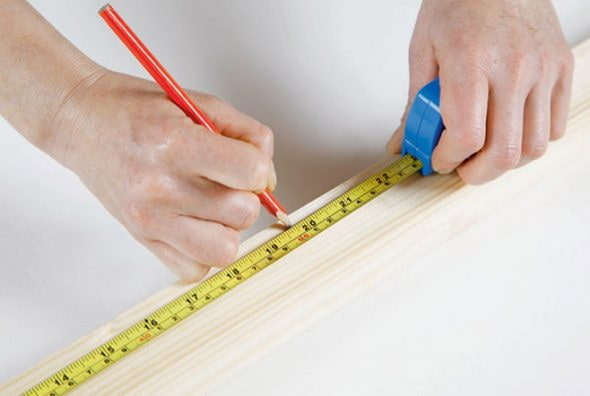
- We make calculations for the future frame. We take the approximate dimensions for a three-leaf structure: 6 bars of 180 cm and 6 bars of 50 cm.
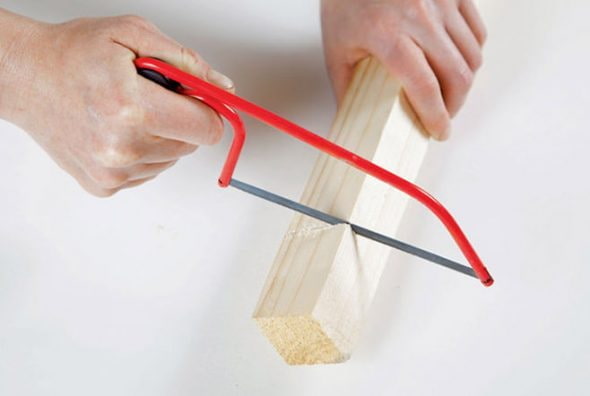
- We cut the bars in accordance with the markings.
- Next, we process the resulting parts: we grind with sandpaper by hand or with a machine.
-
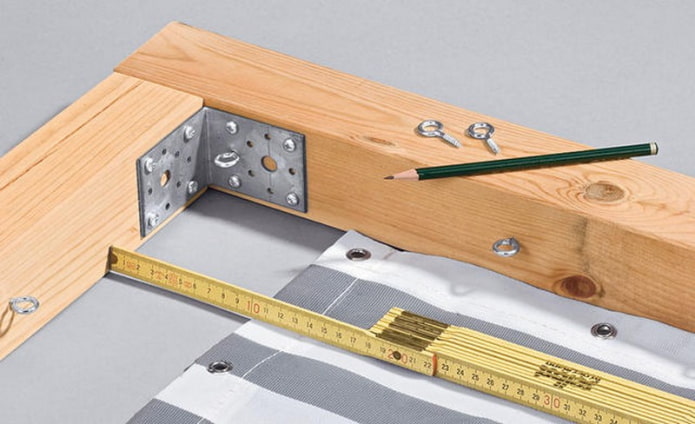
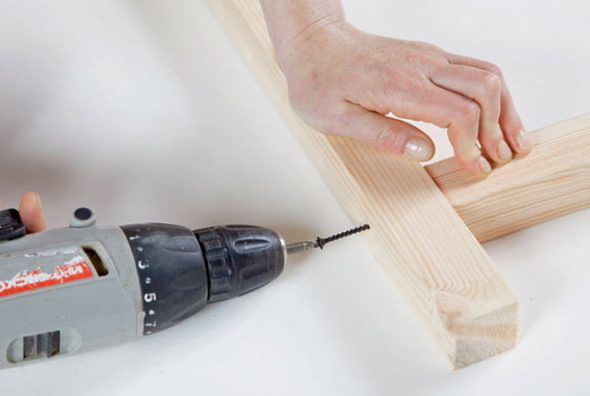
We fasten the bars with screws and corners. By attaching the bar a short distance from the edge, you can make the screen with legs and add wheels that will make the screen more comfortable to use.
- After that, the slats need to be primed, painted or varnished.
- We make similar frames and fasten them together with hinges:
- How to make filling for the walls with your own hands? Several tight cuts are required according to the number of flaps. The area of the drapery should slightly exceed the area of the resulting frames. We fix the stretched fabric with a stapler, tucking it under us. First, we fix the fabric from above, then from below, and lastly - on the sides.
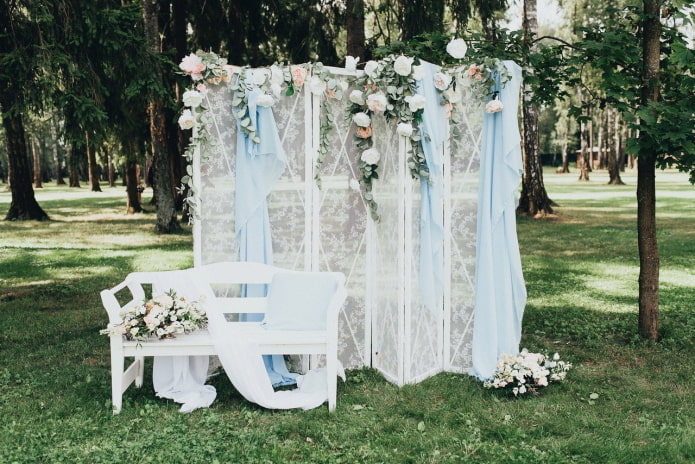
You can decorate the product in any way you like. It is better to take transparent organza, net or tulle as "airy" filling. A small screen, created for decorative purposes, looks light and elegant: it is convenient to hang jewelry on it, demonstrating your exquisite taste. A slatted partition with lace will become a luxurious photo zone at a wedding:
The photo shows a wedding screen, decorated with tulle with patterned embroidery and flowers. After the celebration, the picturesque structure will complement the interior in the classic style.
This video describes step by step how the craftswomen independently make a screen for separating the kitchen and bedroom:
Interior ideas
The main purpose of the screen is considered to be the zoning of space. But this old decorative element can solve much more interesting problems:
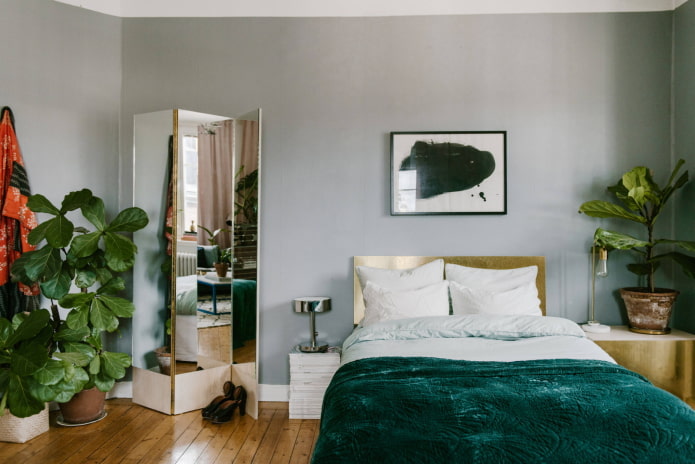
- The wooden structure, equipped with mirrors, will not only complicate the interior, visually expanding the space, but will also help you appreciate your appearance. She will also hide the owner from prying eyes while dressing.
- In the room of a needlewoman or artist, there is often a creative mess that oppresses household members. The partition will hide the scattered objects and allow the creator to create their own masterpieces without disturbing anyone.
- Let's not forget about solitude. The screen is useful if two people live in a room, but one person has sat in front of a TV or computer screen, and the second needs to rest. The baffle partly helps to alleviate this problem by muffling sound and reducing light penetration.
In the photo there is a bedroom with a three-piece partition in the form of full-length mirrors.
- Another possible use of the screen is the zoning of the combined bathroom.If the bathroom is too spacious, a hand-made partition will help you retire. She performs the same function on the balcony, protecting from unwanted neighborly glances.
- If the structure began to take up too much space, it can easily turn into the head of the bed: you just need to fix it on the wall.
- Separately, it is worth talking about a homemade screen for photographers and craftsmen who expose the results of their work to the network. A beautiful product serves as a good background for various handmade items.
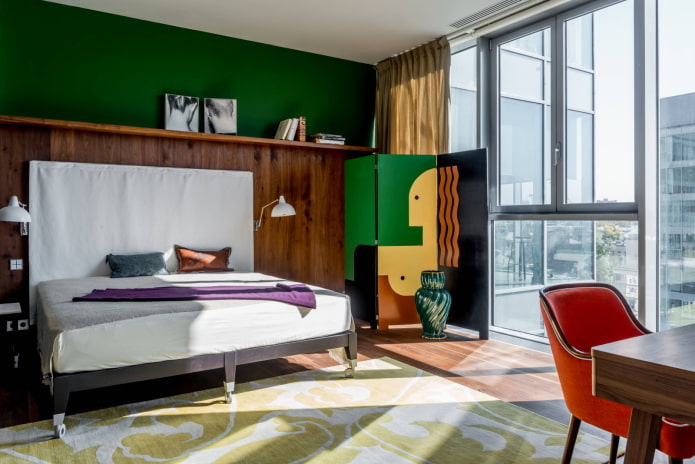
The photo shows a light modern screen made of wood, which harmoniously fits into the interior of the bedroom with panoramic windows. It helps to protect sleeping people not only from prying eyes, but also partially from sunlight.
Photo gallery
To acquire an unusual and memorable piece of furniture, just let your imagination run wild. The original partition is a budget way to add coziness and expressiveness to your room. In addition, a self-made screen will become a source of pride, and design ideas are easy to find in our selection.

 10 practical tips for arranging a small kitchen in the country
 12 simple ideas for a small garden that will make it visually spacious


 10 Ways to Renew Your Interior Easily and Easily
 How to make a decorative partition with your own hands?
 How to make a coffee table from pallets with your own hands?
 How to make a rug from bottle corks?
 How to make a do-it-yourself pencil holder out of cardboard?
 Decoupage plates with craquelure