Shoe rack made of cardboard
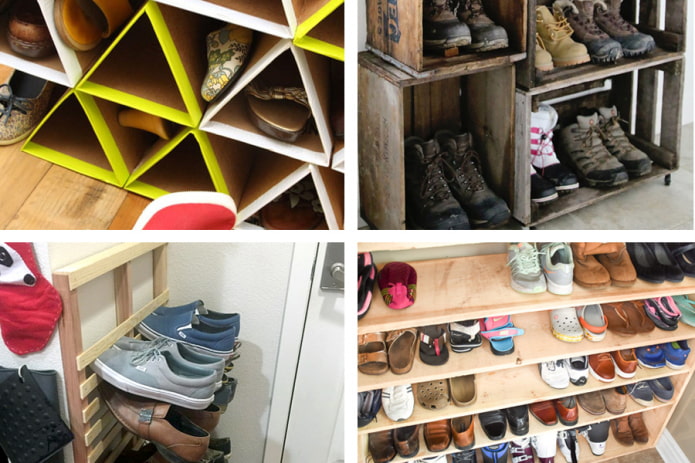
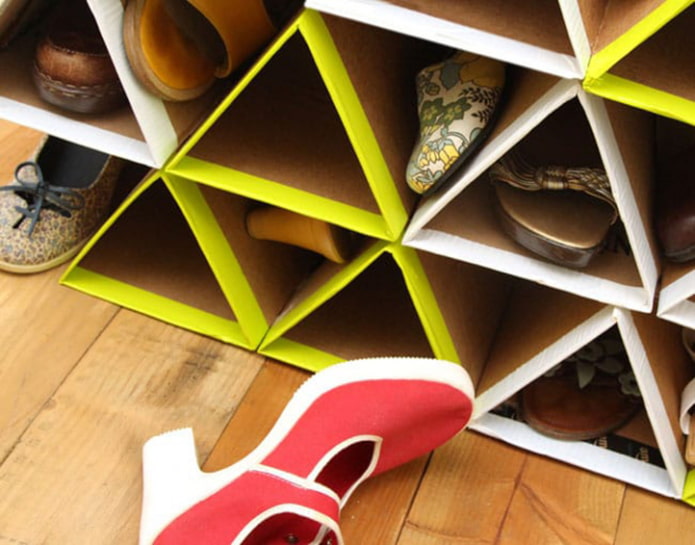
Let's start with the materials at hand. This compact shelf unit with an unusual shape can be made from plain cardboard.
A great option for those who move a lot or live in a student hostel: when the need for a shoe rack disappears, it can be simply disposed of. This design looks not very reliable, but in fact it turns out to be very durable.
Tools and materials
For work you will need:
- Carton boxes.
- Wide scotch tape (color can be used).
- Double-sided tape or glue.
- Scissors.
- Ruler and pencil.
Step-by-step instruction
Each individual module is an equilateral triangle tube. Its dimensions depend on the size of the shoe.
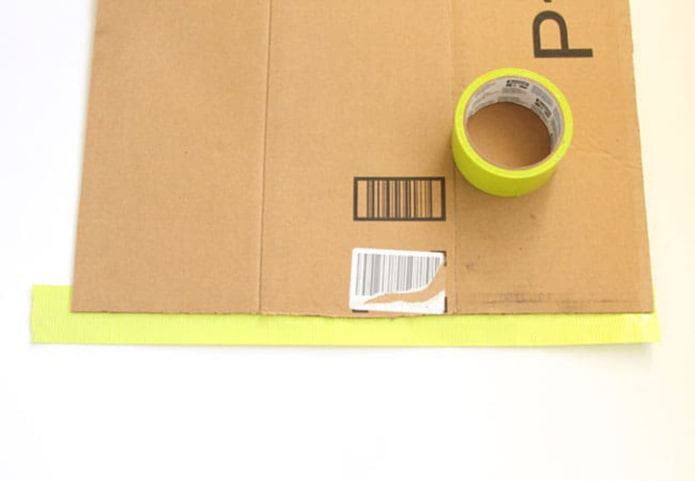
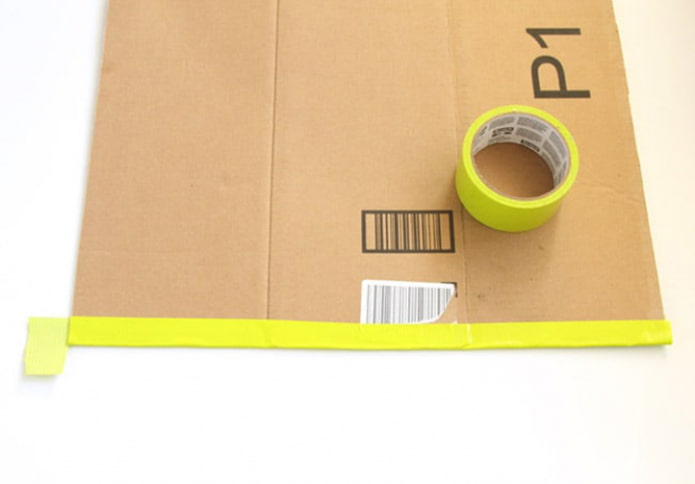
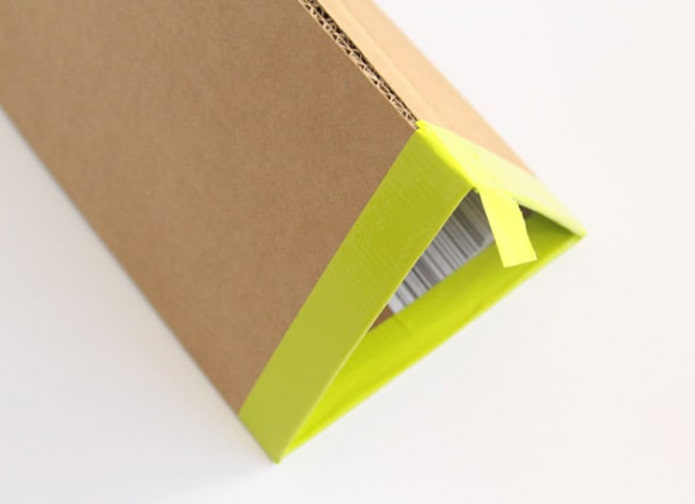
1. Cut off a piece of cardboard of the desired size (about 55x65 cm). We divide it into three equal parts. We glue the edges with adhesive tape on both sides, leaving a "tail", as shown in the photo.
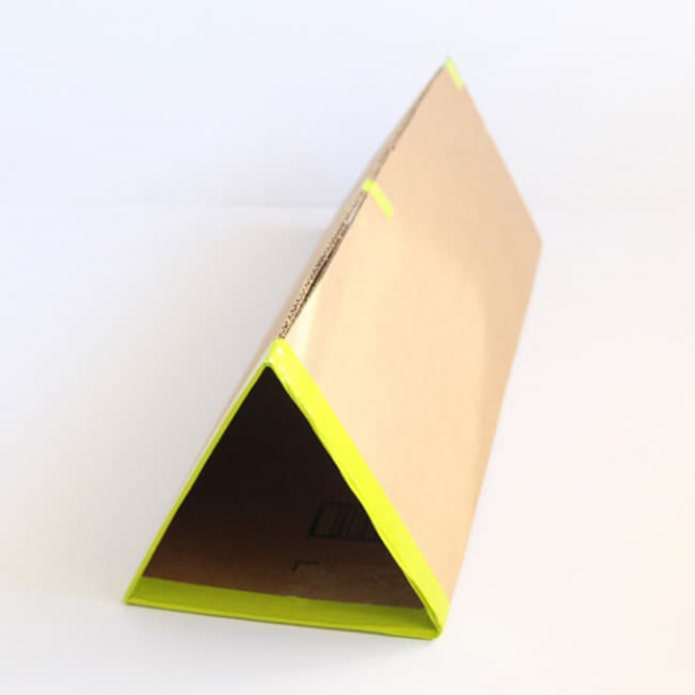
2. Bend the cardboard and connect the edges together, forming a triangle.
3. You should get a firmly fixed module:
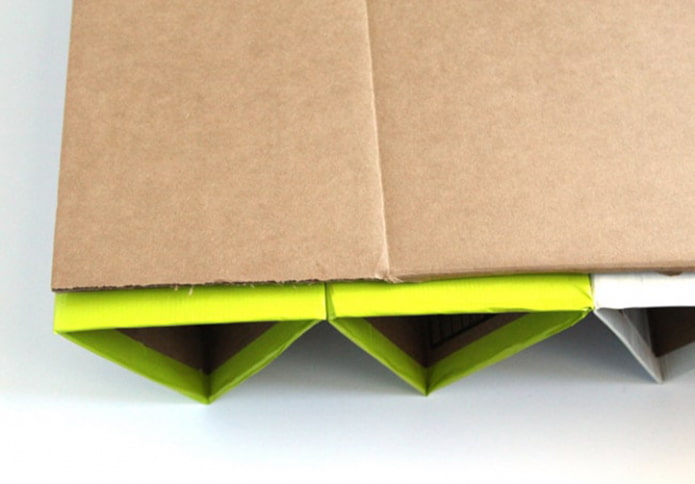
4. Create a few more triangular tubes by gluing each row to thick cardboard. We connect them together to make a rack.
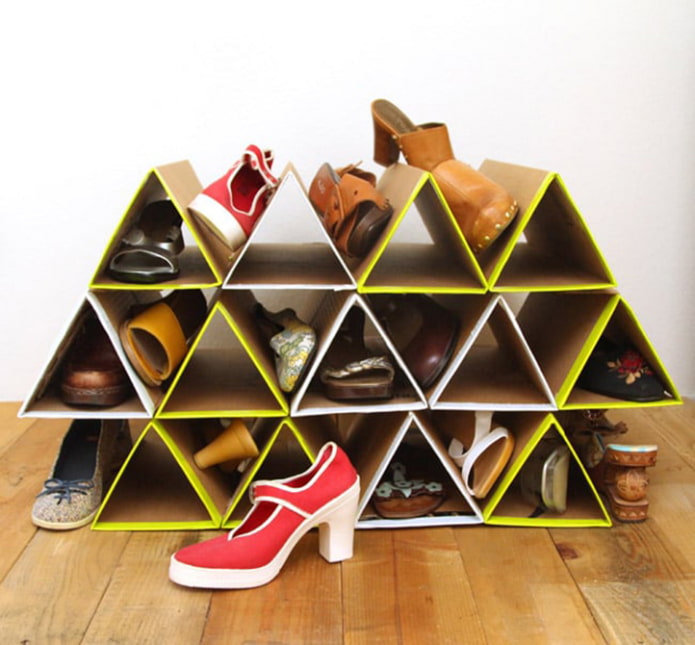
5. In the shoe rack shown in the photo, the number of rows alternates. The top row can be left free and house slippers can be stored there, or covered with a thick sheet of cardboard.
Thanks to the principle of vertical storage, such a shoe rack holds a lot of shoes and takes up a minimum of space.
Shoe rack from boxes
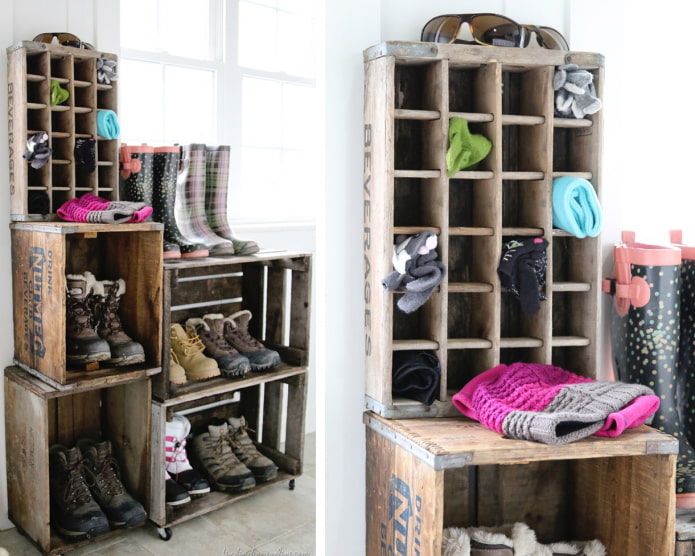
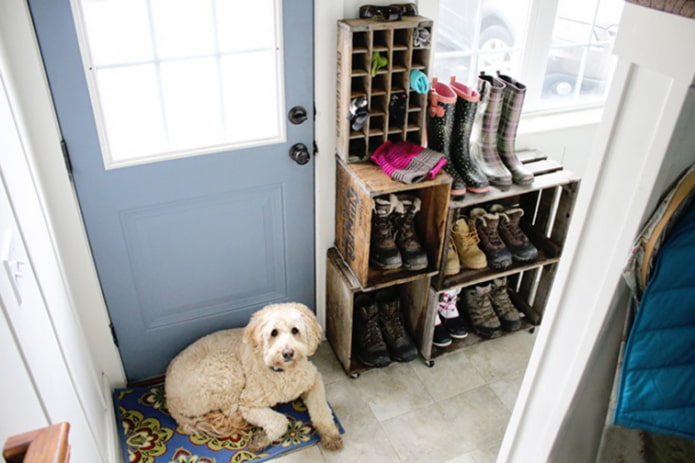
This distinctive shoe storage design will blend in perfectly with your style loft, scandi, boho and country. As a starting material, you can take new boxes or use vintage ones to emphasize the character of the shoe rack.
Tools and materials
To create you need:
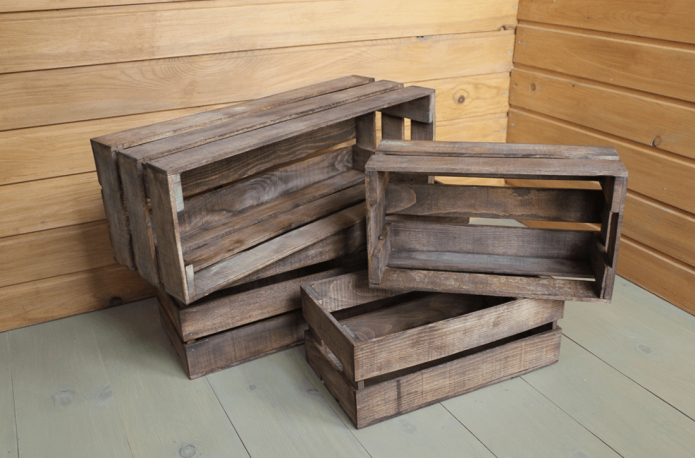
- Crates: These are easy to find at flea markets, fruit and vegetable stores, or custom made.
- Perforated fastening tape of various sizes for connecting drawers.
- Furniture casters with circular rotation.
- Screwdriver.
- Small screws.
Step-by-step instruction
Let's start creating a shoe rack:
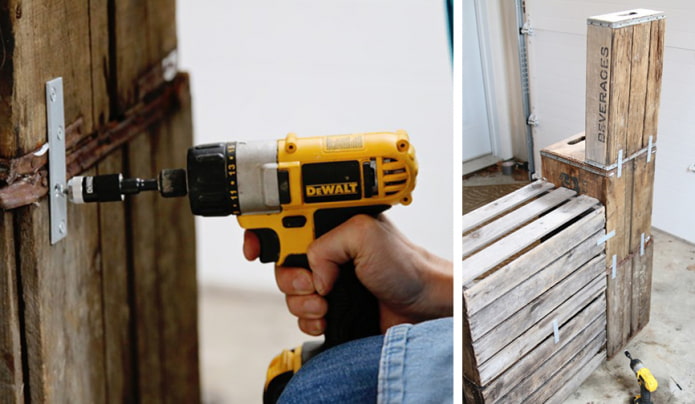
1. We form a structure of a suitable size, stacking boxes on top of each other. If you want to paint the elements, it is better to do it beforehand. We connect the boxes with screws and metal brackets to make the rack stable.
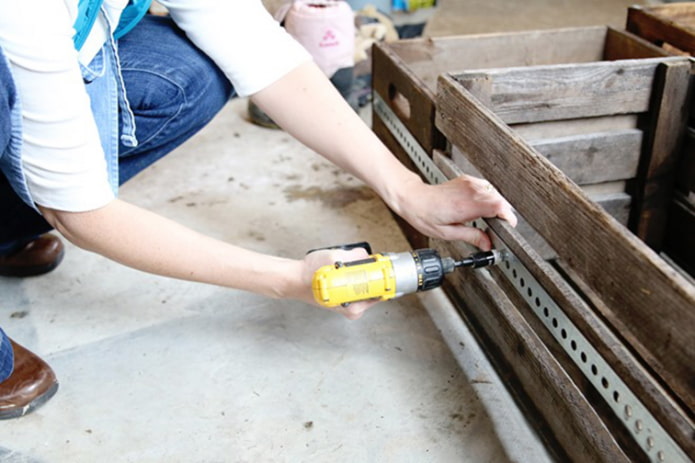
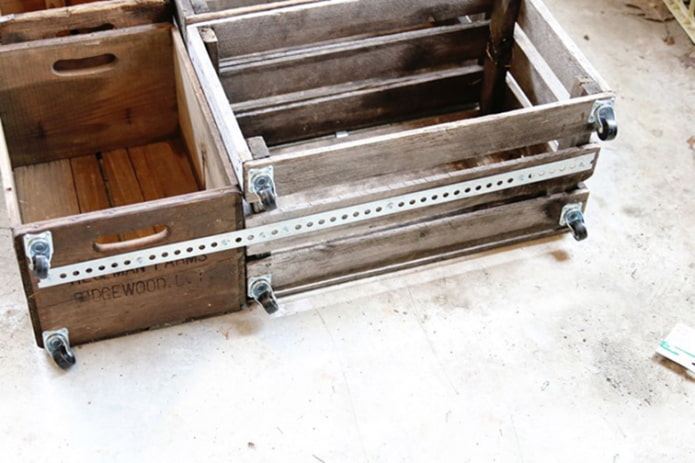
2. We attach a metal strip to the bottom of the shoe rack to reinforce it.
3. We fix the furniture wheels. To prevent the boxes from sagging, we recommend equipping them with rollers in the middle. The wheels will allow you to move the shoe rack and make cleaning easier.
4. You should also fasten the boxes together using screws on the inner walls. Hooks can be added to the outside of the structure for convenient storage of keys. The vintage homemade shoe rack is ready!
Shoe ladder
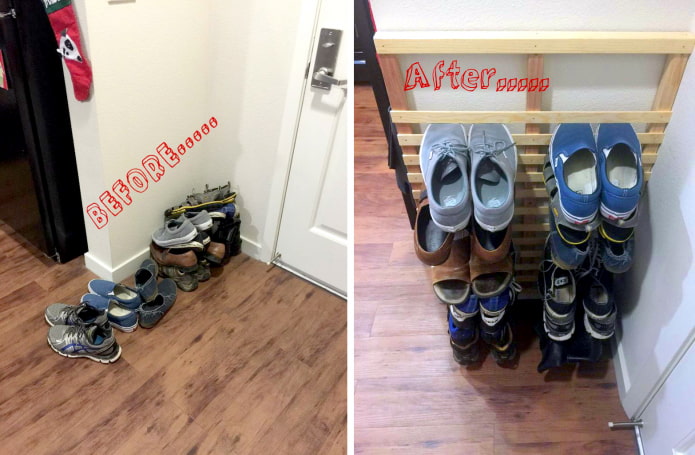
This design is a real find for those who want to save space in a compact hallway.The advantage of a wall-mounted shoe rack is in its dimensions: without shoes, it is practically invisible.
Tools and materials
For work you will need:
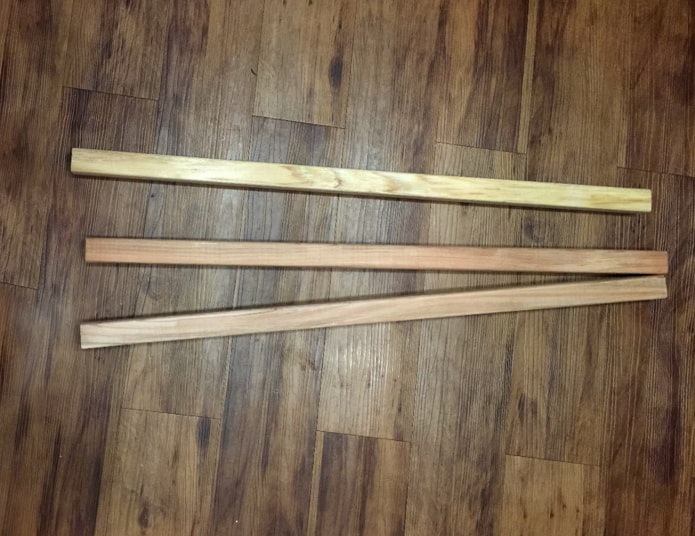
- Vertical supports: bars about 4 cm thick.
- Horizontal slats.
- Screws and screwdriver (or drill).
- Nails and hammer.
- Roulette, level, pencil.
- Sandpaper.
Step-by-step instruction
Getting started:
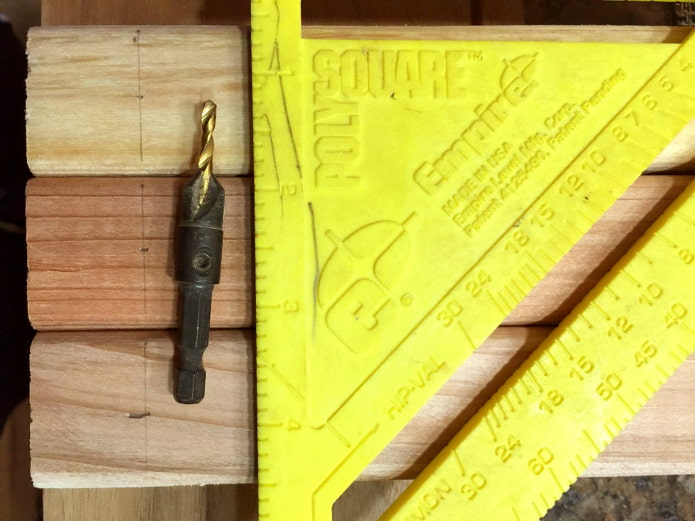
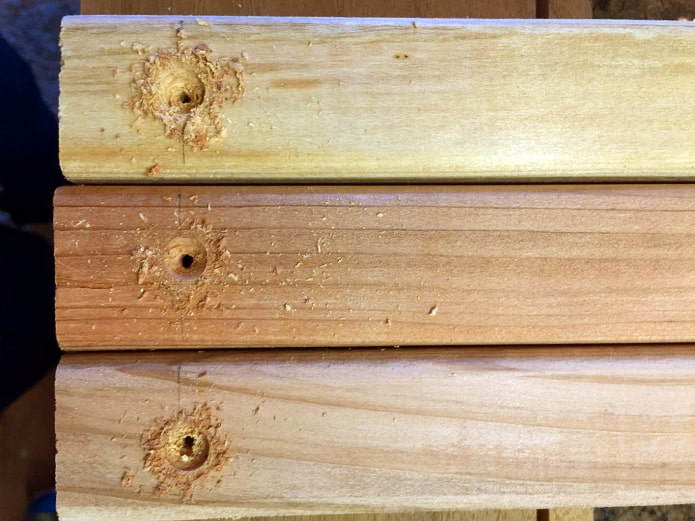
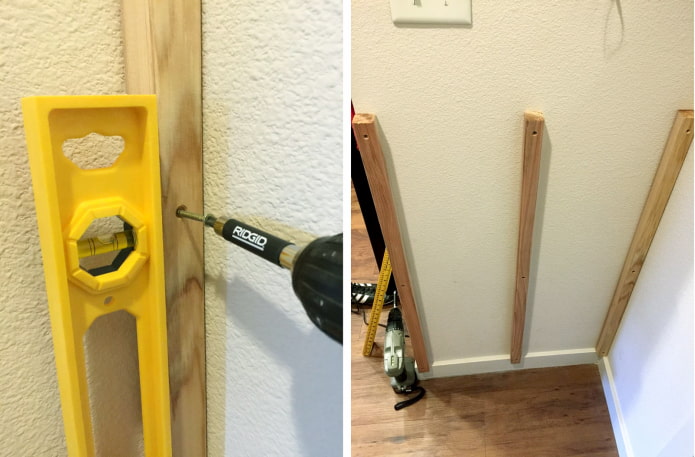
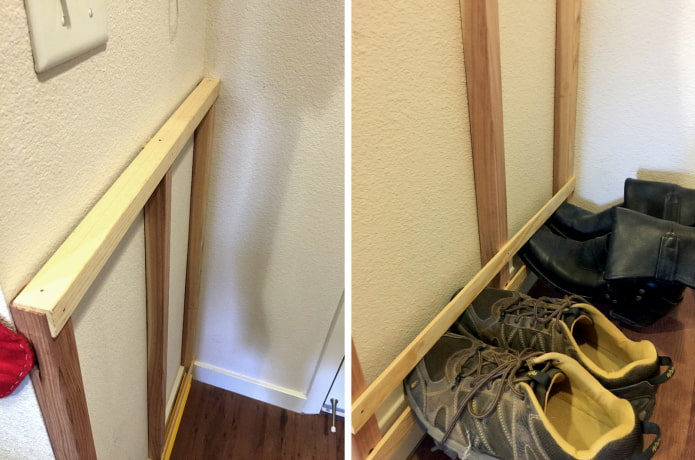
1. We saw bars and slats in accordance with the dimensions of the wall. We drill holes in vertical supports in advance.
2. We fix the frame on the wall with screws. If the wall is solid, dowels and a perforator will be required. At the same stage, you can paint the future shoe rack, cover it with varnish or stain, which will protect the wood from fungus.
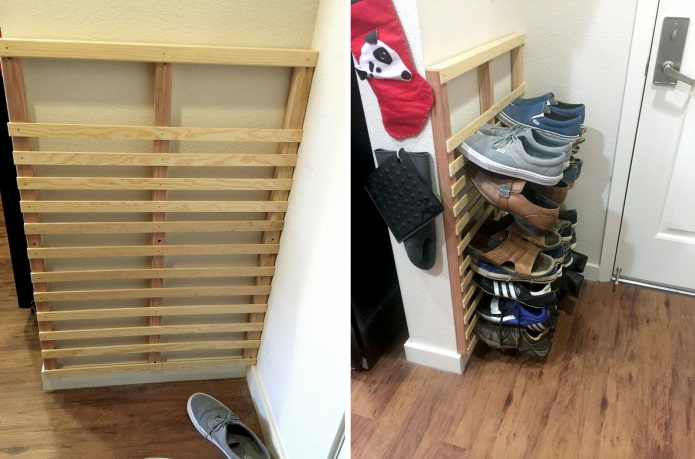
3. Using nails and a hammer, we fix the upper horizontal bar, then fix the crossbars at such a distance that the shoes can be held by their own weight. We set aside the lower tiers for heavier boots.
4. The edges of the laths must be sanded on all sides. The shoe ladder is ready.
Large shoe rack
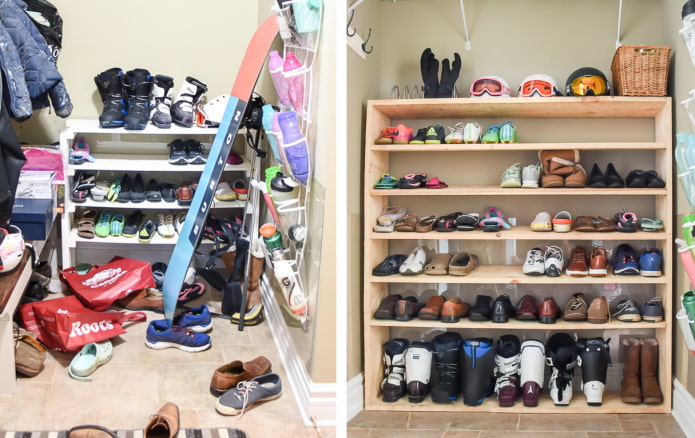
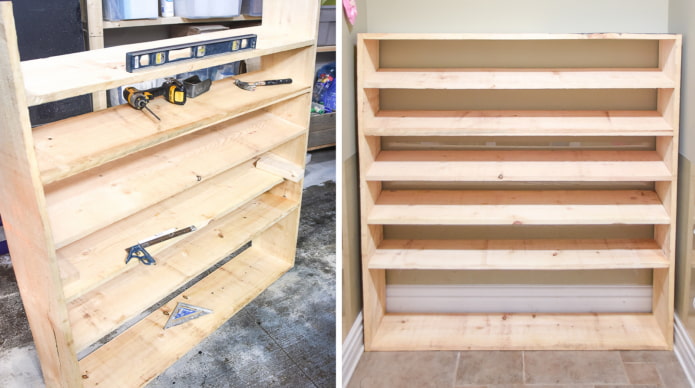
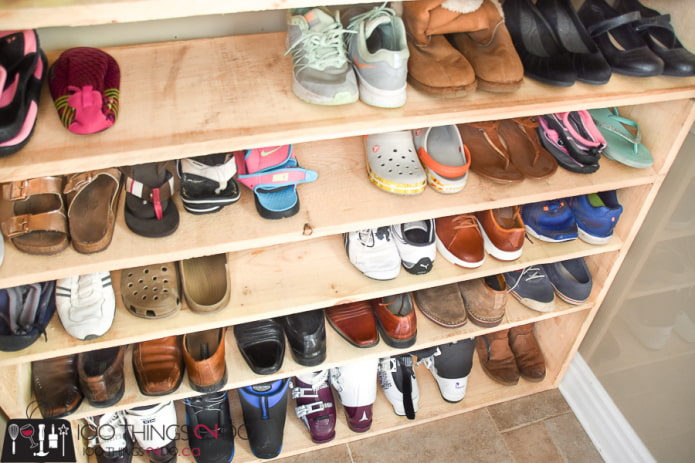
An excellent solution for dressing rooms, as well as hallways, where it is convenient to store a huge amount of shoes in plain sight. Due to its impressive size, the design will allow you to tidy up the entrance area.
Tools and materials
To create you need:
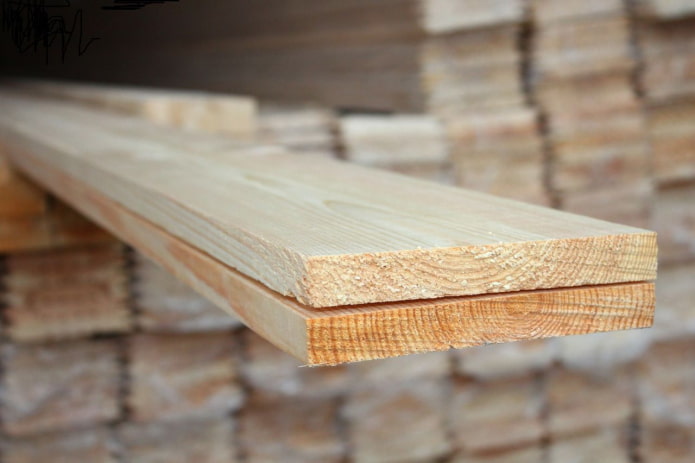
- Boards (eg pine). For a vertical frame, thicker products will be required, and for horizontal shelves, thinner boards.
- Roulette, level, pencil.
- Drill.
- Self-tapping screws.
Step-by-step instruction
Getting started:
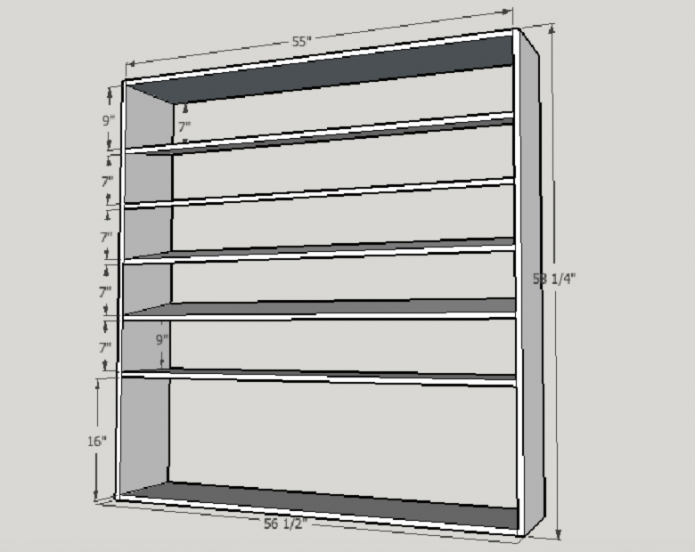
1. Before cutting the boards, a drawing should be created in accordance with the dimensions of the room.
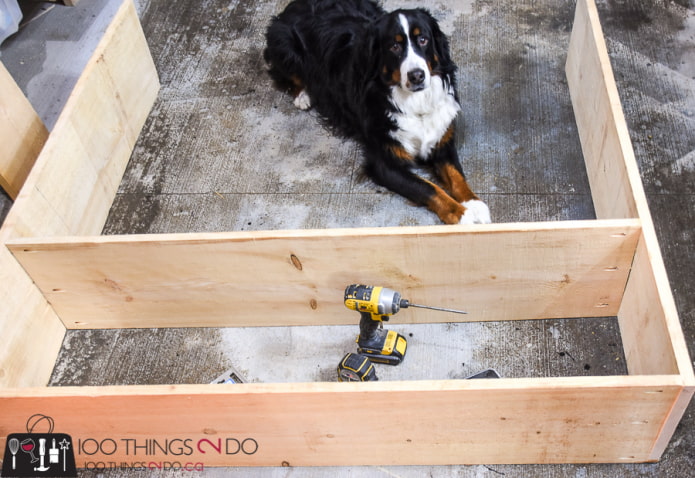
2. We start assembling the frame from the bottom base, screwing the screws at an angle. Three bindings per side are sufficient.
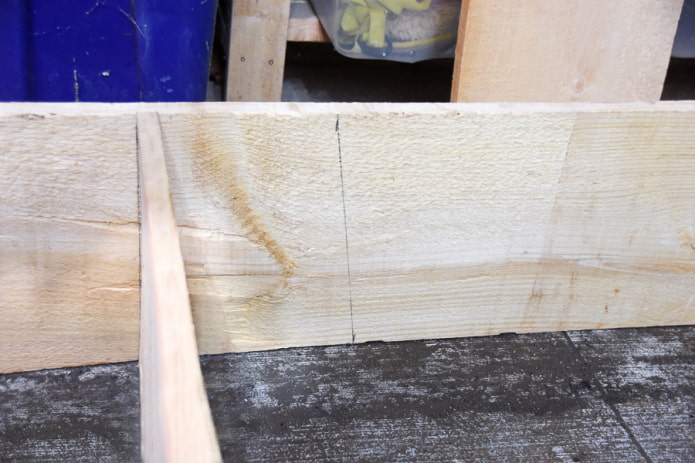
3. For ease of use, internal shelves can be installed at a slight slope. Use the previous board as a guide and measure the slope with a ruler. We fix the board.
4. We repeat the procedure until we reach the top shelf. We set it at an angle of 90 degrees.
5. If the boards are not processed, it is worth walking over the surface with sandpaper and covering the finished shoe rack with a protective compound.
Shoe rack
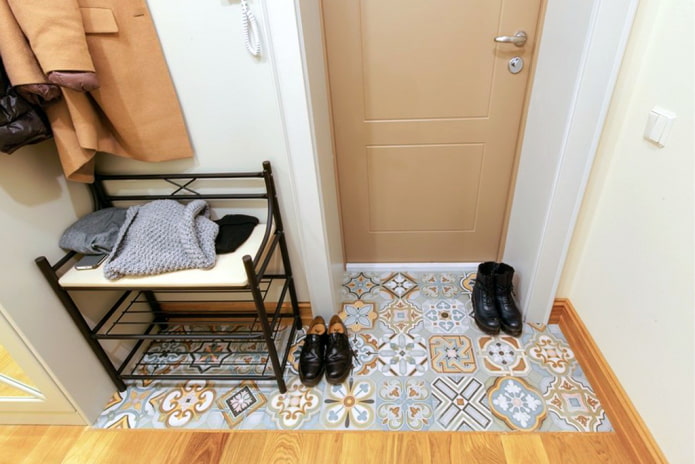
And making this sleek shoe rack with padded seat doesn't require any special tools.
You will need:
- Plywood - 10mm 800x350.
- Ruler, tape measure, pencil.
- Sandpaper.
- Pine beam 30x40mm.
- Furniture corner 60x60 mm (4pcs).
- Knife.
- Furniture board 800x350x18.
- Furniture wax + rags.
- Self-tapping screws 16mm (24pcs), 50mm (4pcs), 30mm (10pcs).
- Drill 3.5 mm.
- Wood glue d3.
- Drill (brace).
- Foam rubber 40mm s22 / 36, 20 mm.
- Manual stapler and staples 8 mm.
- Screwdrivers for self-tapping screws.
- Velor 1400x800 mm.
- Needle and nylon thread.
- Spunbond.
Ready shoe rack You can always buy in a store, but a self-made design will become an exclusive decoration of the hallway and will arouse the genuine interest of guests.

 10 practical tips for arranging a small kitchen in the country
 12 simple ideas for a small garden that will make it visually spacious
 10 easy and simple ways to update your interior
 How to make a decorative partition with your own hands?
 How to make a coffee table from pallets with your own hands?
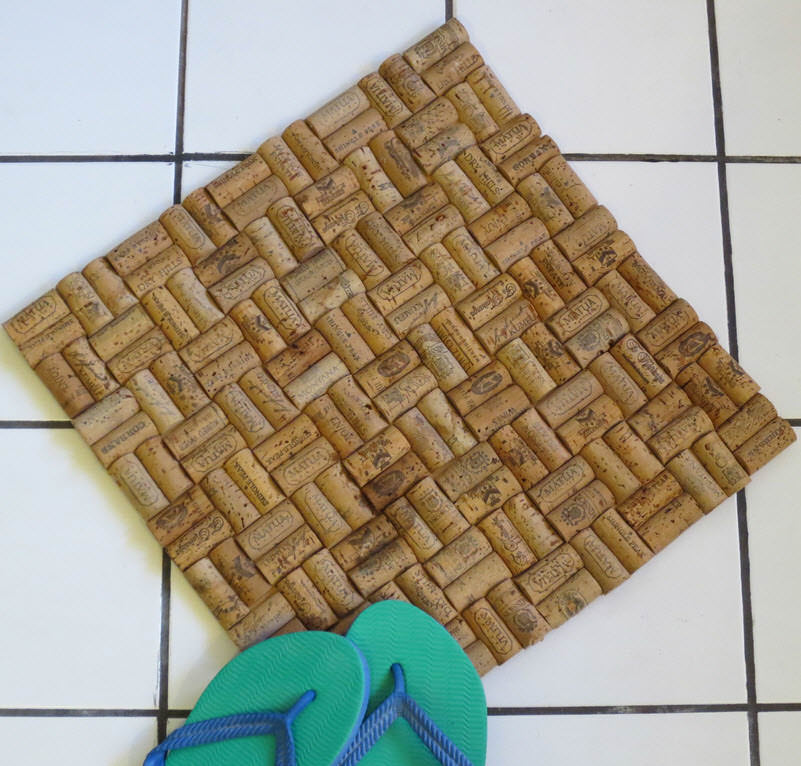
 How to make a rug from bottle corks?
 How to make a do-it-yourself pencil holder out of cardboard?
 Decoupage plates with craquelure