Panel "Heart" from threads with your own hands
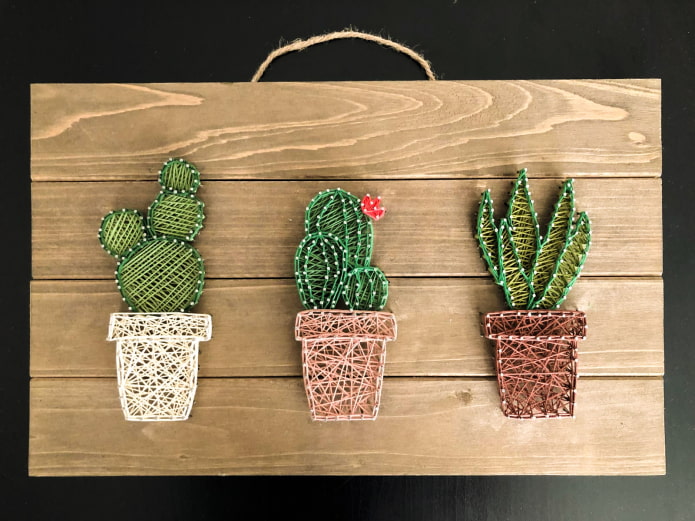
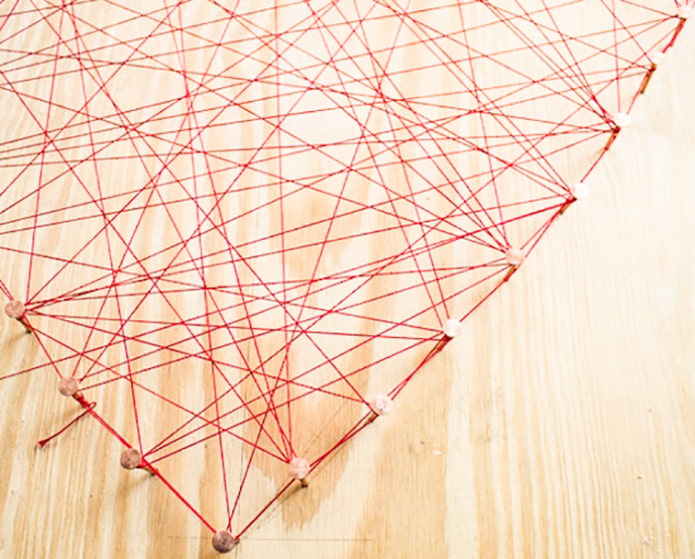
To have an idea of the string art technique, one should understand its main principle: a solid surface is always chosen as the basis, into which nails are driven in, and threads are pulled between them in a certain way. The result is a three-dimensional picture, as if shaded with color, combining brutality and airiness.
First, let's talk about the easiest way to create a panel for beginners. Such a craft can be made together with the child: he will really like to pull the threads, because the result is guaranteed to get a picturesque picture.
Tools and materials
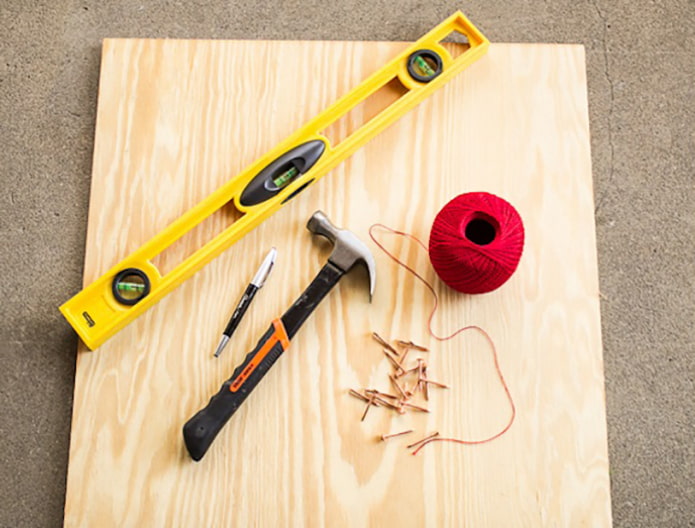
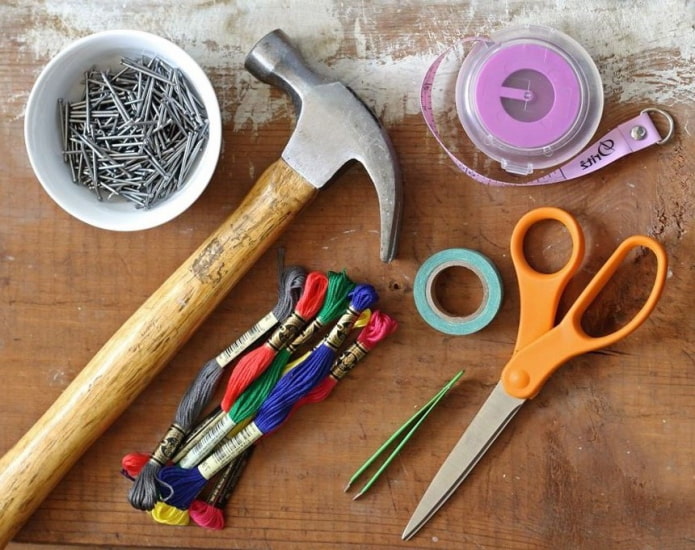
To make a panel of nails and threads with your own hands, you will need:
- Wood base: softwood plank, plywood, cork or saw cut. A bamboo board will not work - the nails go into it too hard. If you take foam as a base, then a hammer is not required, but the thread tension should be weak.
- Yarn. A floss, twine or yarn for knitting will work: they must be strong, since a single break can ruin the whole craft.
- Paper and pencil.
- Lots of little carnations. Their length depends on the thickness of the base.
- A hammer.
- Pliers.
Step-by-step instruction
Start creating a simple nail and thread painting with a drawing:
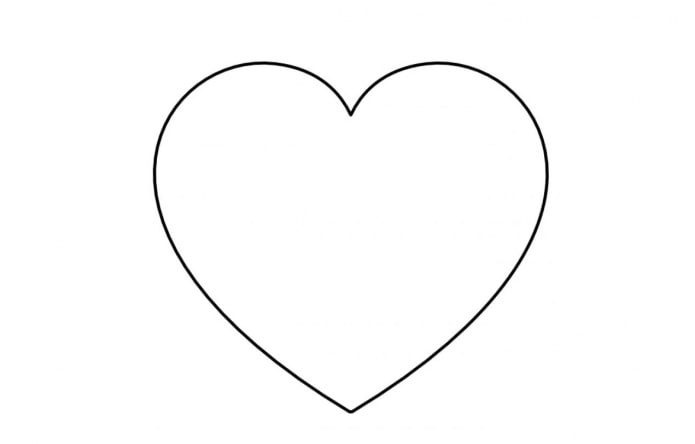
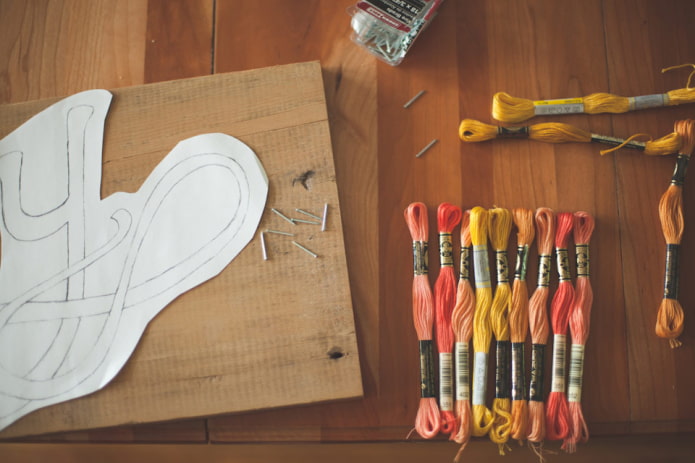
- Cut out a heart (or any other geometric shape) out of paper. If a wooden plank has roughness or defects, it should be sanded with sandpaper. We apply the stencil to the smooth surface of the base. If necessary, tape the template to the board using double-sided tape. We outline the heart with a simple thin pencil.
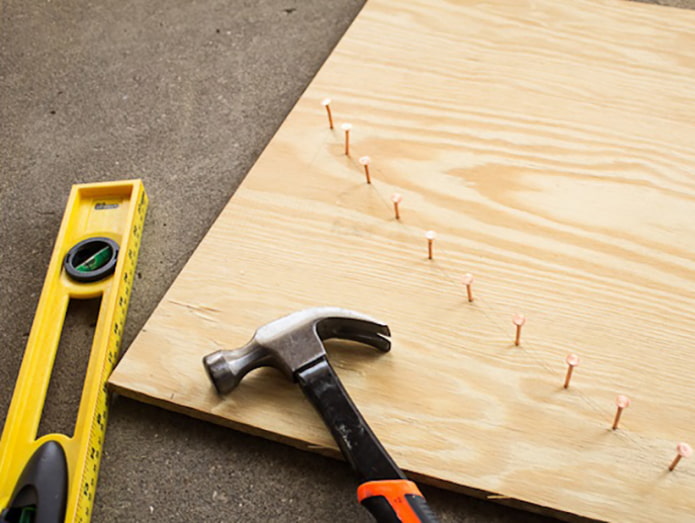
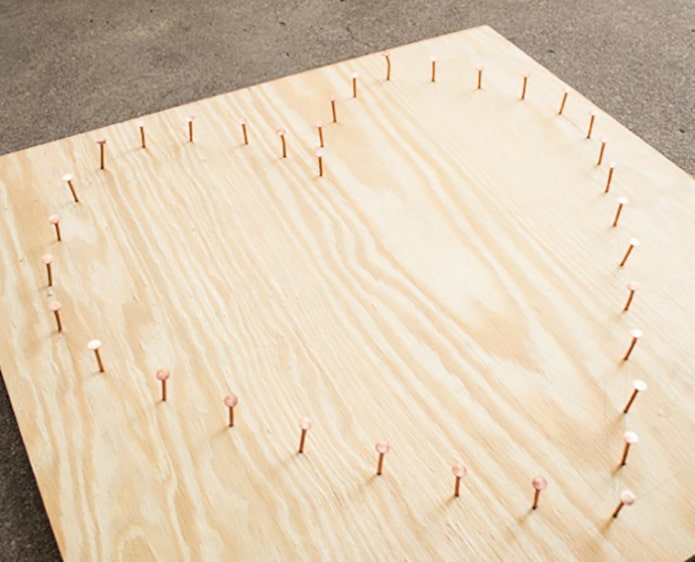
- We draw points along a line at an equal distance from each other. We drive in the carnations.
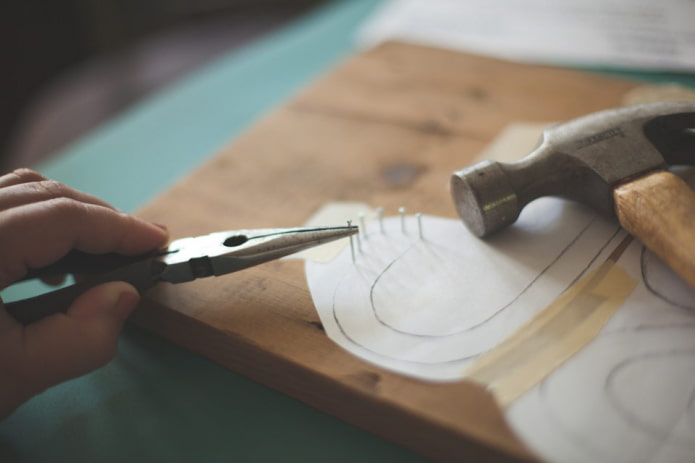
- It is best to hold the nails in place with pliers: this way you will not injure your fingers, and the nails will be driven in at the same height.
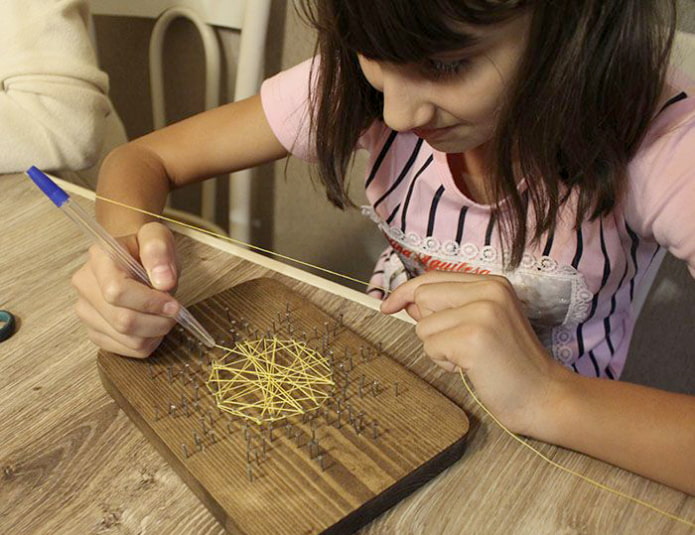
- When the frame is ready, we fix the end of the thread on one of the nails and start pulling the threads through the other nails. We make sure that the heart is shaded evenly, and the threads are always taut.
- When the work is over, carefully secure the end of the thread.
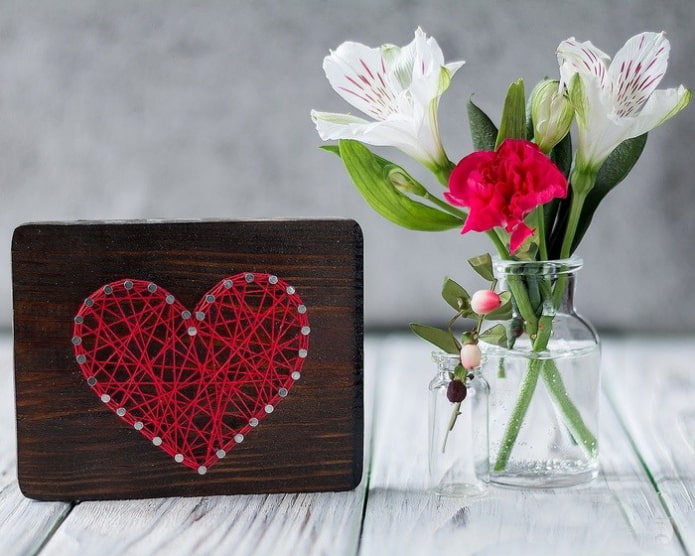
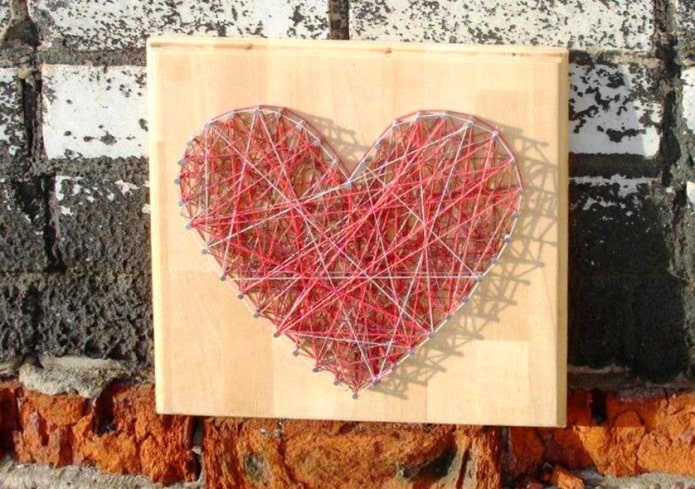
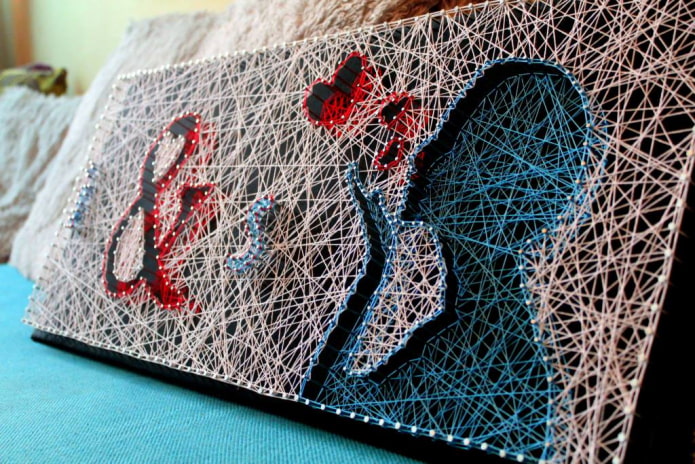
The photo shows a finished panel that will decorate any interior. The base can be protected with varnish, stain or acrylic paint.
A panel of nails and threads in the form of a deer head
After watching this video, you can independently make a picture with one of the most popular images today. Deer posters and figurines are especially appreciated in Scandinavian-style interiors. In the process of creation, plywood, black fabric fixed with a furniture stapler, nails and contrasting white threads were used. The finished craft looks very impressive.
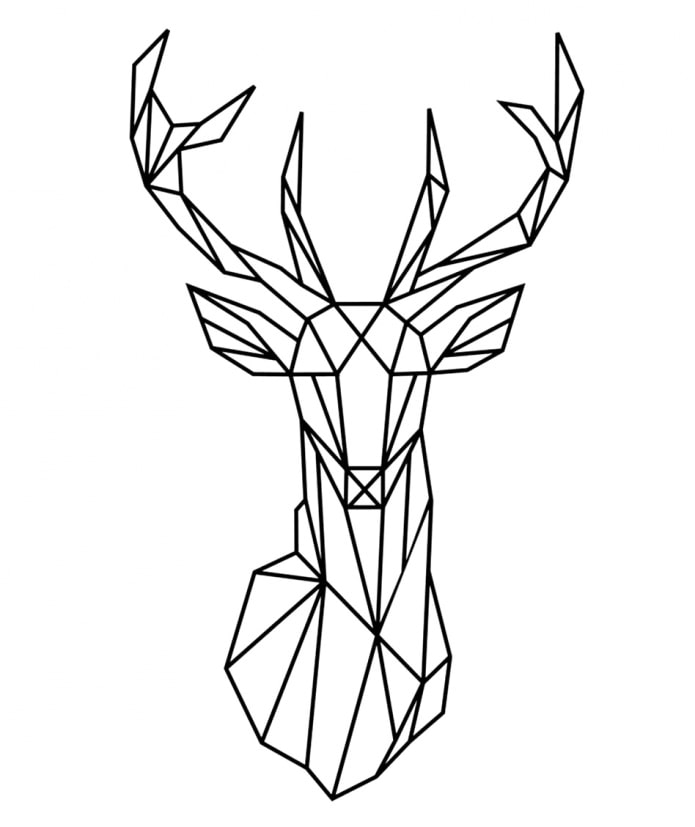
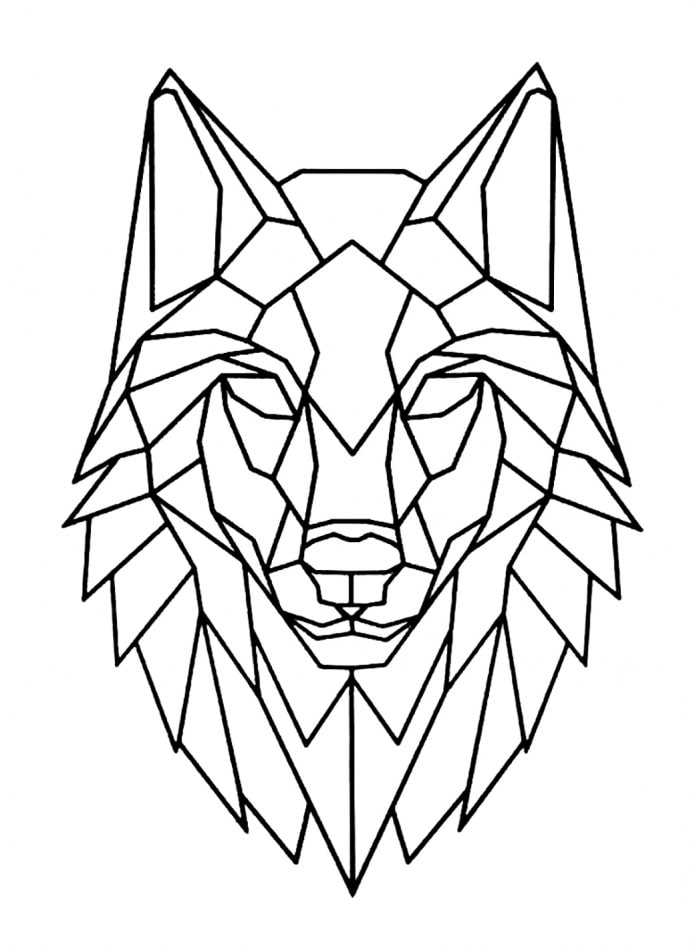
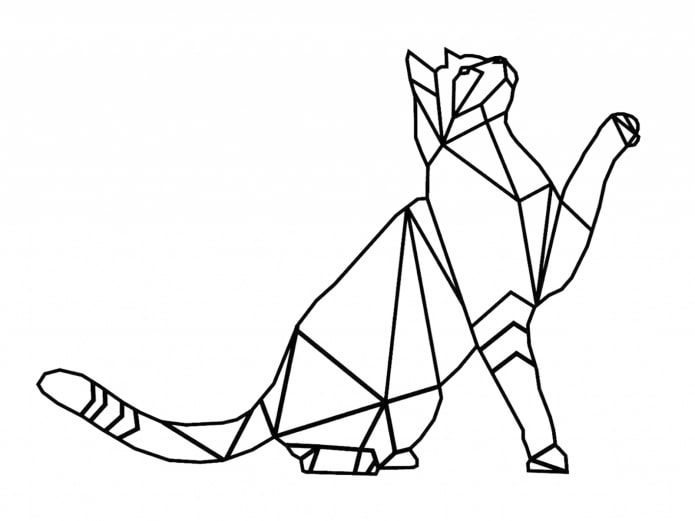
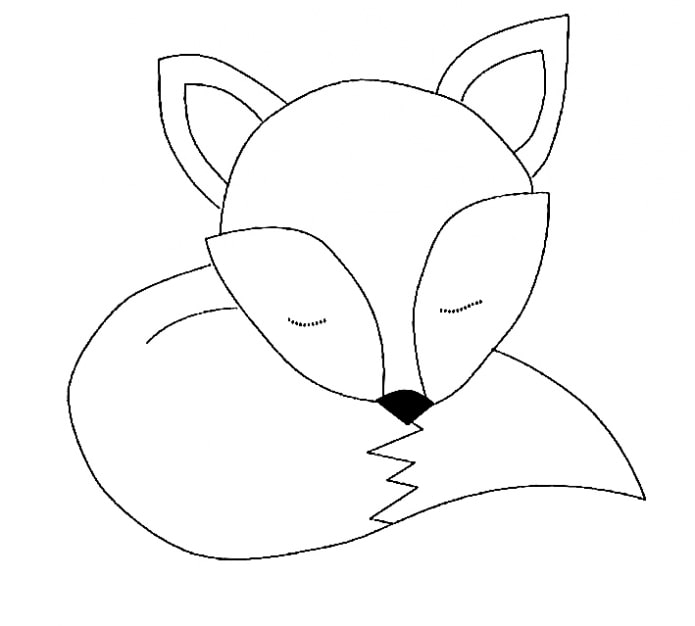
To create graphic paintings in the form of a deer, wolf or cat, you can use the following templates:
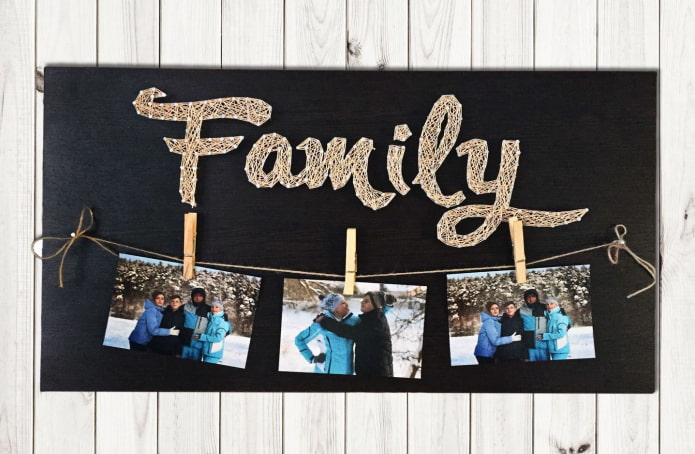
Panel with an inscription made of threads and nails
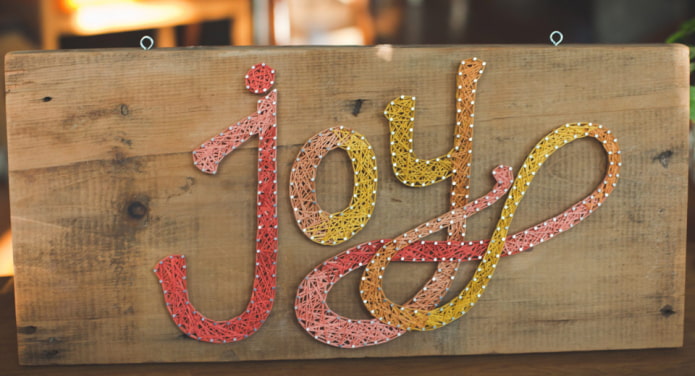
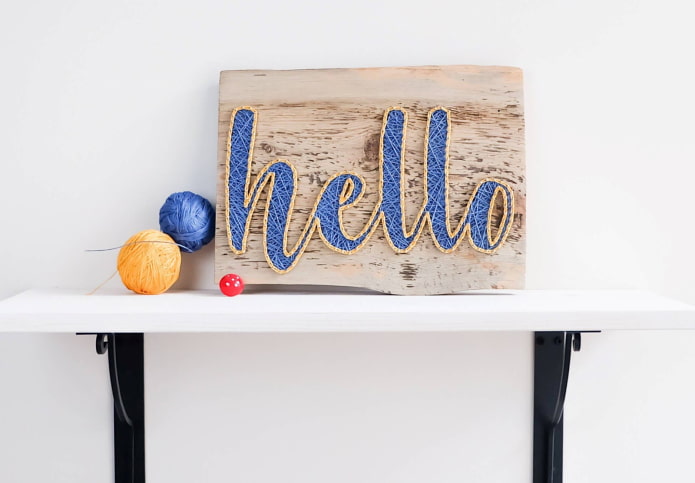
Having mastered simple shapes, you can move on to more complex compositions. From the already familiar materials, you can create any inscription that will look stylish and interesting.
In the photo there is a street art product with the inscription "Joy" in English.
Tools and materials
To create an inscription you will need:
- Board.
- Strong multi-colored threads.
- Small nails of the same size.
- A hammer.
- Pliers.
- Sketch with an inscription.
- Double sided tape.
Step-by-step instruction
- Let's get to work. The lettering can be drawn by hand or you can find a suitable template and print. Cut out the paper stencil, retreating from the outline of the drawing. We glue the paper to the board with double-sided tape.
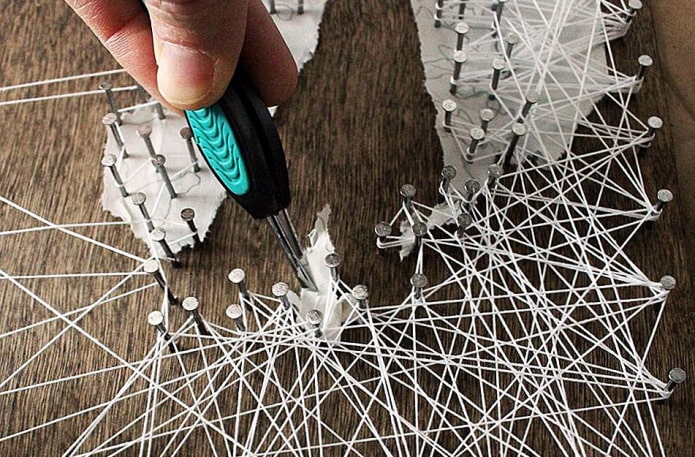
- Nails are driven in neatly, at an equal distance from each other. 5-9 mm should remain on the surface. It is advisable to use pliers or tongs. We remove the template. The pieces of paper remaining on the base are carefully removed with tweezers.
- We pull the threads so that the nails do not bend, but also do not allow the pattern to "sag".
To change the color, tie the end of the old thread with a knot and cover it with glue. We start the new color with a strong knot, fix it with glue and continue winding the threads. Cut the tails and glue them. The inscription is ready.
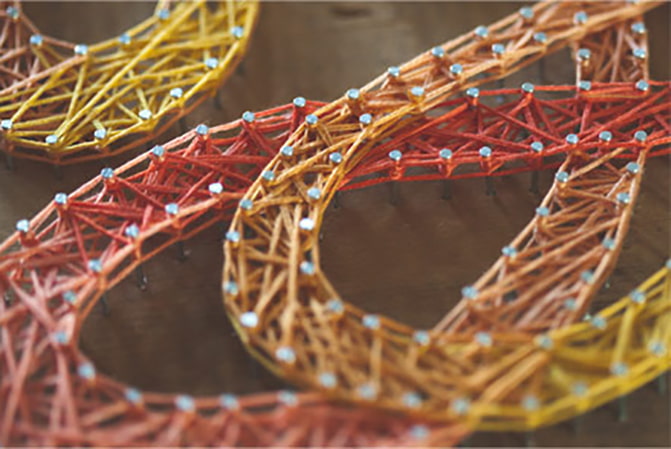
- To complete the composition, many craftsmen make edging. It can be contrasting or in the color of the lettering. For this, the carnations are braided with a "snake". Sometimes the outline is made of a denser and thicker thread, decoratively encircling the letters:
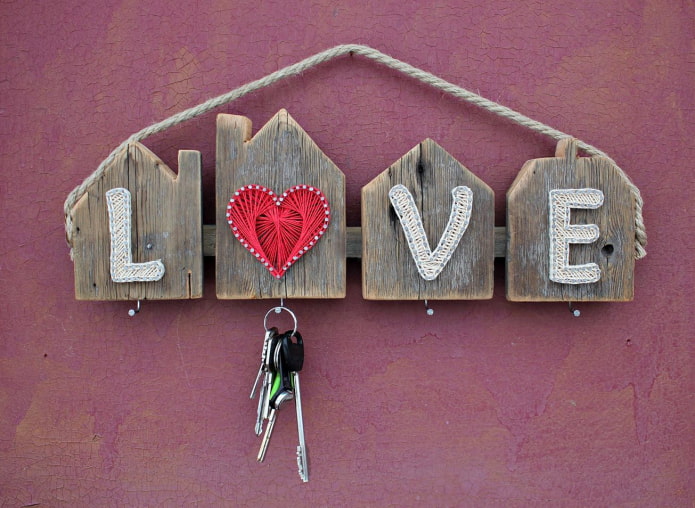
The name of the child, made of threads, can serve as a separate decoration for the interior of a child's room. Also, the inscription can be supplemented with a more complex composition in the form of a key holder or a clothes hanger.
In the photo, a do-it-yourself housekeeper using several techniques. Each element of nails and threads is assembled on its own basis. Nails are used as key hooks.
Mixed media string art
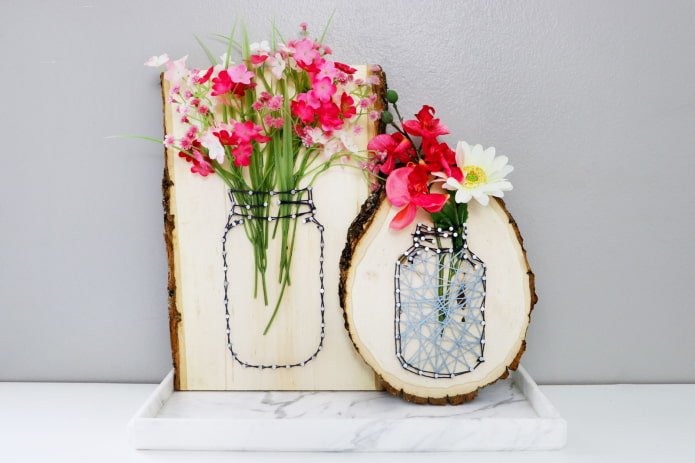
Another original panel made of nails and threads, made by hand. To make it, you needed a board, paint, artificial flowers and a battery-powered garland.
To make a panel, you can use picturesque tree cuts:
Multicolor panel made of threads and nails
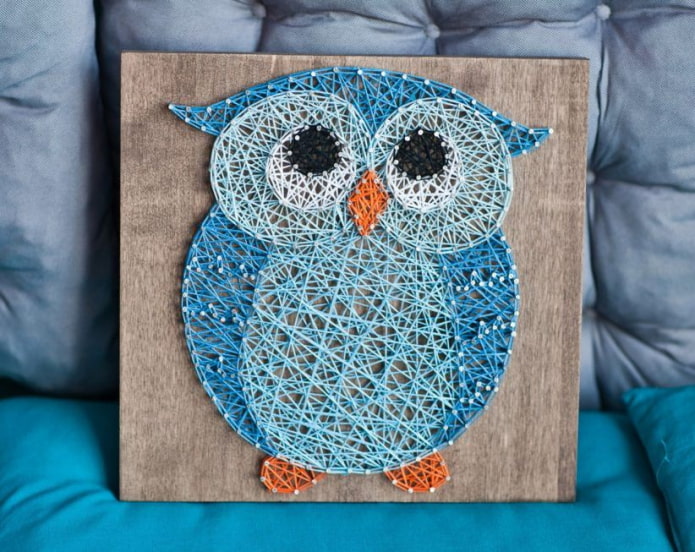
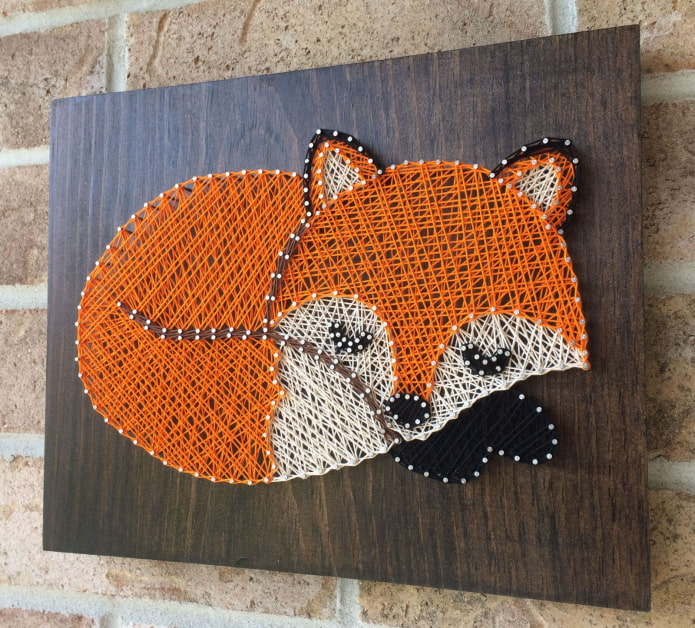
For weaving animals that will look great in the nursery, you will need several shades of thread.
Tools and materials
The crafting kit is still the same:
- Wooden base.
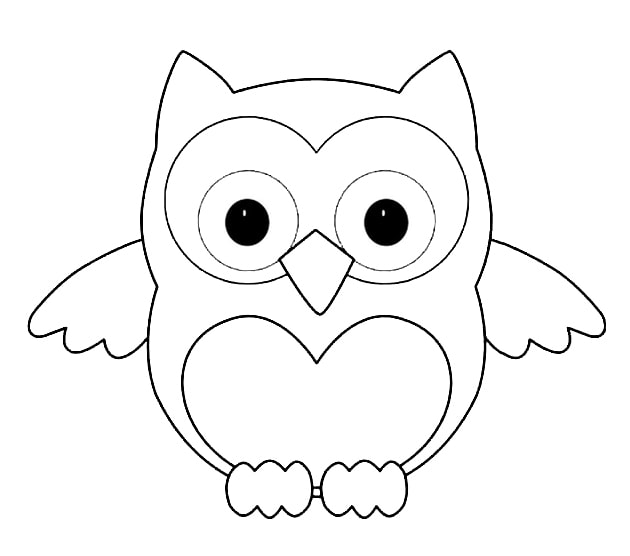
- Any paper template with animals.
- Carnations.
- A hammer.
- Multi-colored threads.
- Pliers.
- Scissors.
Recommendations
As a sample, you can take the pictures below, or find examples on the Internet yourself.
- We print a template of the required size, attach it to the board.
- We hammer in nails at an equal distance from each other.
- To save time, when weaving, you can use a part from a regular stationery pen. To do this, you need to thread the thread through the tube. The thin end of the handle allows the thread to pass even through tightly set studs - this helps with "hatching" the smallest elements of the design.
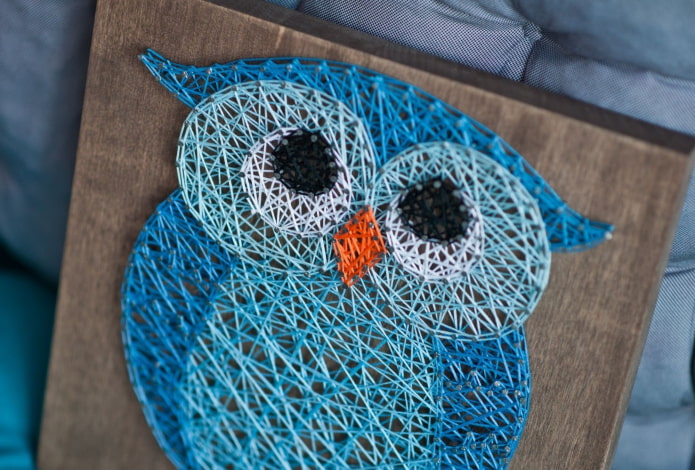
- To create an owl, you need threads of five colors: blue, light blue, white, orange and black. We recommend that you wind the threads in a specific sequence. First, paint over the head and wings with blue threads. Then change the color to blue and move on to the abdomen and areas around the eyes. The next stage is black and white eyes. Lastly, we wind up the beak and legs.
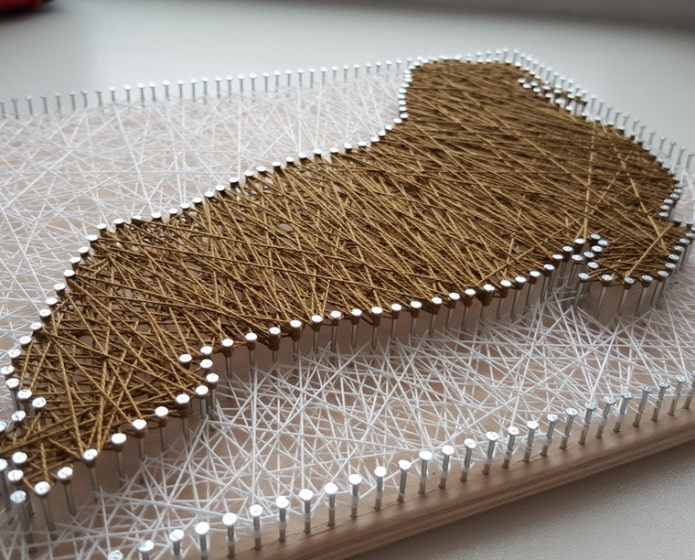
To create multi-layer paintings from threads and nails, you need to prepare longer nails. This example clearly shows that first you need to fill the bottom, and then the top layer:
Another idea for a multi-layer three-color panel made of nails and threads:
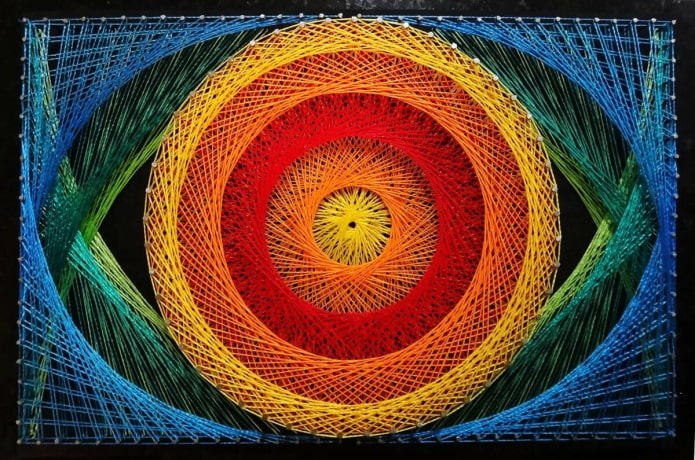
Having honed their skills, professionals create real masterpieces:
The photo shows an impressive composition using string art technique. Here, the winding of threads does not occur chaotically, but according to a certain pattern.
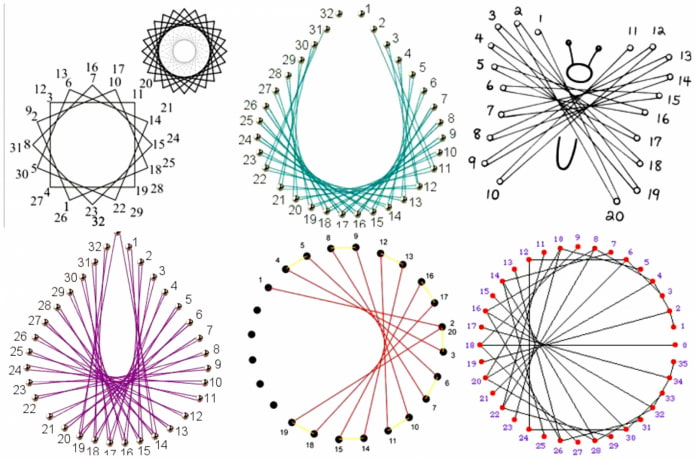
Here are some popular patterns for creating a panel of nails and threads - they are used to draw symmetrical patterns:
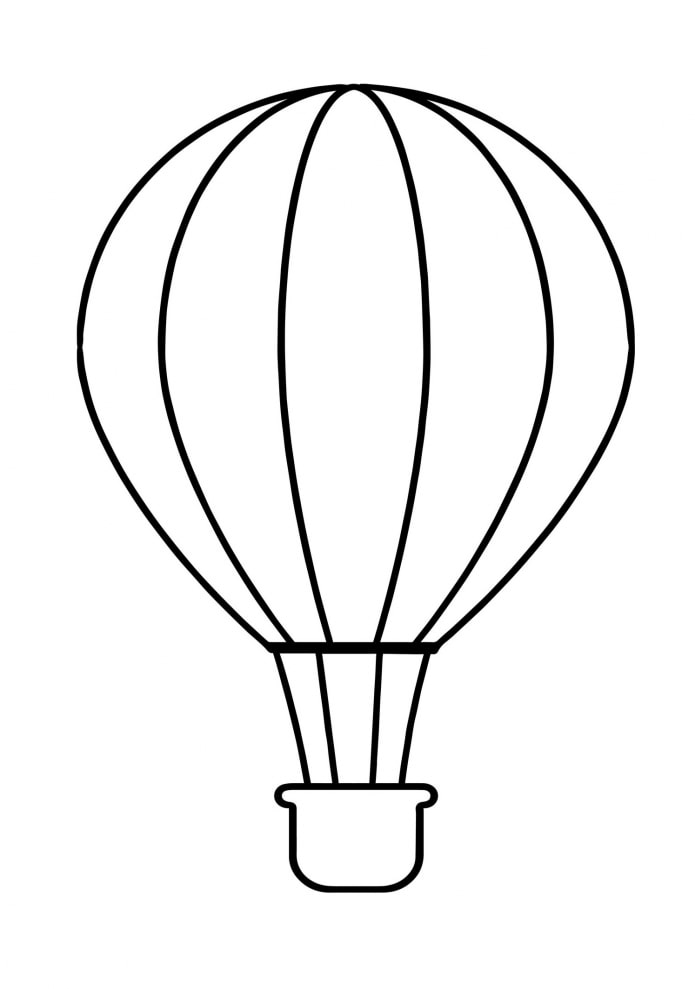
Panel balloon
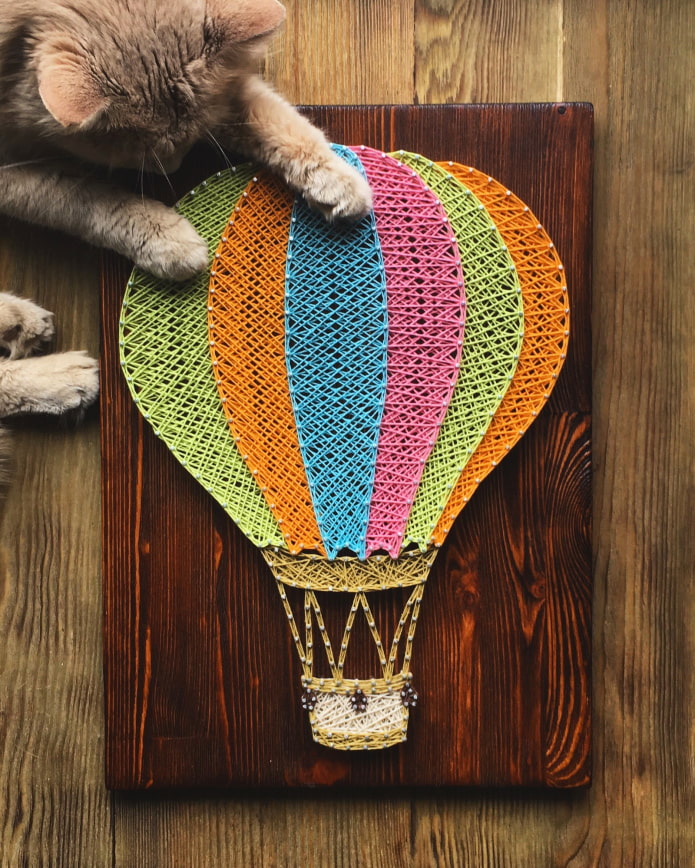
A finished product using string art technique will be a great gift. This master class describes the creation of a panel of nails and threads in the form of a multi-colored balloon:
Upon completion of the work, paint the nail heads in the color of the threads along the contour of the drawing - then the craft will look neater.
Silhouette painting with background filling
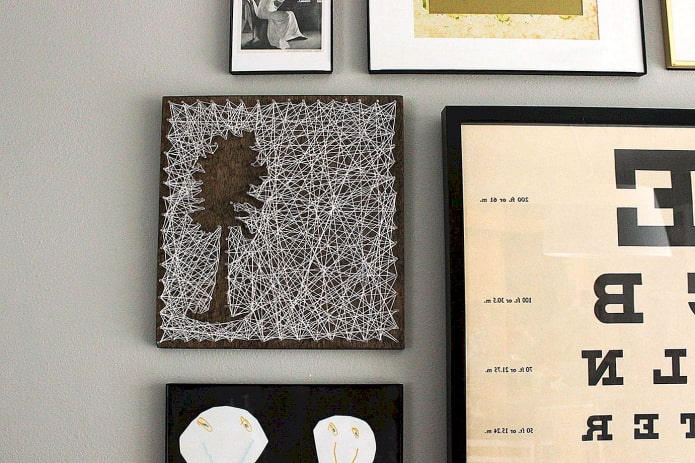
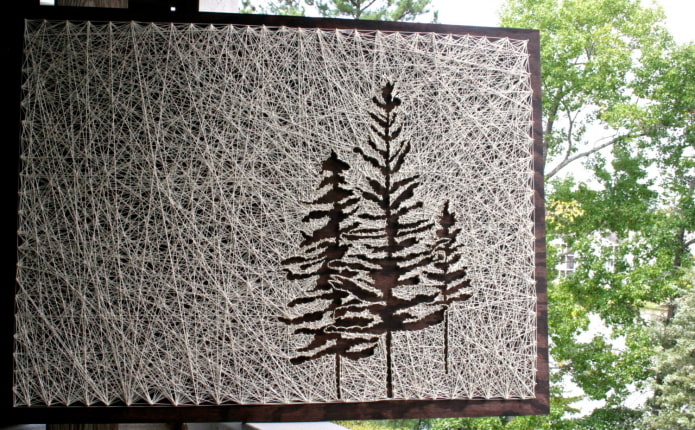
We will tell you how to make a panel of threads and nails, where the center of the composition remains empty. This craft looks even more spectacular.
Tools and materials
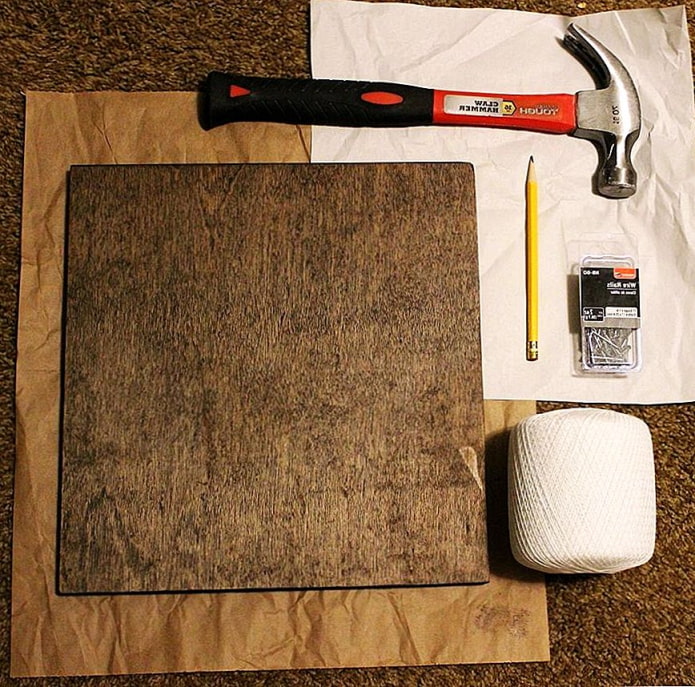
To create an eco-style painting you will need:
- A plank with a rough wood texture.
- Contrasting threads.
- Nails.
- A hammer.
- Paper and pencil.
Step-by-step instruction
Let's start creating a panel of threads and nails:
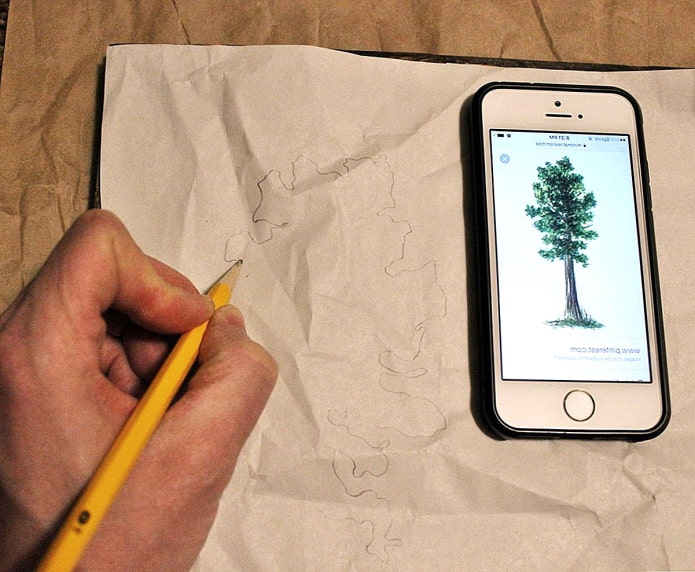
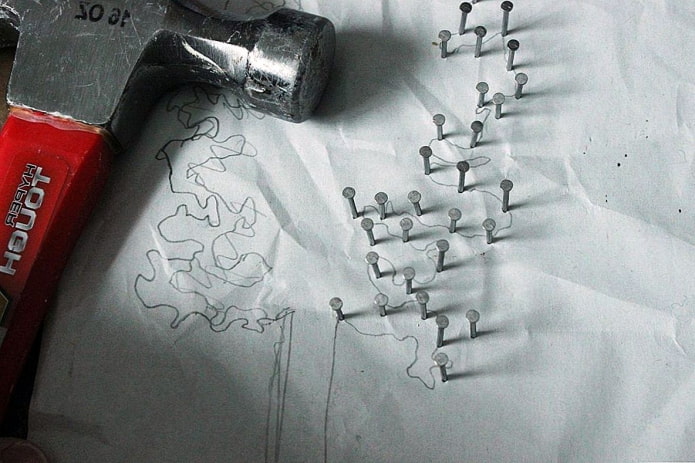
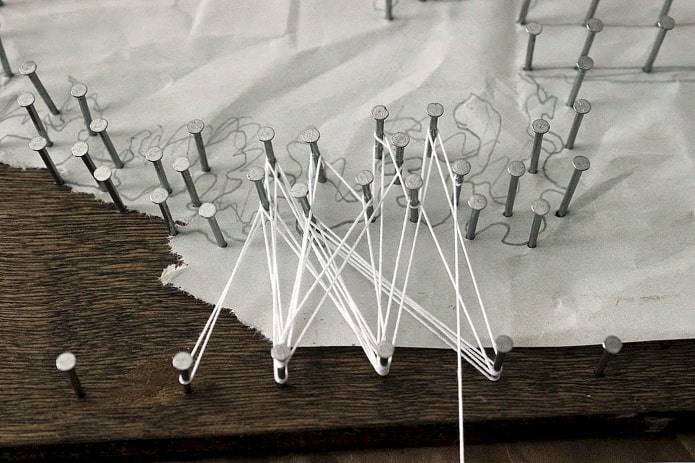
- Draw the silhouette of a tree you like on paper.
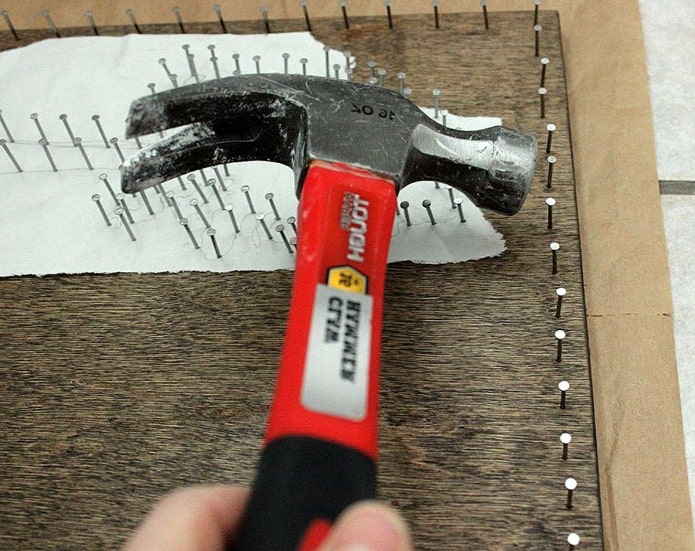
- We nail the nails, focusing on the pencil drawing.
- We nail nails along the perimeter of the board, retreating from the edge the same distance:
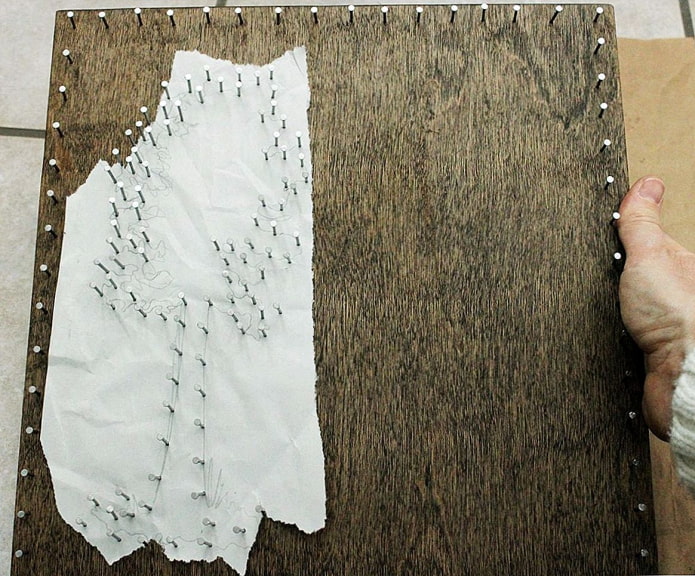
- This is what the intermediate result looks like:
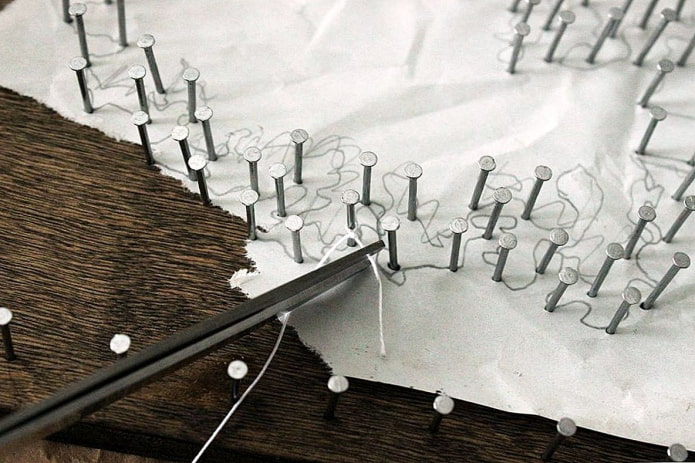
- We fix the knot on one of the nails, cutting off the tail of the thread:
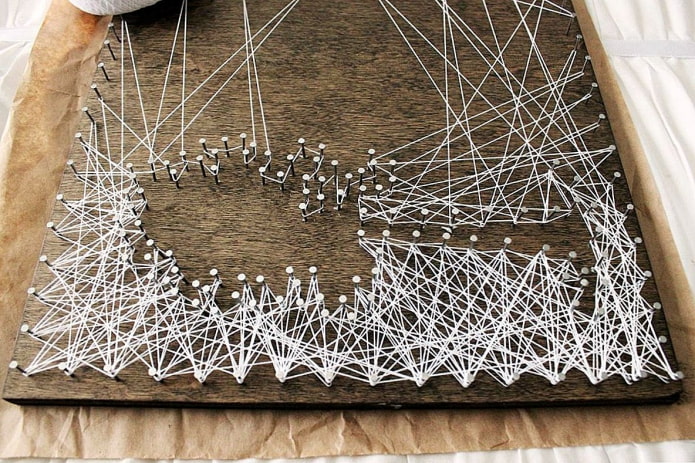
- We wind the threads, moving to the outer nails along the edge of the board, thereby filling the background:
- We take out the paper:
- We monitor the uniformity of filling the background:
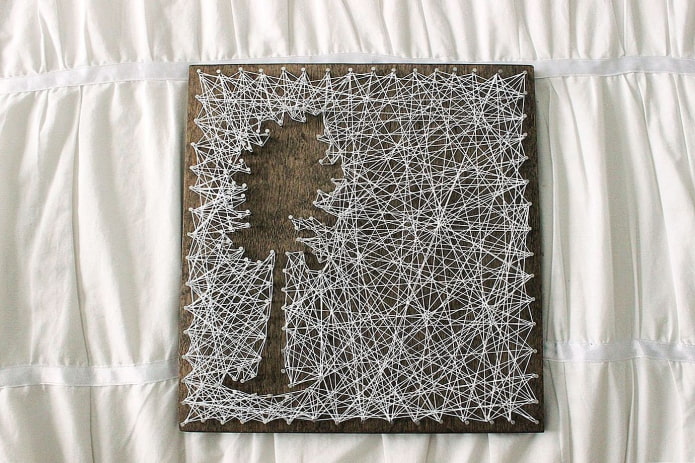
- When the spaces are shaded, the work can be finished. We tie the end of the thread and fix it with glue:
To create a picture, you can choose any silhouette you like:
In the photo there is a composition with the image of trees. This work is more subtle, so I used the smallest carnations. Unlike the picture from the master class, the threads are also stretched along the perimeter of the board, braiding a square outline. This work looks more complete.
The string art panel can be supplemented with decorative elements: beads, ropes, leather straps:
String art compositions have become a popular trend in handmade art. The works of artists using this technique are widely represented at international exhibitions. It is quite simple to learn this type of art: it all depends on the care and perseverance of the novice master.

 10 practical tips for arranging a small kitchen in the country
 12 simple ideas for a small garden that will make it visually spacious
 10 Ways to Renew Your Interior Easily and Easily
 How to make a decorative partition with your own hands?
 How to make a coffee table from pallets with your own hands?
 How to make a rug from bottle corks?
 How to make a do-it-yourself pencil holder out of cardboard?
 Decoupage plates with craquelure