Which braid should you choose?
Before sewing on the curtain tape, you must select it correctly. There are several basic parameters that you should definitely pay attention to.
Density of fabric
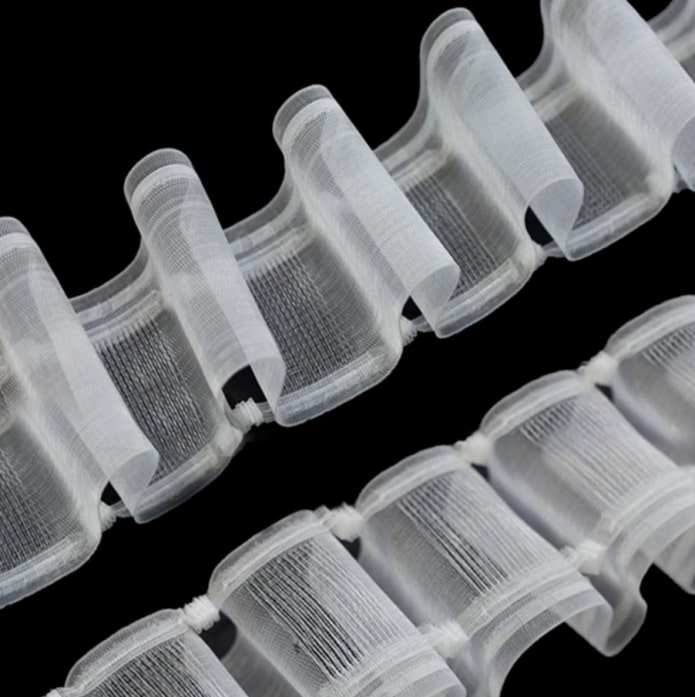
When choosing braid for tulle, look for transparent, soft models. As a tape, the curtains are more dense - both transparent and white stripes.
The labeling on the packaging will help you make the right choice:
- U - universal;
- / Z - for transparent curtains;
- Z - for tight curtains;
- F, T - for light tulle, organza.
Curtain color
On transparent organza or a veil is sewn on the same transparent curtain tape, on light materials - white, on heavy dark fabrics - transparent.
Take a look recommendations for choosing the color range of curtains.
Curtain length
The width of the curtain tape depends on this factor: in order for the drapery on long curtains from ceiling to floor to look neat, choose a tape of 7-10 cm. For curtains to the windowsill (for example, in the kitchen) or long tulle, medium versions of 4-6 cm are suitable. For a short tulle on the window, it is enough to take a narrow 2-3 cm curtain tape.
Cornice type
The mount can be designed for tubular or busbar cornices - consider this when buying.
Assembly type
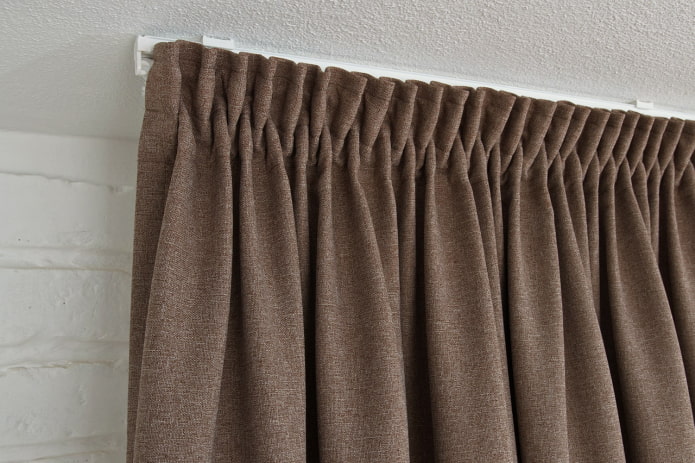
What kind of drapery to make depends on personal preference, interior style, the functionality of the room. There are double or triple bow folds, columns, puffs.
How to calculate the length of the tape?
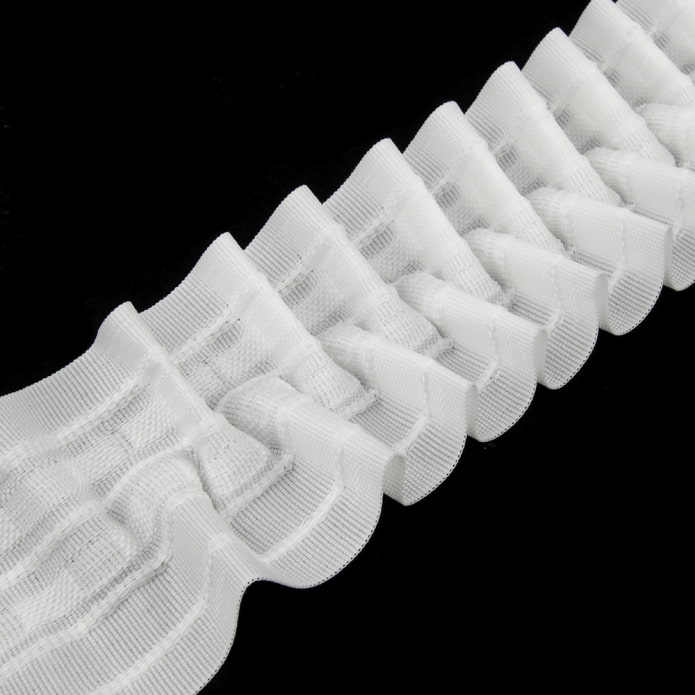
The dimensions of the curtain tape, and accordingly the curtain itself, depend on the indicator, which is called "build factor". It is indicated on the tape itself with a number - the most common marks are:
- 1.5 (simple folds);
- 2 (puffs);
- 2.5 (folds bows or rays);
- 3 (triple assembly).
The higher the number, the more complex the drapery will be and the more spectacular the curtain will look from the front side.
In fact, these numbers mean how many times more fabric is required to cover the entire window when assembled.
Calculation example
Suppose your room is 2.5 m wide - you are going to hang a curtain from wall to wall, and attach 2 curtains to it on each side. When closing, the curtains should connect in the center and cover all the space between the walls. In the store, you have chosen a model with “puffs” drapery (coefficient 2).
All the data is known, it remains only to perform simple mathematical operations:
- Total curtain width = Curtain rod length * Gathering factor = 250 cm * 2 = 500 cm.
- The width of one curtain = Total width / Number of curtains = 500 cm / 2 = 250 cm.
- Curtain tape length = (Width of one curtain + 10 cm for allowances) * 2 = (250 + 10) * 2 = 520 cm.
In total, 5.2 m of braid will be needed to process two 2.5-meter curtains and the formation of puffs.
Advice! To avoid unpleasant surprises, just in case, take the braid with a margin of 50-70 cm.
Step-by-step instruction
Before sewing the curtain tapes to the curtains, the canvases are ironed and processed on 3 sides with a double hem seam.
Important! In order not to be mistaken in length, you can process the side cuts, sew the braid, and then mark the bottom hem in place.
Prepare everything you need:
- curtain with folded and stitched side sections;
- directly the tape itself, which was cut to the desired size (10 cm longer than the width of the curtain);
- threads in the color of the fabric;
- scissors;
- ruler or centimeter;
- tailor's pins or needles;
- iron;
- protective fabric for ironing;
- sewing machine.
Moving on to processing:
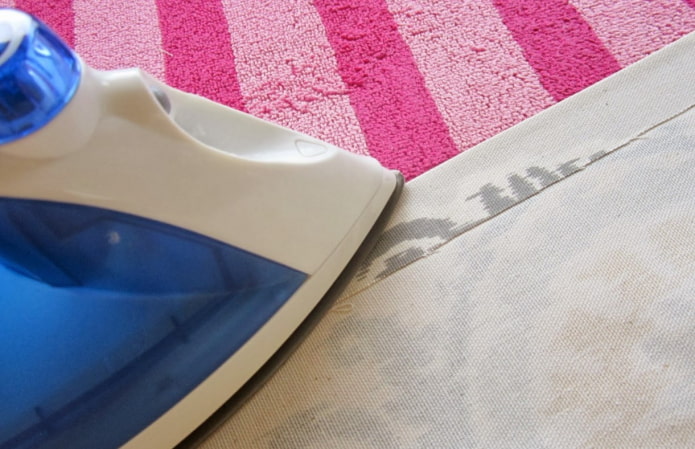
- Start with ironing: The better you prepare all the elements for sewing, the more accurate the result will be. Iron the tape all the way through the protective fabric to soften it a little and remove creases and creases. Fold over the top edge 1.5-2 centimeters at a time. To facilitate the process, you can use a strip of thin cardboard of the desired width - it is simply applied to the cut and the fabric is folded along with the paper.
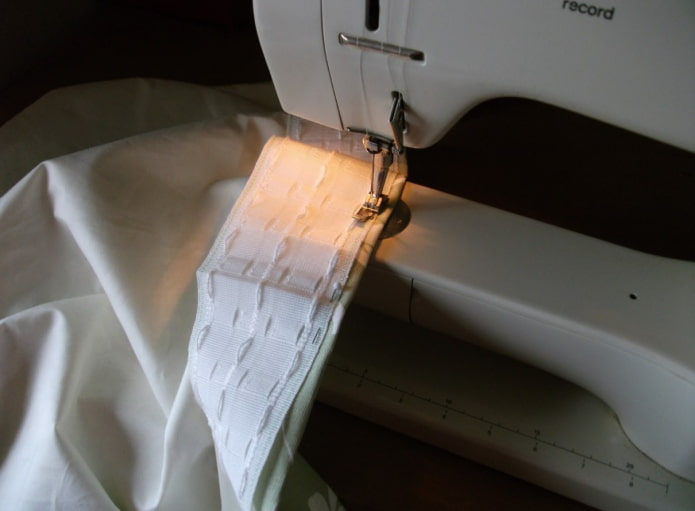
- Next stage - correctly position the tape on the fabric... First of all, determine the front side: there are special pockets (loops) on the tape, where the hook will be inserted in the future - they must remain outside. Accordingly, we apply the braid and the canvas with the wrong sides to each other. In addition, the row of hinges should be at the top, not the bottom. But so that the hooks are not visible in the future, there should be 2 cm from the edge of the curtain to the pocket - perhaps the tape will have to be placed 5-10 mm lower.
- Step # 3 - fixation... Fold back the ironed allowance, pin the tape in the right place so that it does not slide out. First of all, fasten the tape in the middle, move from the center to the edges, bending the remaining free edge inward. Make sure the ends of the cords remain outside before sewing.
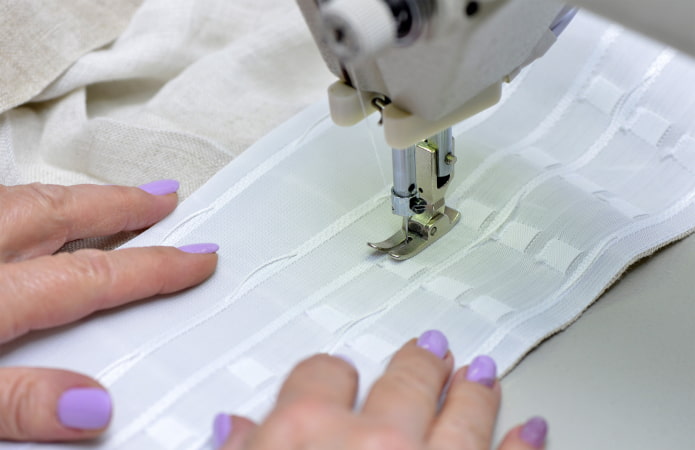
- Go to typewriter... Attach the universal foot, suitable needle, insert thread, select a regular straight stitch (usually A or 1). Run a line along the edge of the tape, literally retreating 1 mm.
- Fold the allowance together with the ribbon on the wrong side, secure the bottom edge on the curtain with needles. Put the second seam 1 mm from the edge - the tape is held on both sides.
- This stage is necessary only when working with a belt wider than 5 cm... A wide ribbon is sewn with three seams, starting an additional row approximately in the middle of the braid.
To sew a curtain tape on the tulle, follow the same sequence of steps: iron, fasten, stitch. Since various narrow ribbons are usually used for lightweight curtains, 2 seams will be sufficient - top and bottom.
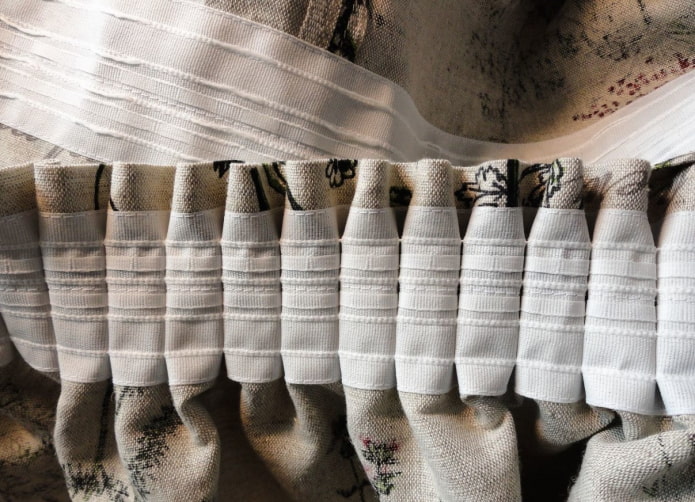
Sewing on the ribbon is not difficult, but this is only the first part of the overall task. In order for the curtain or tulle to decorate the window opening, and not just hang in it, you need to make folds. The easiest way to cope with this task is two people: to do this, divide the fabric in half and pull the cords on each side towards the center.
If there is no assistant, an improvised hook can help in the formation of folds - a strong door handle, pipe, bracket. Tie one side to the toe, pull from the free edge to the center, secure the cords, swap sides and repeat.
Whichever way you choose, follow the rule from edge to center: This is the only way to achieve uniform assembly.
After the folds are collected, measure the resulting width of the curtain - it should be equal to the width that you determined in advance. If everything is so, it will remain to tie the ends and specially smooth out the folds with movements from the right to the left.
Video tutorial for beginners
If after reading the text instructions you still have questions, check out the detailed video tutorial:
An effective way to tighten the curtain tape at home:
Knowing all the nuances of sewing curtain tapes and strict adherence to instructions will allow even novice needlewomen to cope with this task. The main thing is to prepare everything carefully and not to rush while laying the machine stitch.

 10 practical tips for arranging a small kitchen in the country
 12 simple ideas for a small garden that will make it visually spacious
 10 easy and simple ways to update your interior
 How to make a decorative partition with your own hands?
 How to make a coffee table from pallets with your own hands?
 How to make a rug from bottle corks?
 How to make a do-it-yourself pencil holder out of cardboard?
 Decoupage plates with craquelure