Pros and cons
Consider the advantages and disadvantages of such wall decoration:
| pros | Minuses |
|---|---|
| Inexpensive... Even expensive paint is cheaper than budget tiles. This also applies to consumables and services of the master. | The surface to be painted must be flat... If it is far from ideal, and you do not have the appropriate skills - without professional team not enough. |
| Simple application... You can paint the walls in the bathroom yourself if the surface for painting is already properly prepared. | Preliminary work is time consuming... The wall needs to be leveled, patched and primed. Each layer should dry completely. |
| The possibilities for creativity are endless. | The paint is easily damaged and such a coating will not last long. |
| Paint can be combined with other finishing materialsby making, for example, an apron from tiles near the sink. | If the water is hard - a coating will appear on the paint, then the walls will require special care. |
What paint to paint the walls?
Externally, paint is different not only in color, but also in texture:
- Matt... Hides small imperfections of the wall and gives greater depth of color.
- Glossy... Beautiful, but will give away all surface defects. It gets dirty easily and shows prints and plaque on it.
- Semi-matt... Something in between the first two options.
- Textured... Hides surface imperfections, similar to textured plaster.
Important! It is permissible to paint walls only in a bathroom with good ventilation. This will prevent the appearance of fungus and mold.
In addition to its appearance, the paint differs in its chemical composition. To understand which paint to choose, it is worth reading more consider several of its varieties.
Acrylic
Contains acrylate resins and is even used for house facades.
It is not afraid of high humidity, but at the same time creates a film that allows air to pass through. It is resistant to dirt, but if a stain gets on the surface, it is easy to clean it with a damp sponge.
Dries up in a couple of hours, is non-toxic, does not have an unpleasant odor. The price is high, but acrylic paint is economical due to its high adhesion.
The photo shows the walls in the wet area, painted with acrylic paint.
Alkyd
When dry, it forms a film that repels water. But the same film does not allow air to pass through, which means that condensation can accumulate under it.
Contains resins and solvent, hence another drawback - pungent odor and toxicity. Having chosen it to cover the walls in the bathroom, all work must be carried out in a respirator and actively ventilate the room.
The disadvantages can be offset by the low cost and good antibacterial properties.
Water-based
Water-based paint - no solvents are needed to thin it, pure water is enough. Completely safe, without toxins in the composition, the smell when used is weak and does not cause discomfort. Dries quickly and is durable.
Adheres best to concrete and plaster. Painted surface afraid of direct contact with water... But if you choose a water-based emulsion with latex in the composition, you can wash the wall and use gentle household chemicals.
Oil
In Soviet times, everything was painted for it, now it is almost never used. The cheapest option. It dries more than a day, has a very pungent odor.
Over time, cracks and peeling appear on it, so you can paint the walls in the bathroom with oil paint only as a last resort.
Silicate
Liquid glass paint with additives and hardeners. Pros: good adhesion to the plastered surface and increased moisture resistance. Cons: poor color palette.
Enamel
In addition to the alkyd enamel described above, there are other varieties. Nitro enamel based on cellulose nitrate contains so toxic components that it is even banned in some countries.
Polyurethane and epoxy enamels are suitable for painting walls in the bathroom... They have good adhesion and are difficult to scratch. They even cover the bathtub with epoxy enamel.
It is important to remember about safety precautions and use a respirator.
Textured
Very dense. If there are defects on the walls of the bathroom (up to two millimeters deep), it will help to hide imperfections without additional leveling of the surface. Acrylic in the composition makes it durable and does not allow moisture to pass through, the wall can be washed with soapy water.
The scope for creativity in working with this paint is endless. Using different fillers, you can create interesting textures.
- With sawdust, the surface will look embossed.
- By adding quartz sand, you get sharp corners.
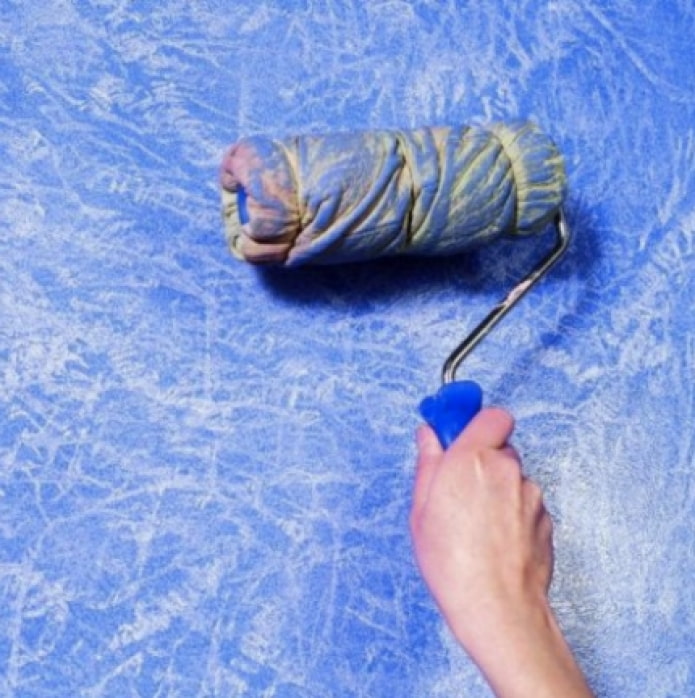
- A rope wrapped around a roller will draw stems of bizarre plants on the wall.
- Unusual patterns are cut with a spatula.
- You can make them just by hand, it all depends on your imagination.
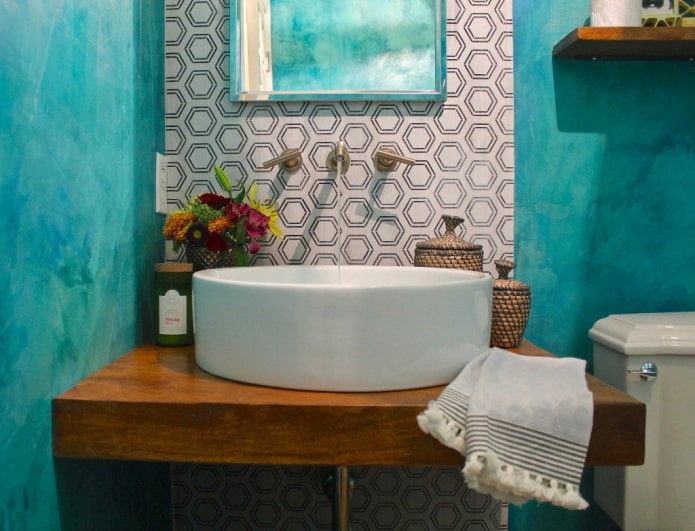
The photo shows textured paint in the bathroom.
Which color should you choose?
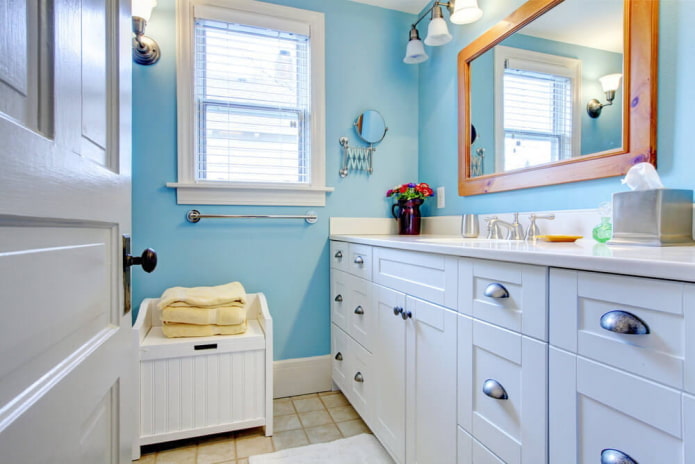
Small bathroom or it is better to paint the combined bathroom in light colors. This is a well-known trick that will visually expand the space. These shades look good in combination with traditional white plumbing. In a spacious bathroom, you can embody any ideas - contrasting figures, geometry, ornaments, different types of finishes.
Important: on the walls painted in a dark color, splash marks are more visible.
Matte paint will better hide small flaws in the wall, but it is impossible to remove dirt from it without traces. If you settled on it, dark shades are preferable.
Glossy, on the contrary, will emphasize all surface flaws, it should be perfectly smooth and clean. But the walls painted with it are easy to wash and you are not limited in the choice of color.
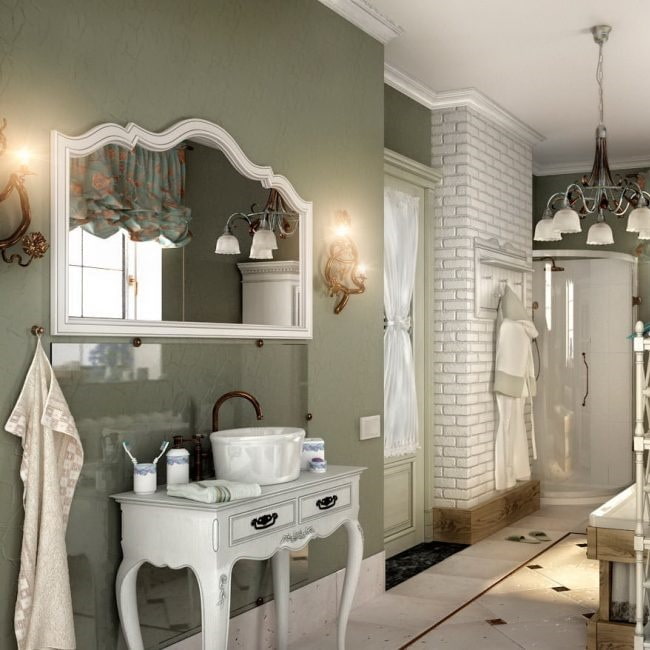
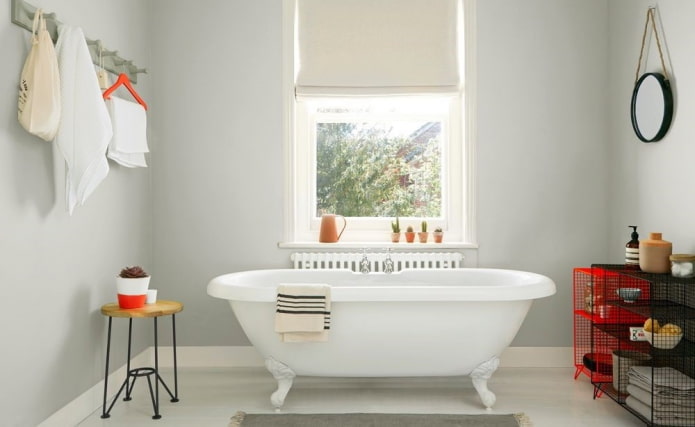
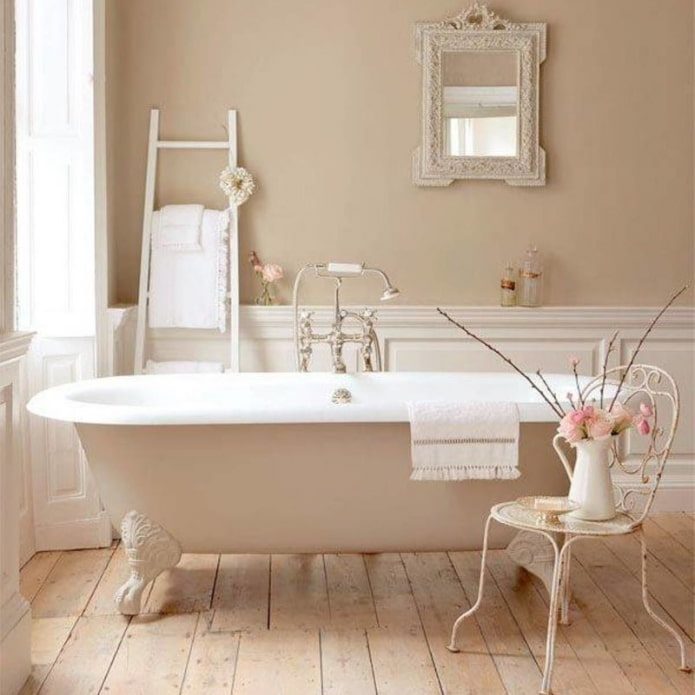
Interior style your bathroom also dictates some rules in choosing the color of wall decoration. In a modern bathroom in style high tech cool gray glossy walls and all shades of blue will look good. Neutral pastel colors - powdery pink, sandy, light green - will successfully fit into Provence.
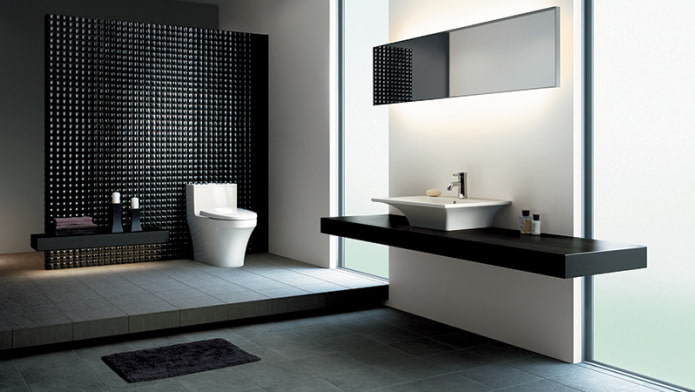
Pictured is a high-tech bathroom with painted walls
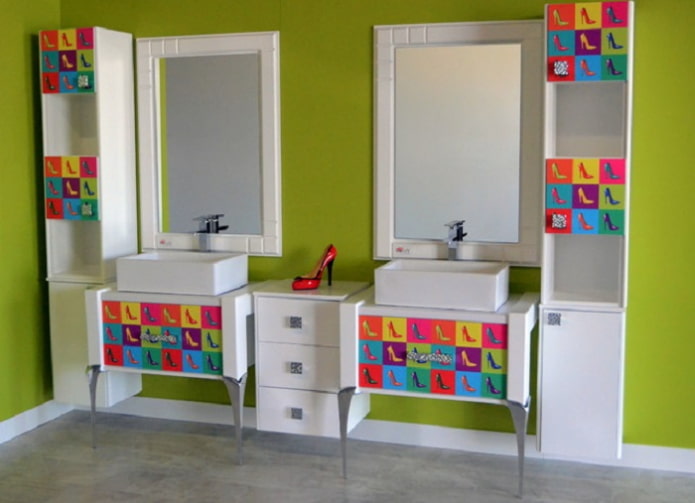
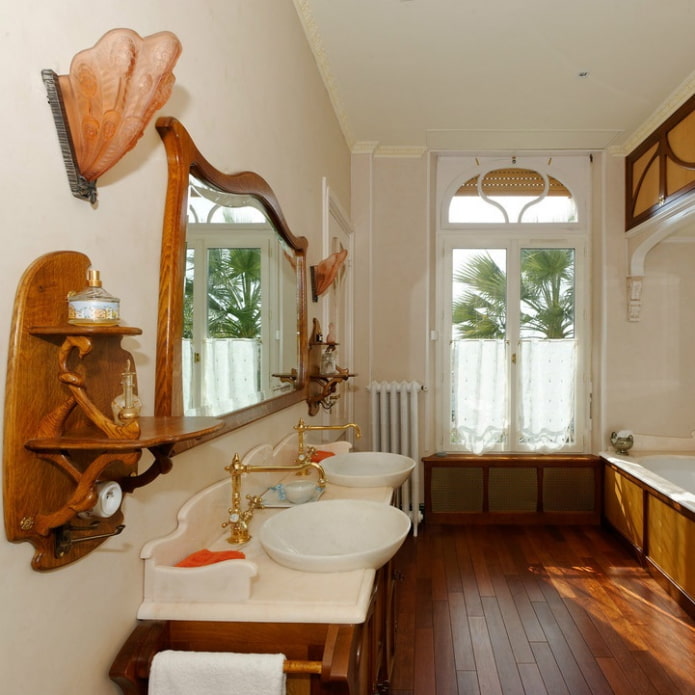
For pop art and Art Deco bright accents and geometry will do.
These are just general rules and your right to do things your own way.
Which way to choose?
They paint the walls in three ways:
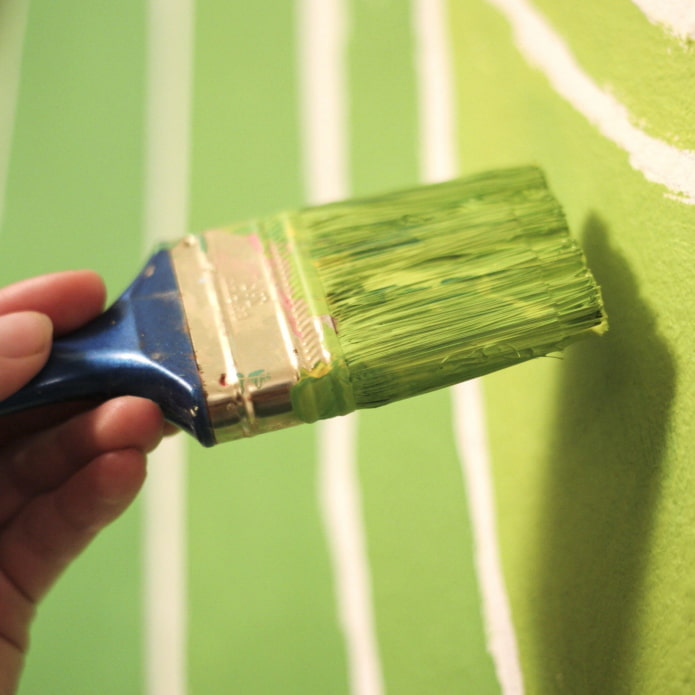
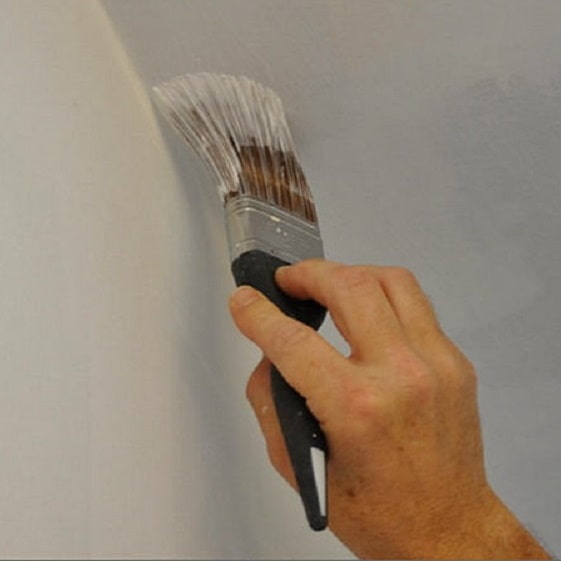
- Have brushes the highest paint consumption plus paint can strip. But the brush is indispensable for painting corners.
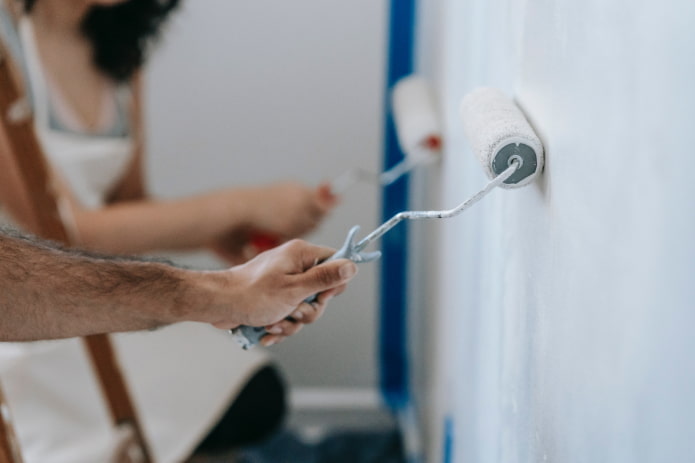
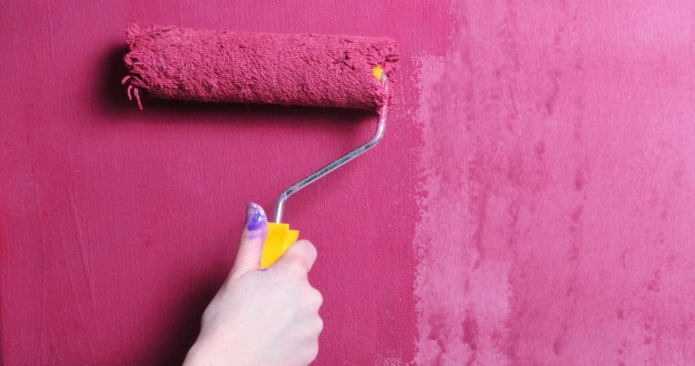
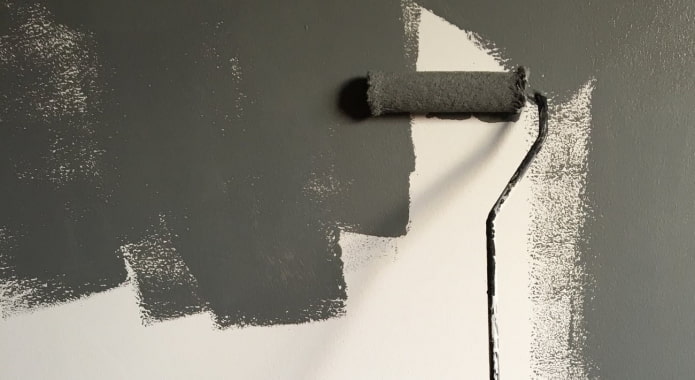
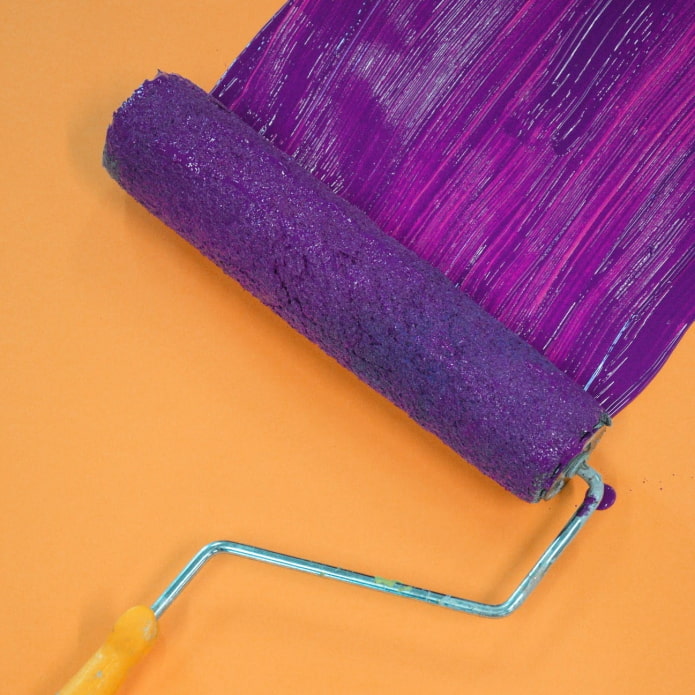
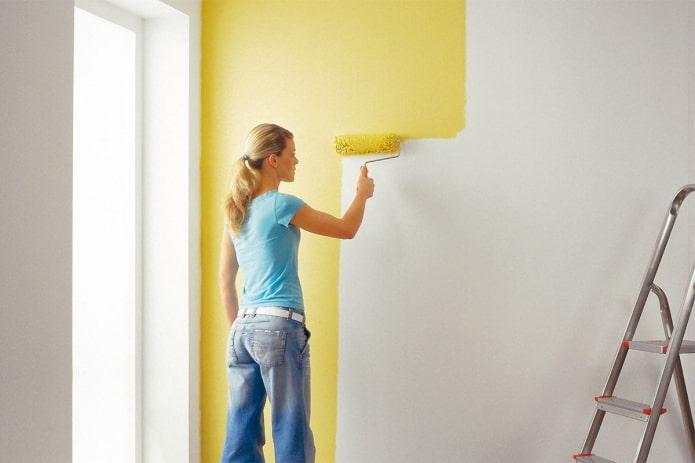
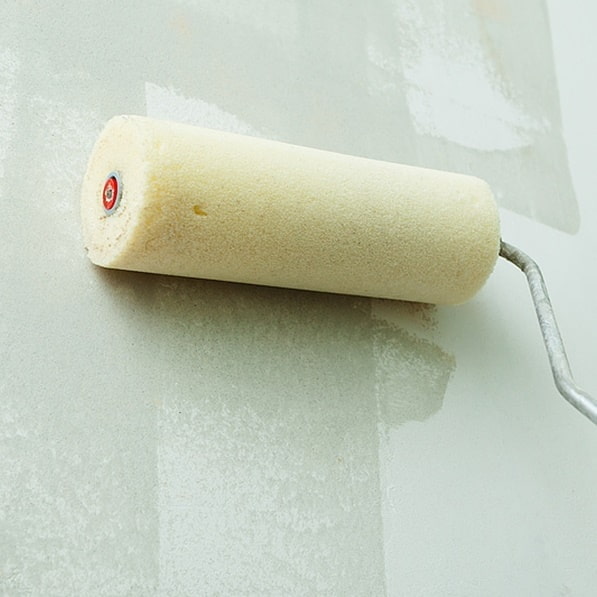
- Paint application roller provides a smoother surface. But it is important to consider the condition of the wall. For example, for uneven walls with minor defects, it is better to choose a roller with a long pile. Select the width of the roller based on the surface area.
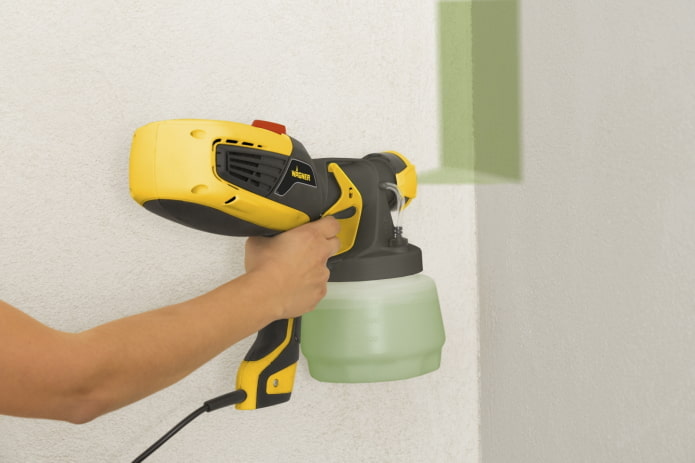
- Spray gun sprays paint onto the wall, making the coating thin and even. In addition, the process will go much faster with it. It is important to rinse it thoroughly and wear a respirator and goggles.
In the photo, painting the corner of the wall with a spray gun.
Advice! Try to use paint from well-known manufacturers to avoid future problems with the quality of the coating.
How to paint yourself?
Before starting work, you need to prepare the necessary tools and materials:
- paint;
- putty;
- primer;
- sandpaper;
- a film to protect plumbing and flooring;
- paper tape;
- protective equipment (respirator, goggles and gloves);
- pallet;
- rollers of different sizes;
- brush.
If everything you need is available, you can start painting the walls.
How to prepare the walls correctly?
The paint will only fit well on a perfectly prepared surface, so you can't do without a little repair.
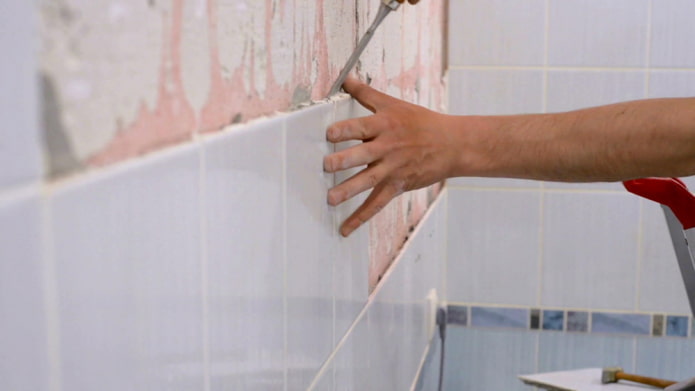
- Remove the old cover. If it is a tile, knock it down and remove any remaining grout.
- Wash the walls to get rid of dust.
- If the surface has significant differences and unevenness, then you will have to level everything with plaster.
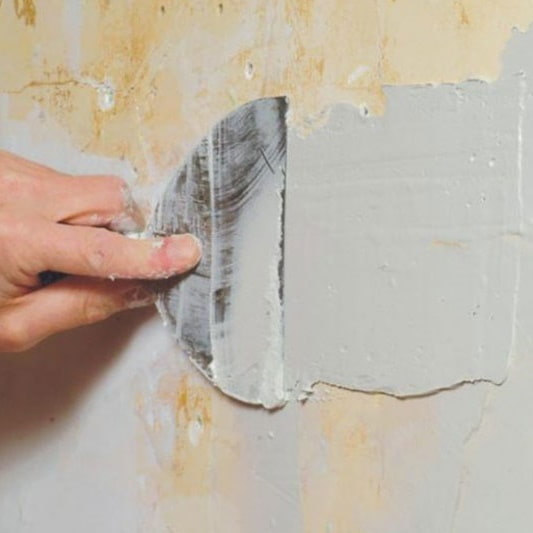
- If there are small defects on the wall, spat them off first. Let dry and only then process the entire wall.Important choose a moisture resistant putty (for example, latex based).
- Once completely dry, sandpaper it over it to remove any unevenness.
- Remove material residues and dust particles from the surface with a damp cloth and a broom.
- Prime the walls thoroughly with a waterproofing compound in accordance with the instructions. A new layer cannot be applied until the previous one is completely dry.
In the photo, the dismantling of the old tile
Step-by-step instruction
The surface is prepared, you can start painting.
Advice! It is better to pour all the paint that you are going to use and mix into a large container. Paint of the same color from different cans may differ in nuances. By mixing them together, you will get a uniform shade.
- Measure the area of your bathroom walls. Calculate how much paint you need, based on the information on the label, add 10-15% of the received amount in reserve.
- Remove the covers from the sockets and switches, cover them with masking tape. Do not forget to de-energize them before doing this.
- Glue the borders of the walls with the floor and ceiling with tape too. Place plastic on the floor to protect the floor.
- Stir the paint so that there are no lumps left. If color was added, then make sure that there are no streaks.
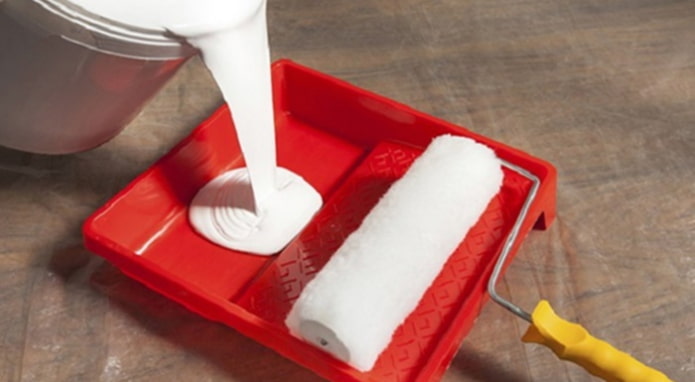
- Pour it into the tray.
- Paint over corners and hard-to-reach areas with a brush.
- Dip the roller into the tray and roll it several times to distribute the ink evenly without gaps.
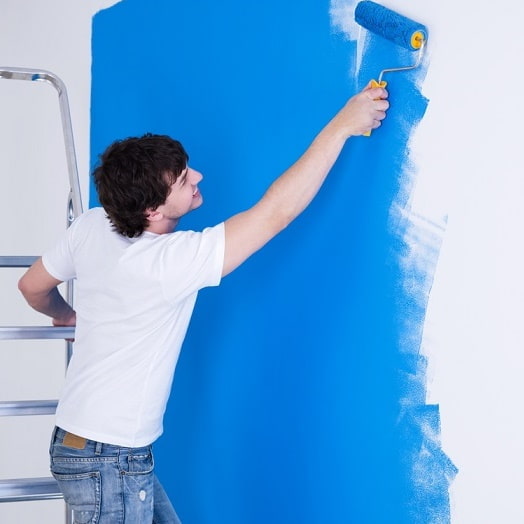
- Start painting from the corner so that each strip overlaps the previous one by 2-3 cm.
- Start applying the second coat only after the first one is completely dry.
- Remove the tape before the paint dries, otherwise it will come off with it.
Video
Beautiful design ideas
Use different paint techniques for interesting effects.
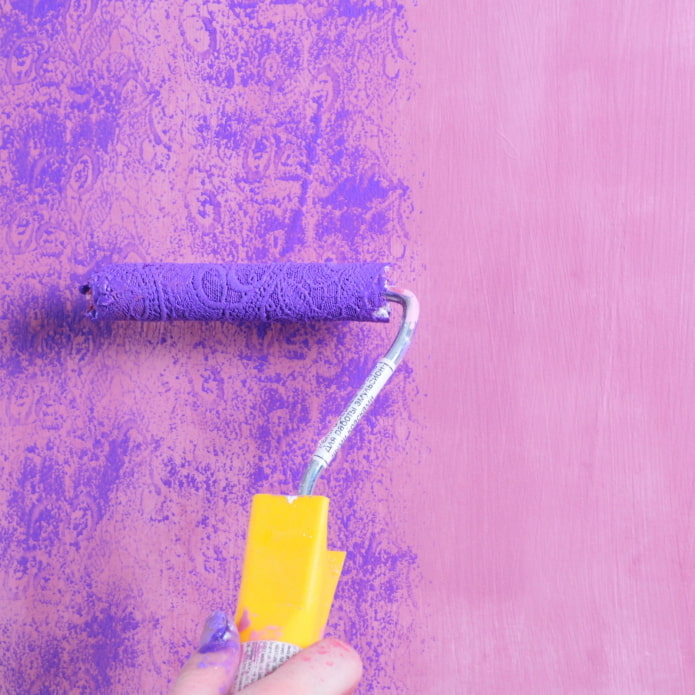
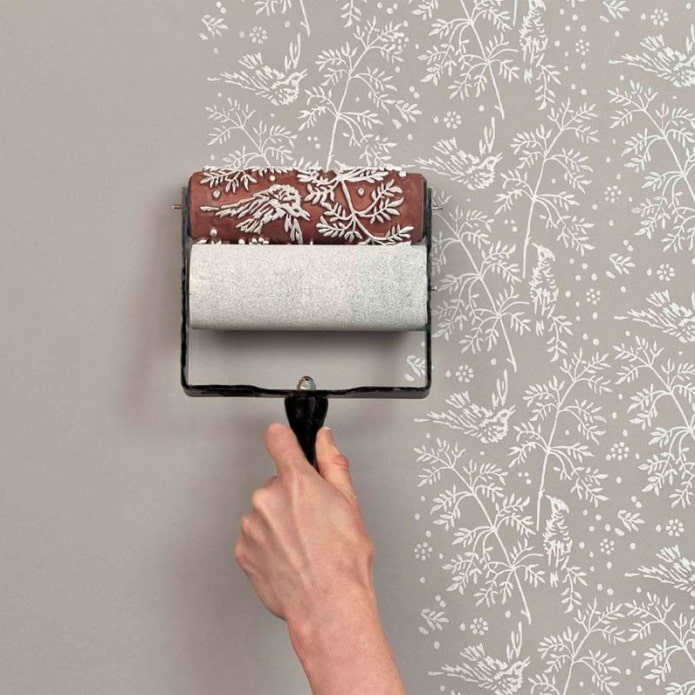
- Use different rollers, with them you can make textured coloring or ornaments.
- You will achieve the effect of chaotic strokes if you wrap a regular roller with a cloth in several layers.
- Apply patterns using a stencil.
- Create a "stardust" effect by splattering light paint over dark paint.
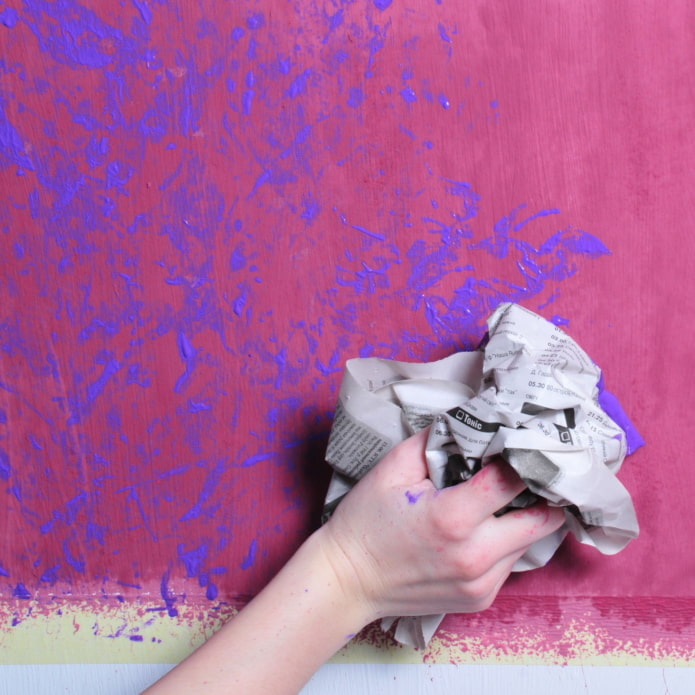
- Try applying a different color to the first coat with crumpled paper.
- Divide the surface into zones with masking tape to create colorful geometric patterns.
The photo shows the textured painting of the walls in the bathroom.
Painted walls will fit into any bathroom style:
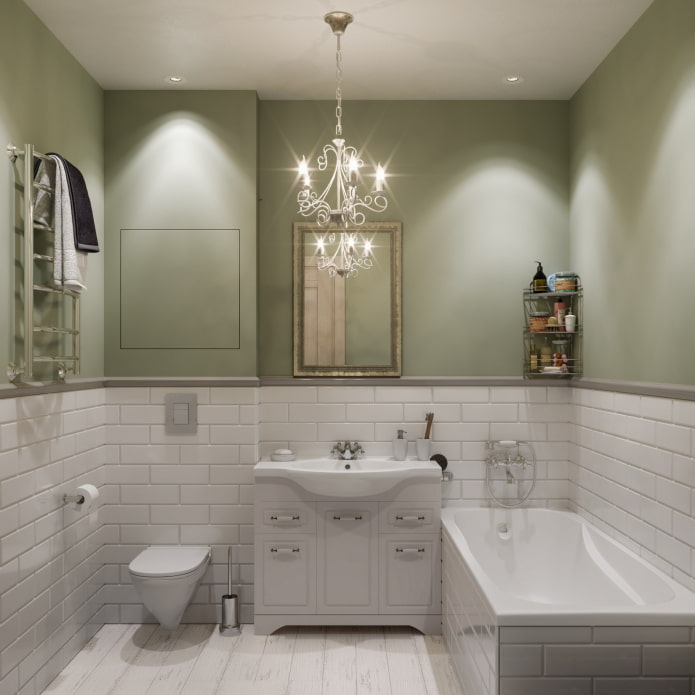
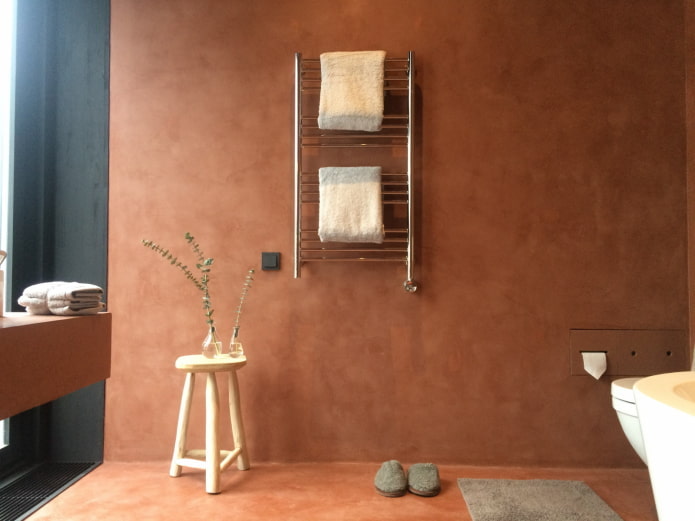
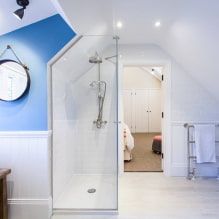
On the picture Scandi style bathroom with painted walls
Painting the walls in the bathroom is definitely worth it if you like to change design often. Proper wall treatment before painting will make the coating more durable, and there will be much more room for creativity than with tiles or any other coating.

 10 practical tips for arranging a small kitchen in the country
 12 simple ideas for a small garden that will make it visually spacious
 How to position the washing machine in a small bathroom?
 How to remove plaque from the bathroom curtain?
 7 common mistakes in small apartment renovation that eat up all the space
 Apartment layout: how not to be mistaken?
 Wallpaper for the bathroom: pros and cons, types, design, 70 photos in the interior
 Modern bathroom interior: 60 best photos and design ideas