Which drywall is best to use?
Not all drywall sheets are suitable for cladding interior walls: the choice of a suitable drywall depends on exactly where it is located partition, what kind of finishing and further use are planned.
- The easiest and cheapest option - GKL. The gypsum core of the sheet is sandwiched between layers of thick cardboard. Suitable for installation in bedrooms, living rooms, children's rooms, hallways - in general, dry rooms. For gypsum plasterboard partitions, choose a thickness of 1.2 cm - two sheets superimposed on each other will provide maximum strength.
- If you don't want to spend time and effort on attaching several layers, choose GVL - gypsum fiber boards. They differ from ordinary gypsum by the presence of cellulose fibers in the binder composition - they increase the strength of the base, allowing the frame to be finished in one layer.
- When the partition is planned to be curved, you will need GFL - gypsum fiber sheet. Thanks to fiberglass, such drywall sheets bend perfectly, repeating the shape of the base.
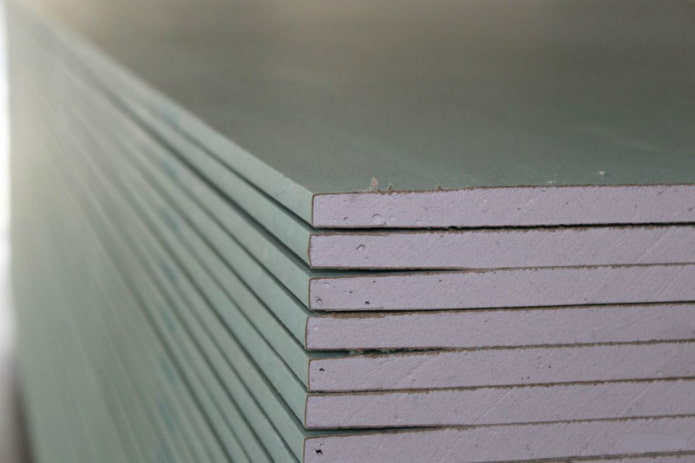
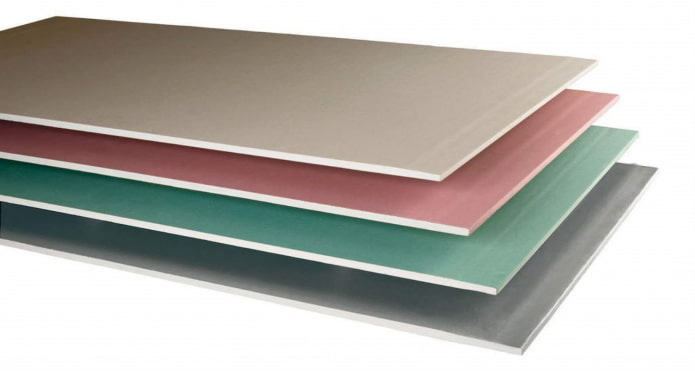
Does the future design have to meet special properties? For example, be resistant to moisture or fire? Look for slabs with a B (waterproof) or O (fireproof) prefix. For kitchens, ordinary GKLV are suitable, but in the bathroom it is better to use GVLV - they withstand moisture better. There is also a fire and moisture resistant variety - but in apartments its use is usually not required.
Important! You can navigate in the views not only by labels, but also by the colors of the sheets: standard gray, green or blue are not afraid of water, pink are not afraid of fire.
The design of the edge of the sheet is equally important. There is a straight, rounded, semicircular and thinned edge. For all models, except for the straight one, it is required to seal the joints with a special tape and putty.
In the photo, the options for the colors of drywall
Which profile should I use?
Any partition begins with the installation of the frame, and installation - with the correct choice of profile. The partition frame is made of wooden bars or special metal racks. The latter are easier to use and more reliable.
By appointment there are:
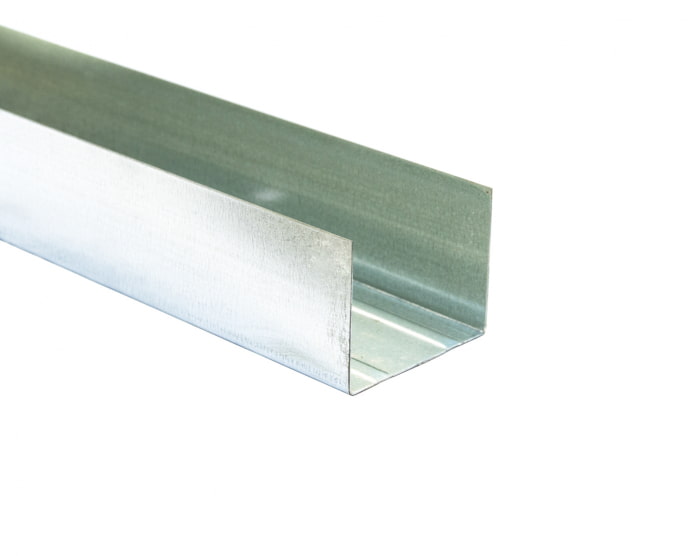
Guide profiles... Used to indicate the perimeter of a structure. Produced in a classic U-shaped form, they differ from others in smooth walls.
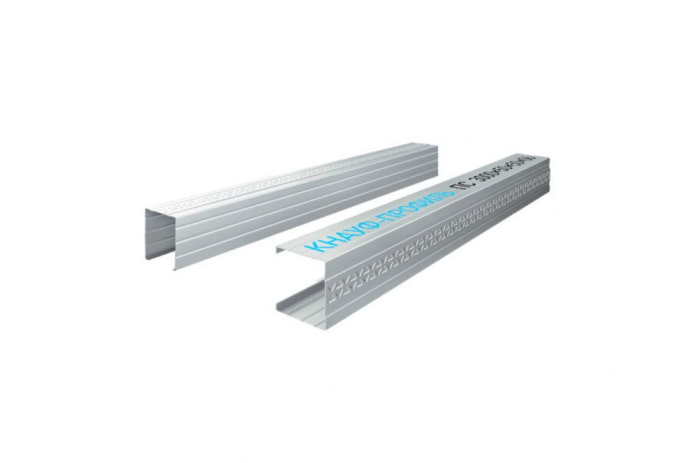
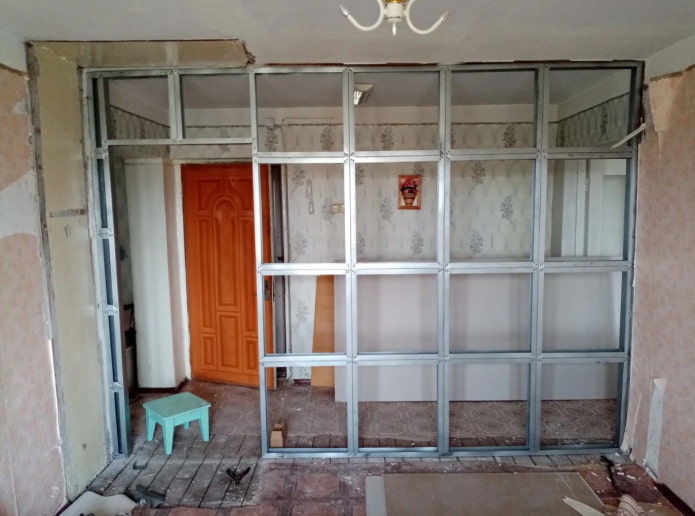
Rack profiles... Vertical and horizontal profiles of increased rigidity are inserted into the guides, serving as the skeleton of the entire future structure. Made in the shape of the letter P with curved free edges - these corners act as additional stiffeners, allowing the rack supports to withstand the required weight.
In the photo, a rack profile with stiffeners
Corner protection... They are a perforated metal corner that reinforces the outer corners of the structure.
The strength of the guide profiles depends not only on the stiffeners, but also on the thickness of the metal. For drywall partitions, options of 0.4-0.6 mm are suitable.The more load is planned, the thicker the base should be.
The dimensions of the profiles (width, height) vary depending on the tasks. The main thing is to choose the racks so that their width allows them to be installed in the rails.
Standard dimensions (ШВ, mm): 28 * 27, 50 * 40, 50 * 50, 65 * 40, 65 * 50. The largest are 100 * 40 (guide), 100 * 50 (stand).
It is not difficult to calculate the required number of profiles:
- Guide profile... Attaches to the floor and ceiling. Indicates the outer edge of the bulkhead. Measure the required length, multiply the result by 2, add the height for the vertical guide. If the partition is planned to be wide, multiply the resulting number by 2.
- Rack... In order not to be mistaken, make an approximate markup: the racks are placed in the inner corners, vertically every ~ 50 cm, at the joints of drywall sheets, and also used as lintels perpendicular to the floor above the doorway, under the window, etc. Add a couple of spare pieces to the resulting quantity.
Tools and materials
In addition to the drywall itself and the profile, you will need to create a partition:
- suitable fasteners (usually plastic dowels + metal screws);
- materials for insulation or sound insulation (for example, mineral wool - used as needed).
To install plasterboard partitions with your own hands quickly and easily, prepare the necessary instruments:
- tape measure and marker;
- laser level or normal + plumb;
- a knife for cutting drywall;
- metal shears for profile;
- screwdriver or screwdriver;
- puncher (for attaching to walls, floor, ceiling).
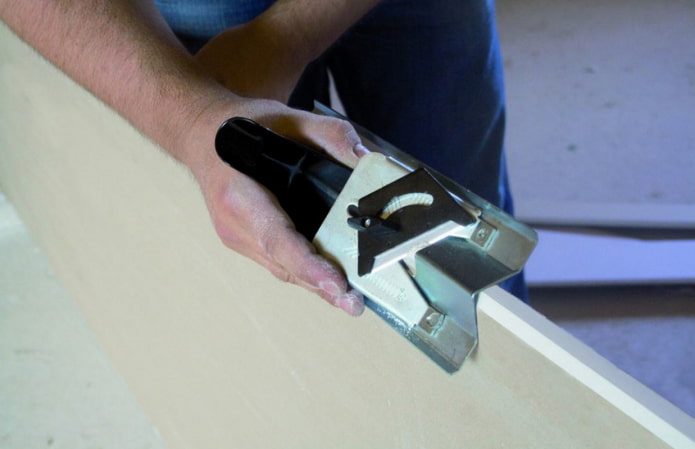
Advice! For even more simplified work, a plasterboard edging and rasping plane comes in handy.
Additional tools are selected in place, such as a drill for tiles, if the fastening involves installation on a ceramic base.
For cosmetic work, a reinforcing tape and putty are useful for covering joints and holes. So it will not do without a spatula and a rule.
In the photo is a rasp plane
Step-by-step instructions for installing the partition
The partition device is a simple process that even a beginner can handle. But in order for a drywall wall to turn out beautiful and durable, accurate calculations and adherence to a clear work plan are necessary.
Step 1: markup
You can't build a straight wall without a plan, so arm yourself with a laser level and draw lines along the beams in the right place. If there is no laser level, use a tape measure and a regular level, and mark the lower, upper and side stripes with a special chopping line.
Important! The top and bottom should run parallel to prevent the wall from falling forward or backward.
Step 2: guides
At this stage, it is necessary to outline the outer contour of the future structure. But before you drill the guides to the surfaces, glue damper pads on them - this way the plasterboard partition will not "walk" along with the concrete walls.
Advice! Fasteners are installed with a step of ~ 50 cm, but not more than 1 meter.
Step 3: racks
Racks are attached between the rails - first vertical, then horizontal jumpers. There are special self-tapping screws for drywall constructions with press washers, but they create inconvenience in further work.
Therefore, it is best to use a cutter - it will help to quickly and firmly connect the partition profiles to each other.
Important! The racks are fixed at a distance of 0.5-0.6 m from each other, while the places of openings or further installation of furniture / equipment are additionally strengthened.
Step 4: internal filling
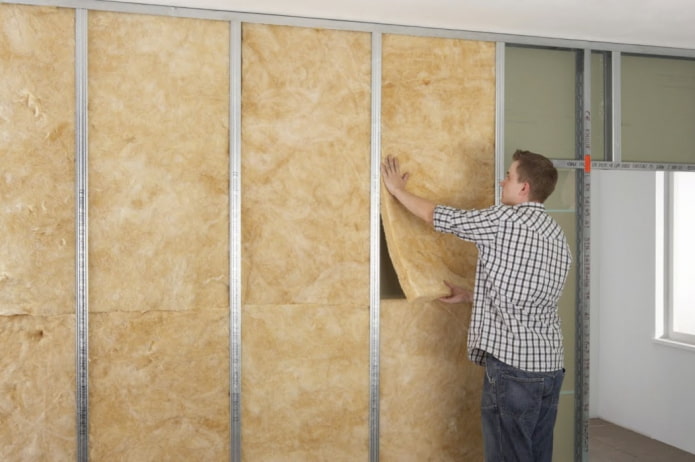
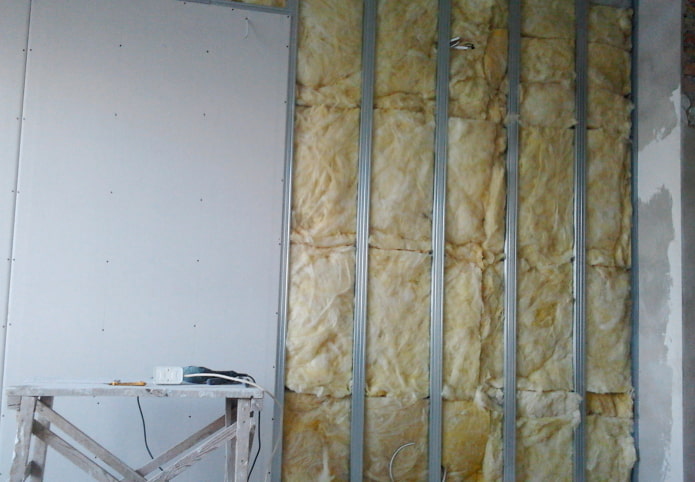
It's time to lay the resulting skeleton with mineral wool, to start communications.
Step 5: sheathing
Everything is simple here - start with large solid sheets, after the end of the free space, start cutting out parts to size. Observe the basic regulations:
- Screw the self-tapping screws no closer than 25 cm to each other, retreat at least 1.5 cm from the edges.
- Submerge the cap no more than 1 mm so as not to damage the gypsum layer.
- Move adjacent sheets horizontally by 0.4-0.6 m.
- Leave gaps of 8-10 mm at the junctions to the floor and ceiling.
- Chamfer the joints. Better to use a special plane.
Important! If sockets, switches are planned in the wall - cut holes and install boxes while the wall is not completely sewn up.
Step 6: finishing work.
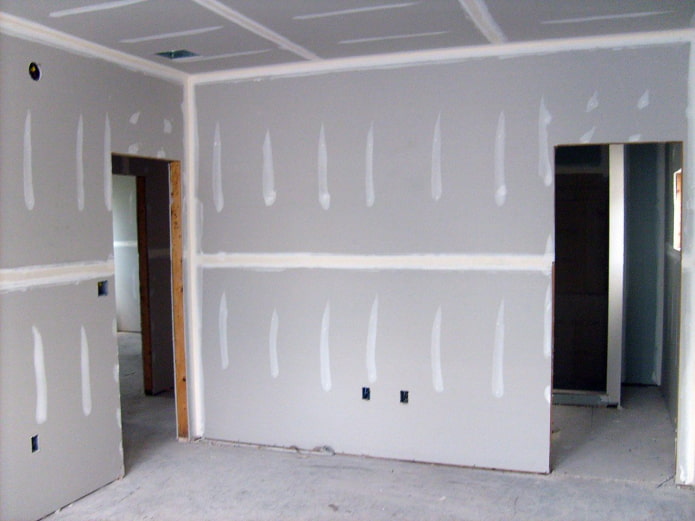
When the partition is ready, a reinforcing tape is glued to the seams, putty, the surface is leveled and prepared for further work - painting, wallpapering.
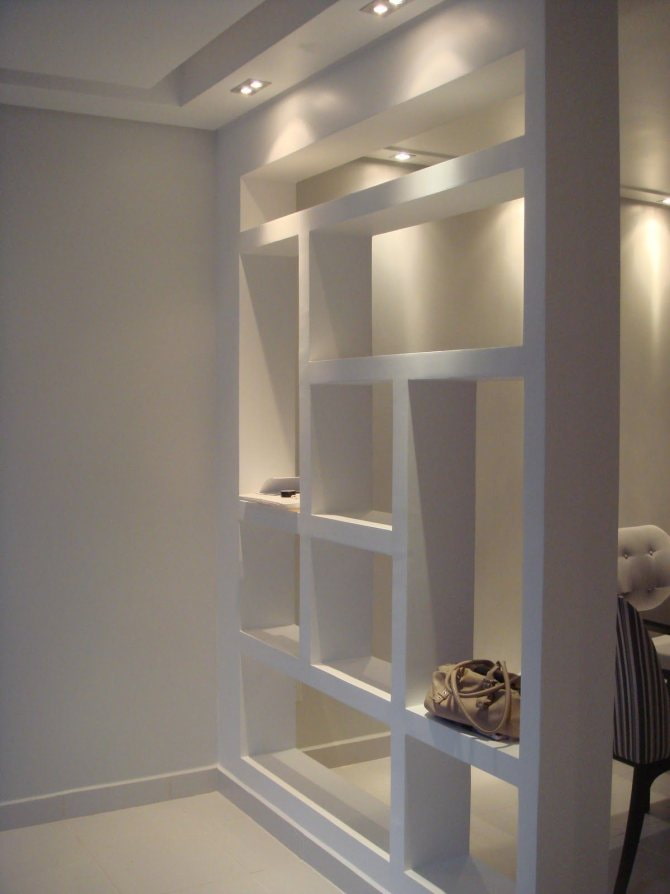
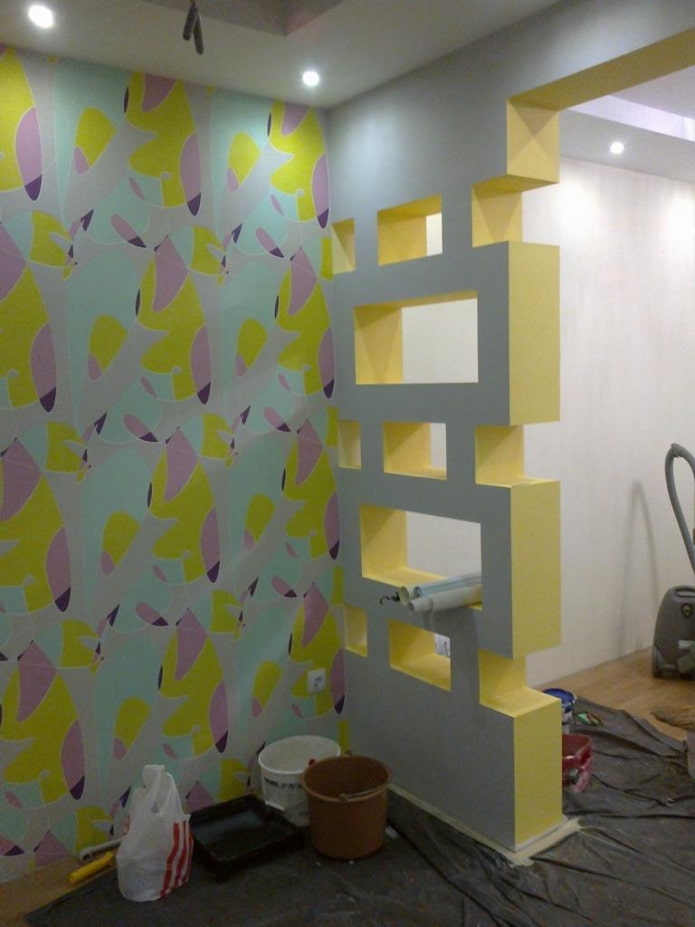
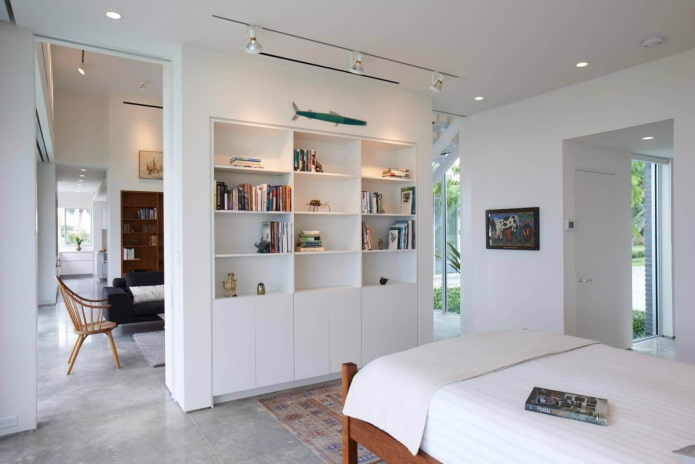
In the photo there are ready-made plasterboard walls
For a more detailed understanding of all stages, watch the video:
Beautiful ideas for inspiration
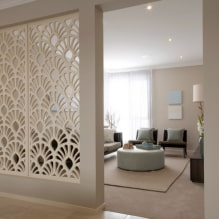
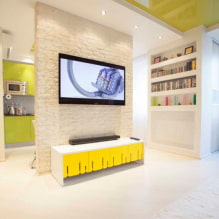
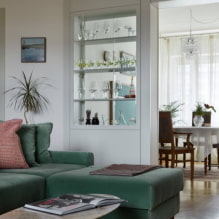
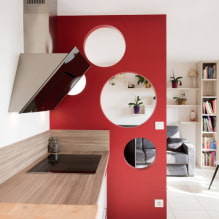
Interroom partitions from drywall can perform not only the role of dividing open space or room zoning, but also to solve additional functional tasks or simply decorate the room.
For example, a wardrobe can be built into the partition. Or make it curly - although various complex rounded shapes are no longer in vogue, but the correct geometric partition with shelves still has the right to exist.
In the photo there are built-in wardrobes
A GKL partition is a simple and quick way to divide space. See the gallery for additional drywall wall design ideas.

 10 practical tips for arranging a small kitchen in the country
 12 simple ideas for a small garden that will make it visually spacious
 What is better not to do it yourself during the repair?
 Bloated linoleum: how to fix it without disassembly
 The worst decisions in apartment renovation
  Installation of ceiling tiles: choice of materials, preparation, order of work
 How to glue a ceiling plinth to a stretch ceiling?
 Ceiling plinth for stretch ceiling: types, recommendations for selection