Main rules
In order to properly lay laminate flooring, you need to understand what we have to work with. On each side of the laminated panels there are locks with which they are connected.
The design is not monolithic and sensitive to the differences and unevenness of the subfloor. In addition, laminate flooring deforms due to changes in temperature or humidity.
Therefore, knowledge of these important points will allow you to perform styling with high quality and for a long time:
- Do not allow any sub-floor slopes more than 2 mm per 2 m². Brittle castles will start to crumble the coating will creak and cracks are formed in it.
- The total floor slope is not more than 4 mm per two running meters. Otherwise, the furniture will be damaged. Cabinet doors and hinges will warp, they will stop closing, and furniture on four legs will be unstable.
- Add material indoors and leave for a few days... So it adapts to the microclimate, and the panels do not subsequently deform.
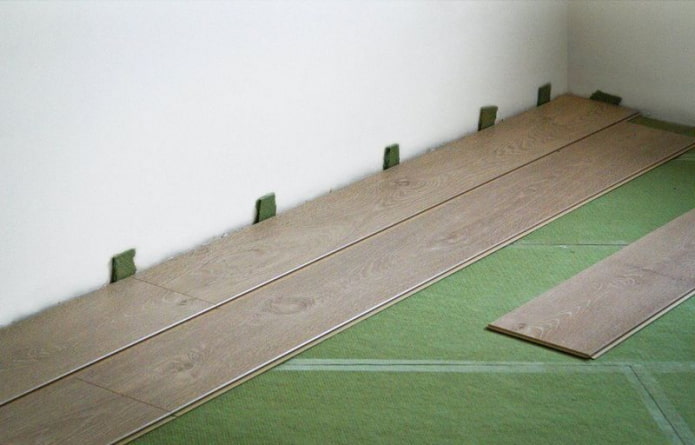
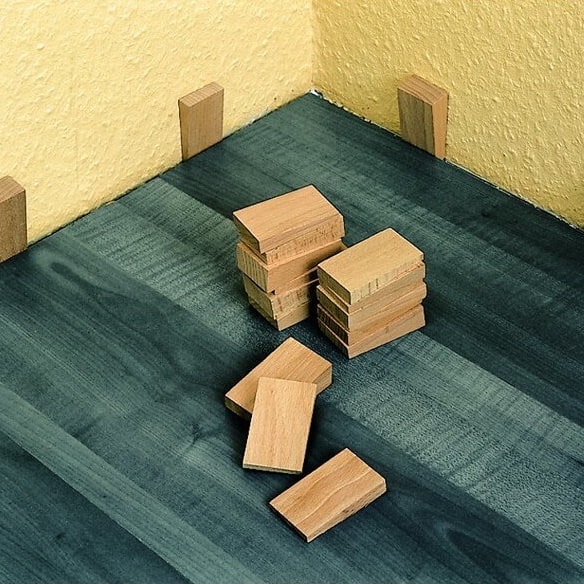
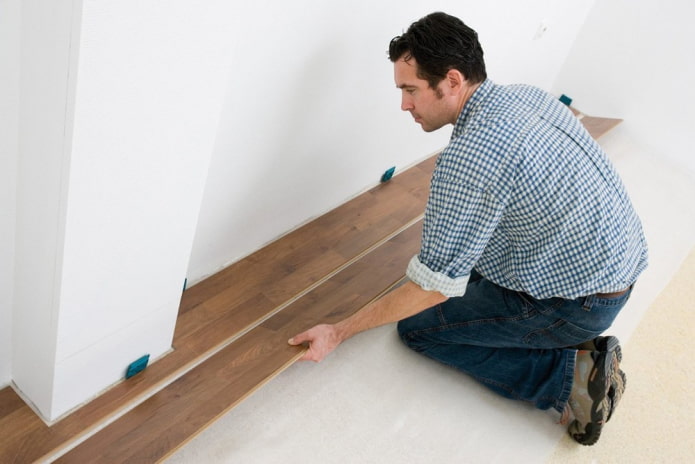
- Leave 1 cm gap from the wall - the laminate will lie flat, even if the walls are not perfect. If the coverage expands, there will be enough space. You can control the size of the gaps using wedges.
- Laying laminate flooring is better from windows, along the sunlight - the transverse seams will become less noticeable. Start along any wall that is perpendicular to the window. In this case, the first panel must be turned with a ridge to the wall. But, if the room is narrow, laying across the light will visually make it wider.
- You can install laminate flooring one panel at a time, which is convenient if you are installing alone. Or in rows, when first the panels are connected in a line, and then they dock it with the already laid row. This method is more difficult, but less time consuming.
Layout schemes for laminate
The instructions for the material usually indicate direct mounting methodwhen the panels are laid in parallel rows. This stacking scheme has serious drawbacks: transverse lines across the entire width of the room, incorrect load distribution and a large number of scraps.
This can be avoided by laying the panels deck way... The transverse seams must be offset so that the distance between the seams is at least 40 cm.
This floor assembly has Several variants:
- Chaotic deck styling. Each new row begins with the cut off part of the last lamella. The distance between the ends is not controlled. This is the easiest and most economical installation scheme, you will only spend 5% more laminate flooring.
- Deck-laying with precise offset. Move the planks by laying a new row (usually half or one third of the length of the lamella). The consumption of the laminate is higher, but such a scheme for laying the laminate looks more organic.
- Diagonal styling (any offset)... The boards are mounted at an angle of 45 ° to the window. The most effective way that changes the perception of a room, visually expands it, adds more air and space. The overspending of the laminate is the largest - about 15%.
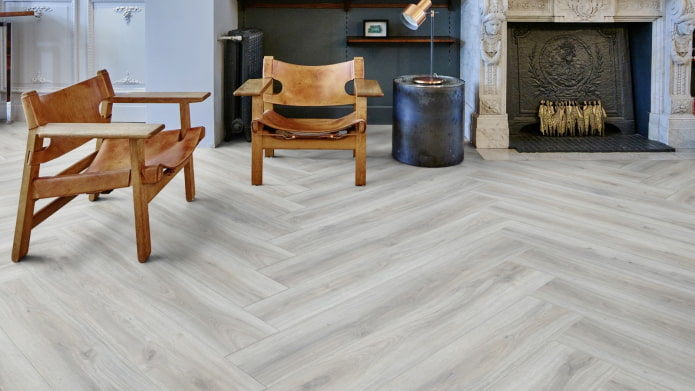
It is worth mentioning separately herringbone layout... The panels are mounted at an angle, as in classic parquet laying. For a Hungarian tree, they are harvested at an angle of 90 degrees, for a French tree - 30-40 degrees. There will be a lot of scraps, so buy material with a 20% margin.
Important: A special laminate is required for the herringbone assembly. Its end part can be attached to the longitudinal one using special locks.
Laying methods
Lay laminate can be done in two ways: floating (panels are attached only to each other) or adhesive. The first method of laying the laminate differs already in the type of lock on the selected panels.
Lock-locks: the comb of one lamella is driven into the groove of the other. You need to do this only in one direction - either vertically or horizontally. First, all the rows are assembled, then they are attached to each other.
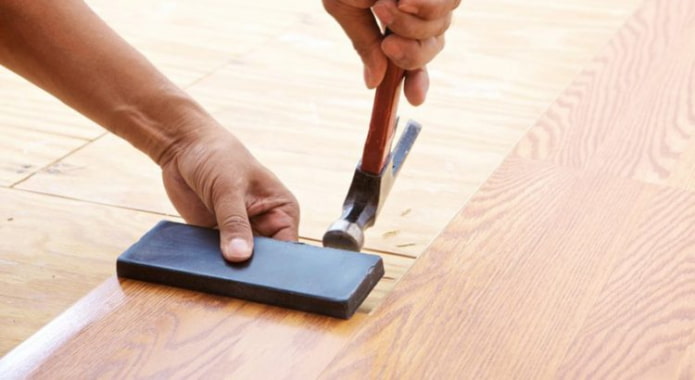
To make the fastening more secure, gently tap the joints with a hammer or rubber mallet. In some cases, they must be coated with glue.
Important! Do not knock on the panel itself with a mallet, put something on it. The lock is quite fragile and easy to break.
Click-locks: similar to lock-locks, but more durable. The comb is inserted into the groove and snapped into place with slight pressure. Collected as follows:
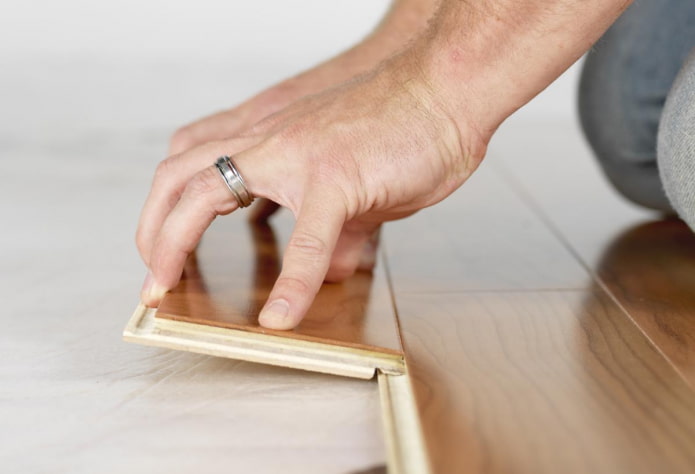
- First, connect the short side - bring one panel to the other at an angle, insert it into the groove, slap it lightly with your palm and lower it until you hear a characteristic click. They mount the entire first line in this way.
- The second row is mounted with longitudinal sides. Raising the first row, bring the bar, insert it into the groove and lower it. There is no need to further strengthen anything.
The method is convenient - at any time, the laminate can be disassembled and the mistake can be corrected. The floor is ready for use immediately after installation and there is no need to wait for the adhesive to dry.
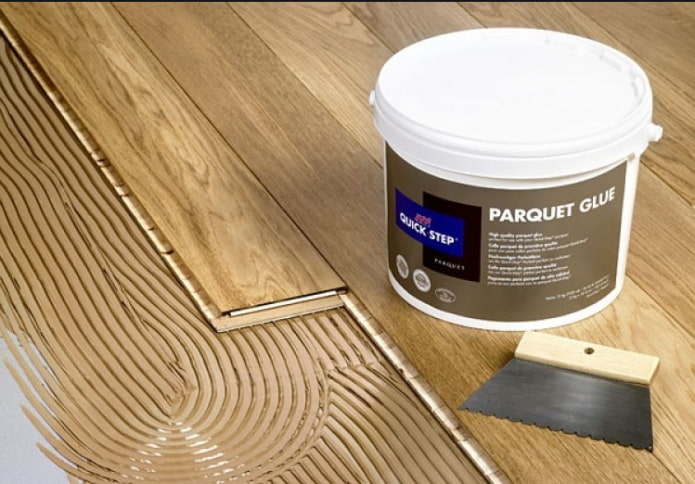
Glue method. The end and longitudinal edges of the planks are glued to each other, and sometimes to the floor. This method is used less often. It requires additional costs for glue, and the coating is monolithic. If you damage one panel, you will have to dismantle the entire floor.
What do you need to put it yourself?
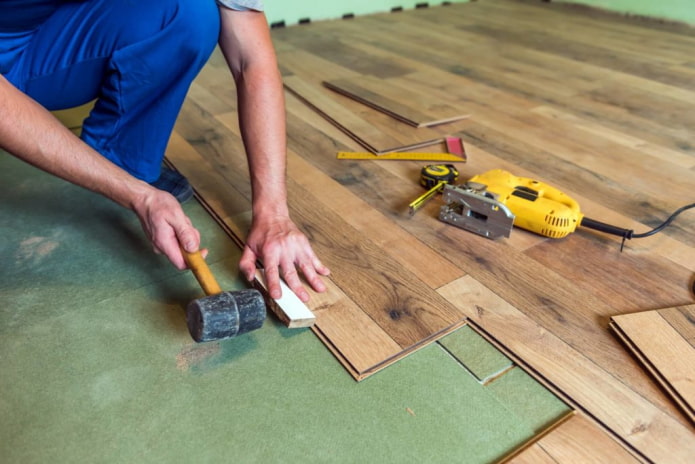
For self-styling, you will need:
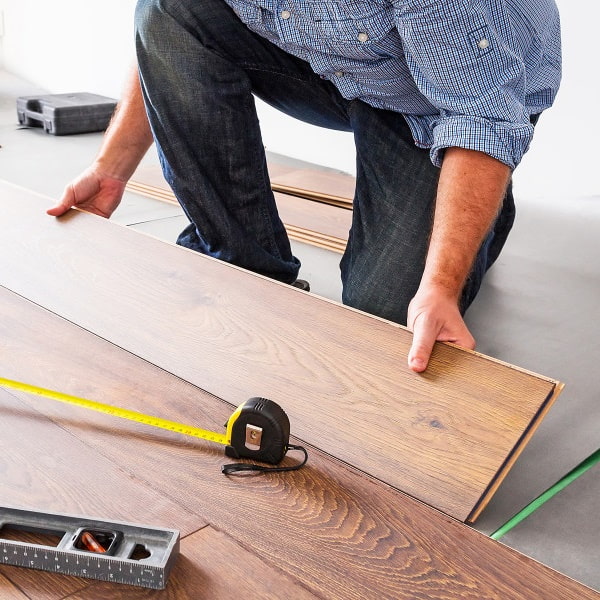
- Tape measure to take the necessary measurements.
- Level for checking the slope.
- Building corner for smooth assembly.
- Knife and jigsaw - the laminate will have to be cut.
- A pencil to mark the points you want.
- Hammer - to customize the panels.
- Wedges to control the gaps between the lamellas and the wall.
- Laminate.
- Substrate.
Check out the article about choice of underlay for laminate.
The last point is worth considering in more detail. The substrate has important functions:
- Waterproofing... Condensation can build up everywhere.
- Depreciation... It softens the pressure on the laminate, protects the locks from breakage and the panel itself from cracks. The underlay compensates for the expansion of the panels, reduces the pressure from the walls.
- Sound and heat insulation.
The following materials can be used as a substrate:
| Material | pros | Minuses |
|---|---|---|
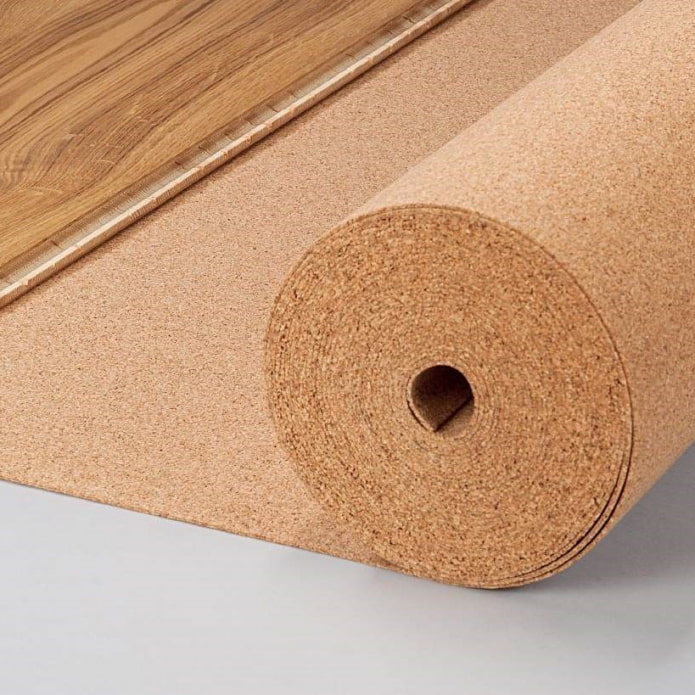
| Cork canvas | Eco-friendly material. It absorbs noise well. Does not deform. | High price. Poor moisture resistance. Cannot be placed on a warm floor. |
| Izoplat | Insulates noise and moisture well. Used with underfloor heating. | High price. |
| Parkolag | Inexpensive. Perfectly levels the surface. Good insulation. | Cannot be placed on a warm floor. |
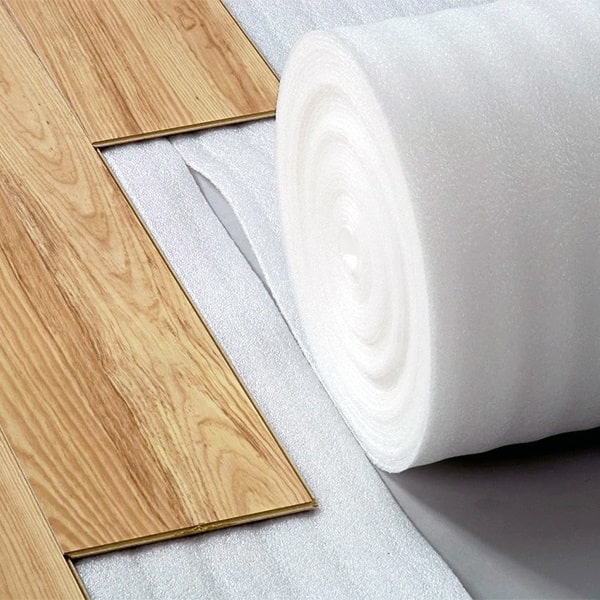
| Foamed polyethylene | Inexpensive | Loses its shape quickly. Short-lived. |
How to properly prepare the surface?
It all depends on the initial coverage.
Linoleum. The easiest option, you can lay the laminate directly on top of it.
Concrete floor. If the coating is old, major repairs will be required, if the screed is semi-dry, grinding is usually sufficient.
- Expand cracks and potholes, clean out and fill with fresh grout.
- Fill the floor with leveling compound.
- Cover it with several coats of protective primer.
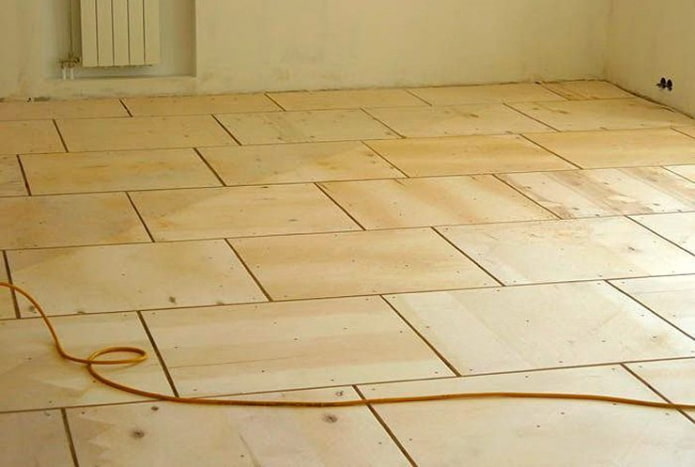
Wooden floor. The plywood sub-floor is laid on old boards or logs.
- Check the old floor for rotted planks.
- Secure the plywood to the self-tapping screws, leaving a distance between the sheets in case they expand. Drown the caps of the self-tapping screws into the sheet, the joints should be on the logs.
- Sand the joints of the plywood sheets if they are at different levels.
- Treat all rough wood floors with an antiseptic.
Important! After preparing the subfloor, thoroughly remove dust from it with a construction vacuum cleaner.
Step-by-step instruction
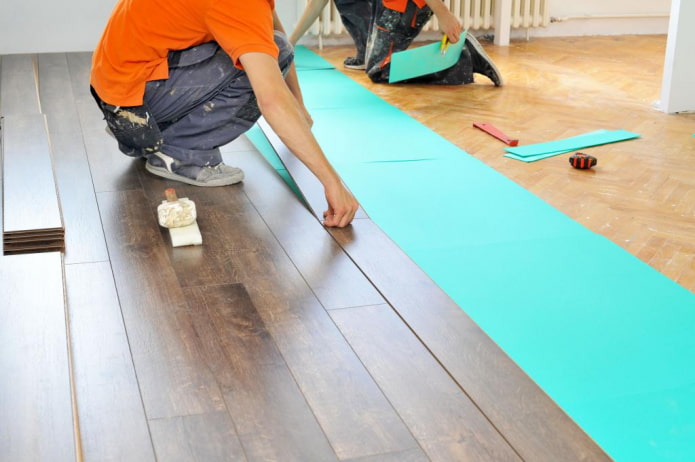
After the subfloor is ready and dust-free, work on the underlayment. Roll it out and glue the joint lines of the canvas with tape.
Now everything is ready for laying the laminate..
Sequencing for individual laying in a chaotic way:
- Calculate how many lamellae you need for the first row and cut off the combs.
- Turn the first plank with the locks facing you.
- Place wedges between it and the wall.
- Attach another panel and so on to the next wall.
- Cut off the last plank.
- Installation of the next row, start with this trim.
- From the longitudinal side, lift the previous row, attach the new part at an angle, align and lower until it clicks.
Make sure that there are no drops and gaps.
The process of laying laminate in rows:
- Join the initial row of lamellas with the trimmed ridges.
- Collect the second row and attach it to the leader through the longitudinal locks.
- Mount the next rows in the same order.
Remember to install the wedges.
Nuances and difficult moments of styling
When self-assembly of laminated panels, many problem areas may appear.
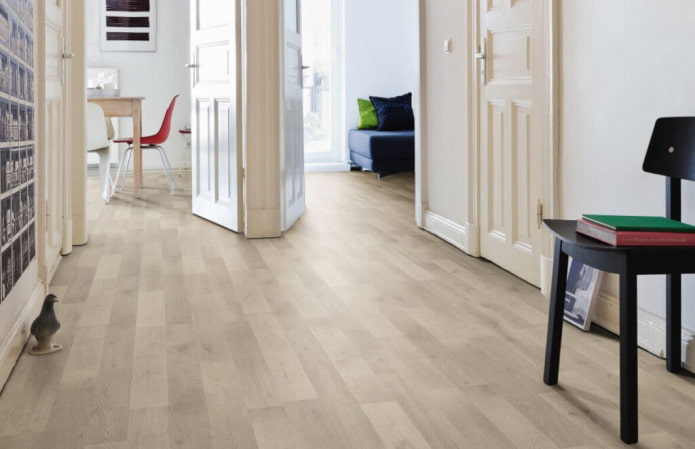
Causes difficulties non-threshold stylingwhen the floor passes between the rooms as a single canvas. It looks beautiful, however, manufacturers do not recommend laying the laminate in this way over a large area.
Thresholdless styling is possible subject to certain conditions:
- Make the subfloor perfectly level to reduce the risk of warping.
- Lay with the deck method with an offset of 1/3 lamellae.
- Lay out the laminate in the direction of travel, reducing the load on the joints.
- Start collecting the floor from the largest room, from the farthest corner to the door.
- In doorways, the flooring must match the wall, leaving the desired gap. If the platbands or the door get in the way, they should be carefully filed and the laminate should be laid under them. Keep the distance between the door and the floor covering at least 10 mm.
- The maximum area for non-threshold laying is calculated based on the information on the package. It should not exceed 120 sq.m.
Advice! To avoid mistakes, draw up a floor plan and lay out the installation, observing the scale.
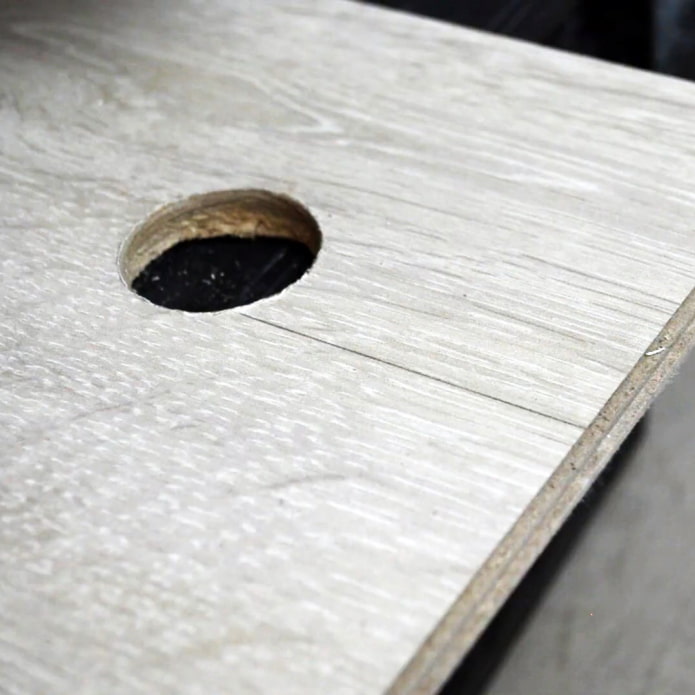
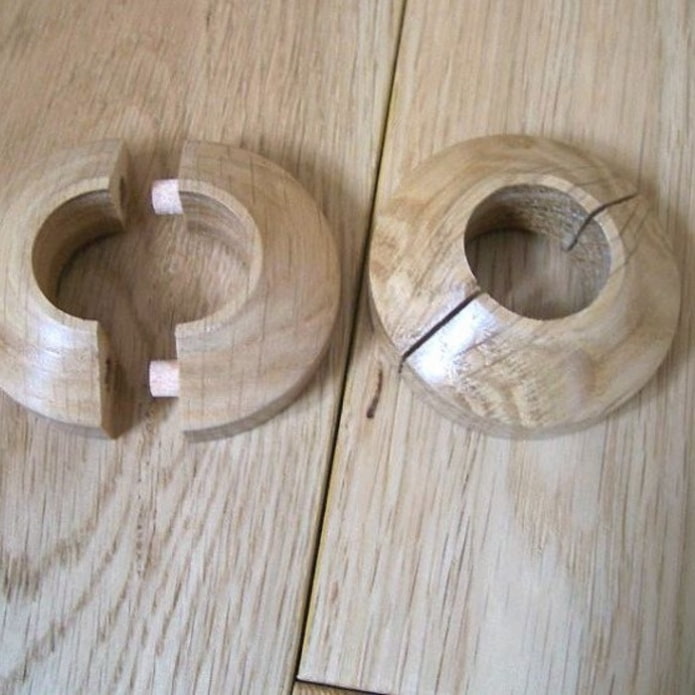
Another difficult point - bypass pipes and risers... On the front side, holes must be drilled 20 mm larger than the diameter of the pipes. You can close them with special plugs in the color of the floor covering.
Questions arise if a beveled laminate is chosen as the flooring. On it, the top layer is beveled on the sides, which makes the floor as close as possible to wood. There is no cause for concern - they fit in the same way as non-beveled lamellas.
Installation of laminate in rooms with irregular geometry also has its own characteristics. If the corners of the room differ significantly from 90 °, then the panels are laid only diagonally.
If you need to get around protrusions or columns, you will need a jigsaw, a sheet of paper and a pencil.
- attach the paper to the ledge;
- circle the obstacle;
- transfer the drawing to the panel;
- saw off carefully.
The laminate flooring technology is simple enough to handle on your own. Consider the way the lamellas are attached, choose the right backing material, prepare the subfloor well, and follow the rules for installing laminate flooring. You will receive a beautiful and high-quality coating that will serve you for many years.

 10 practical tips for arranging a small kitchen in the country
 12 simple ideas for a small garden that will make it visually spacious
 What is better not to do it yourself during the repair?
 Bloated linoleum: how to fix it without disassembly
 The worst decisions in apartment renovation
  Installation of ceiling tiles: choice of materials, preparation, order of work
 How to glue a ceiling plinth to a stretch ceiling?
 Ceiling plinth for stretch ceiling: types, recommendations for selection